
The Ultimate Strawberry Oreo Cheesecake Recipe: A Party-Perfect Dessert
Prepare to impress with a dessert that effortlessly combines three universally beloved flavors: the classic crunch of Oreos, the rich creaminess of cheesecake, and the fresh sweetness of ripe strawberries. This homemade Strawberry Oreo Cheesecake isn’t just a dessert; it’s a statement. Whether you’re hosting a grand celebration, attending a potluck, or simply craving an extraordinary treat, this recipe is designed to deliver show-stopping results and unforgettable taste.
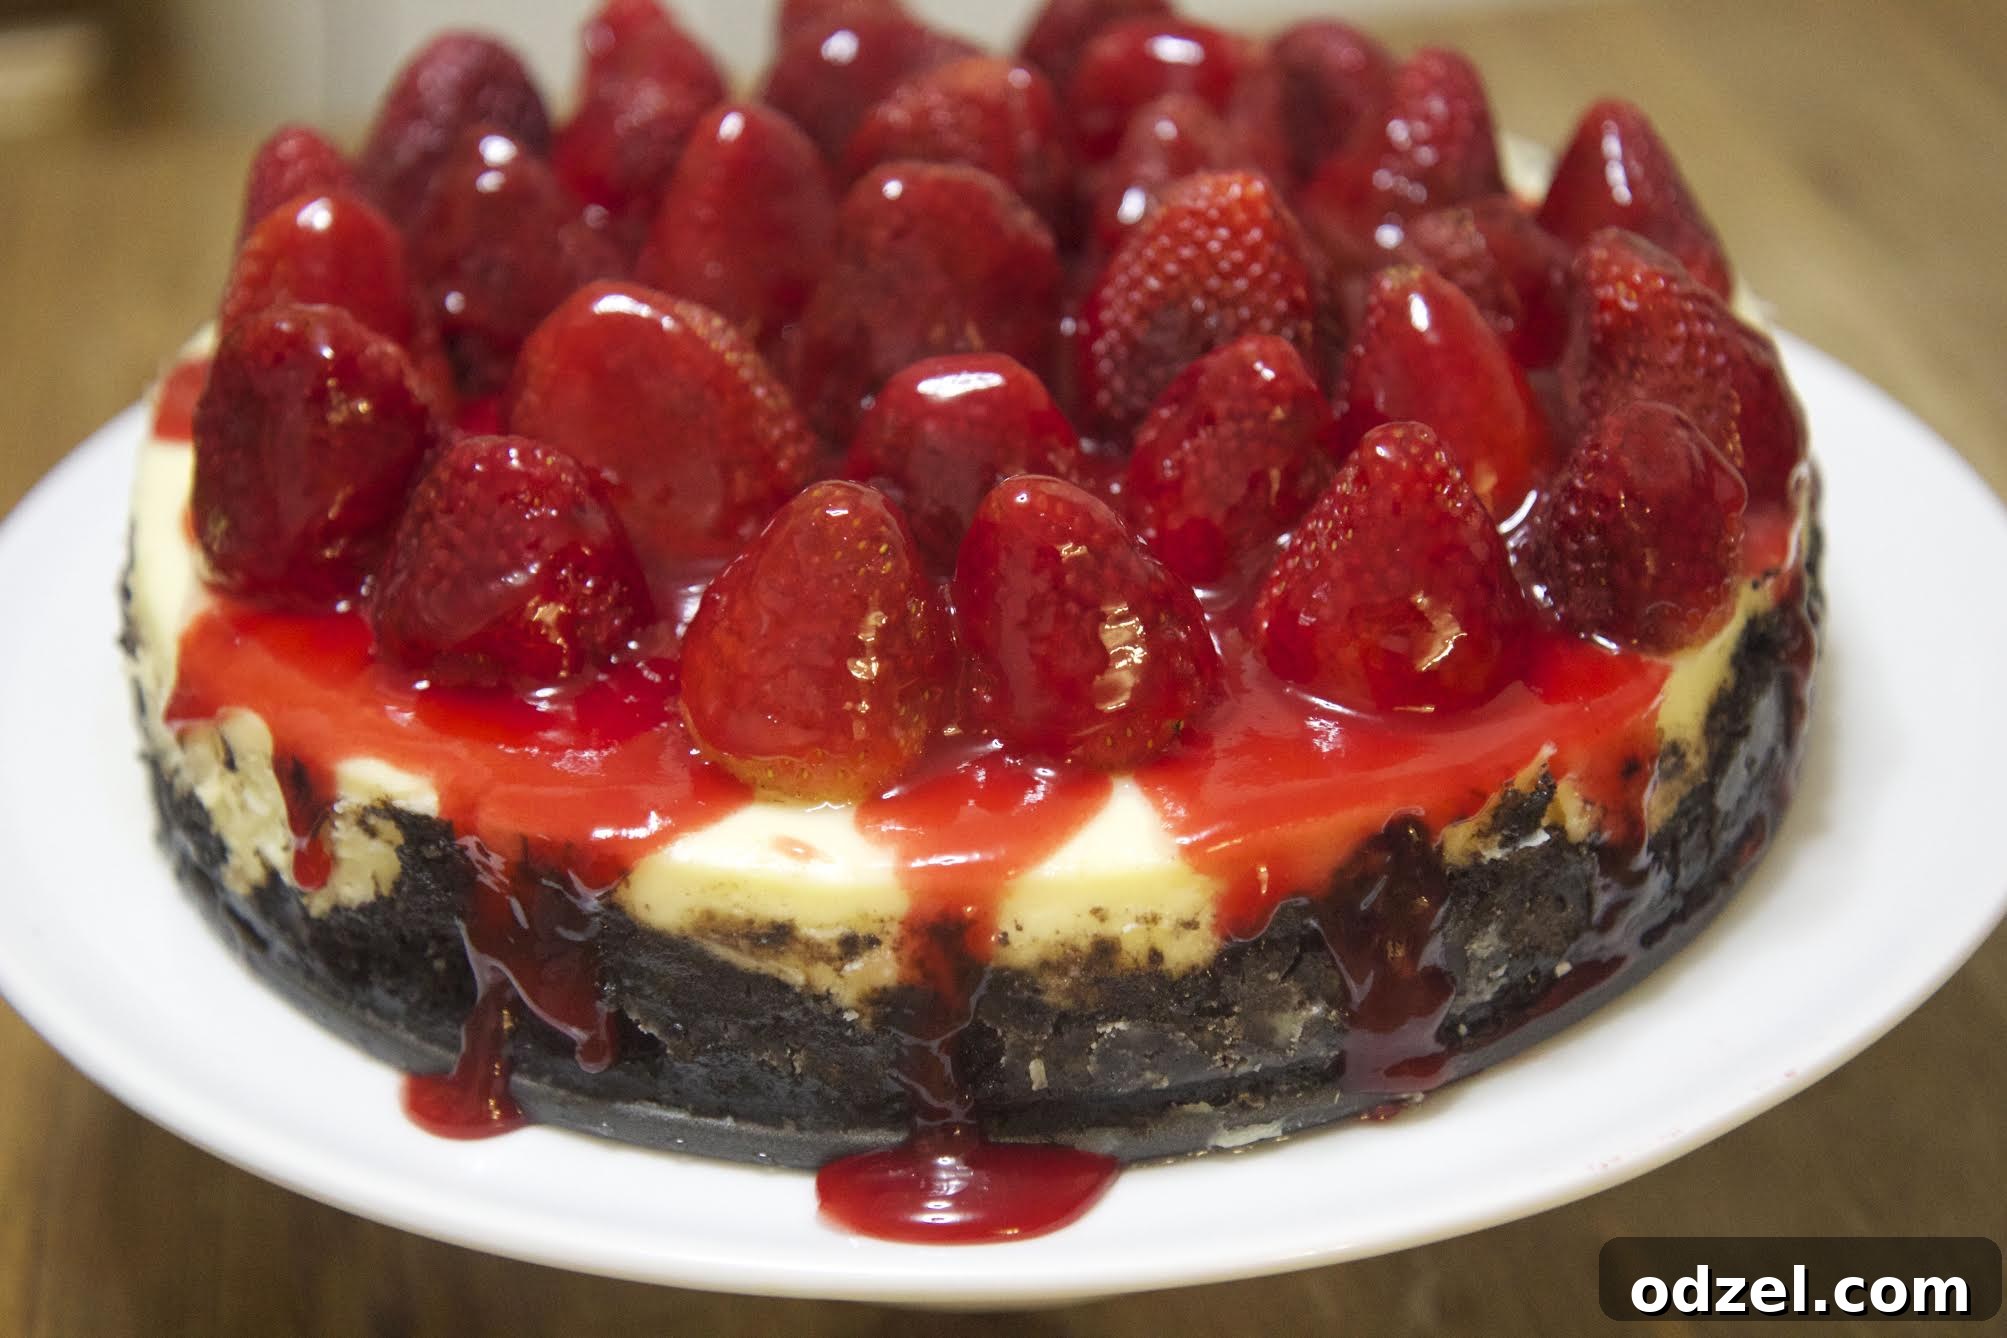
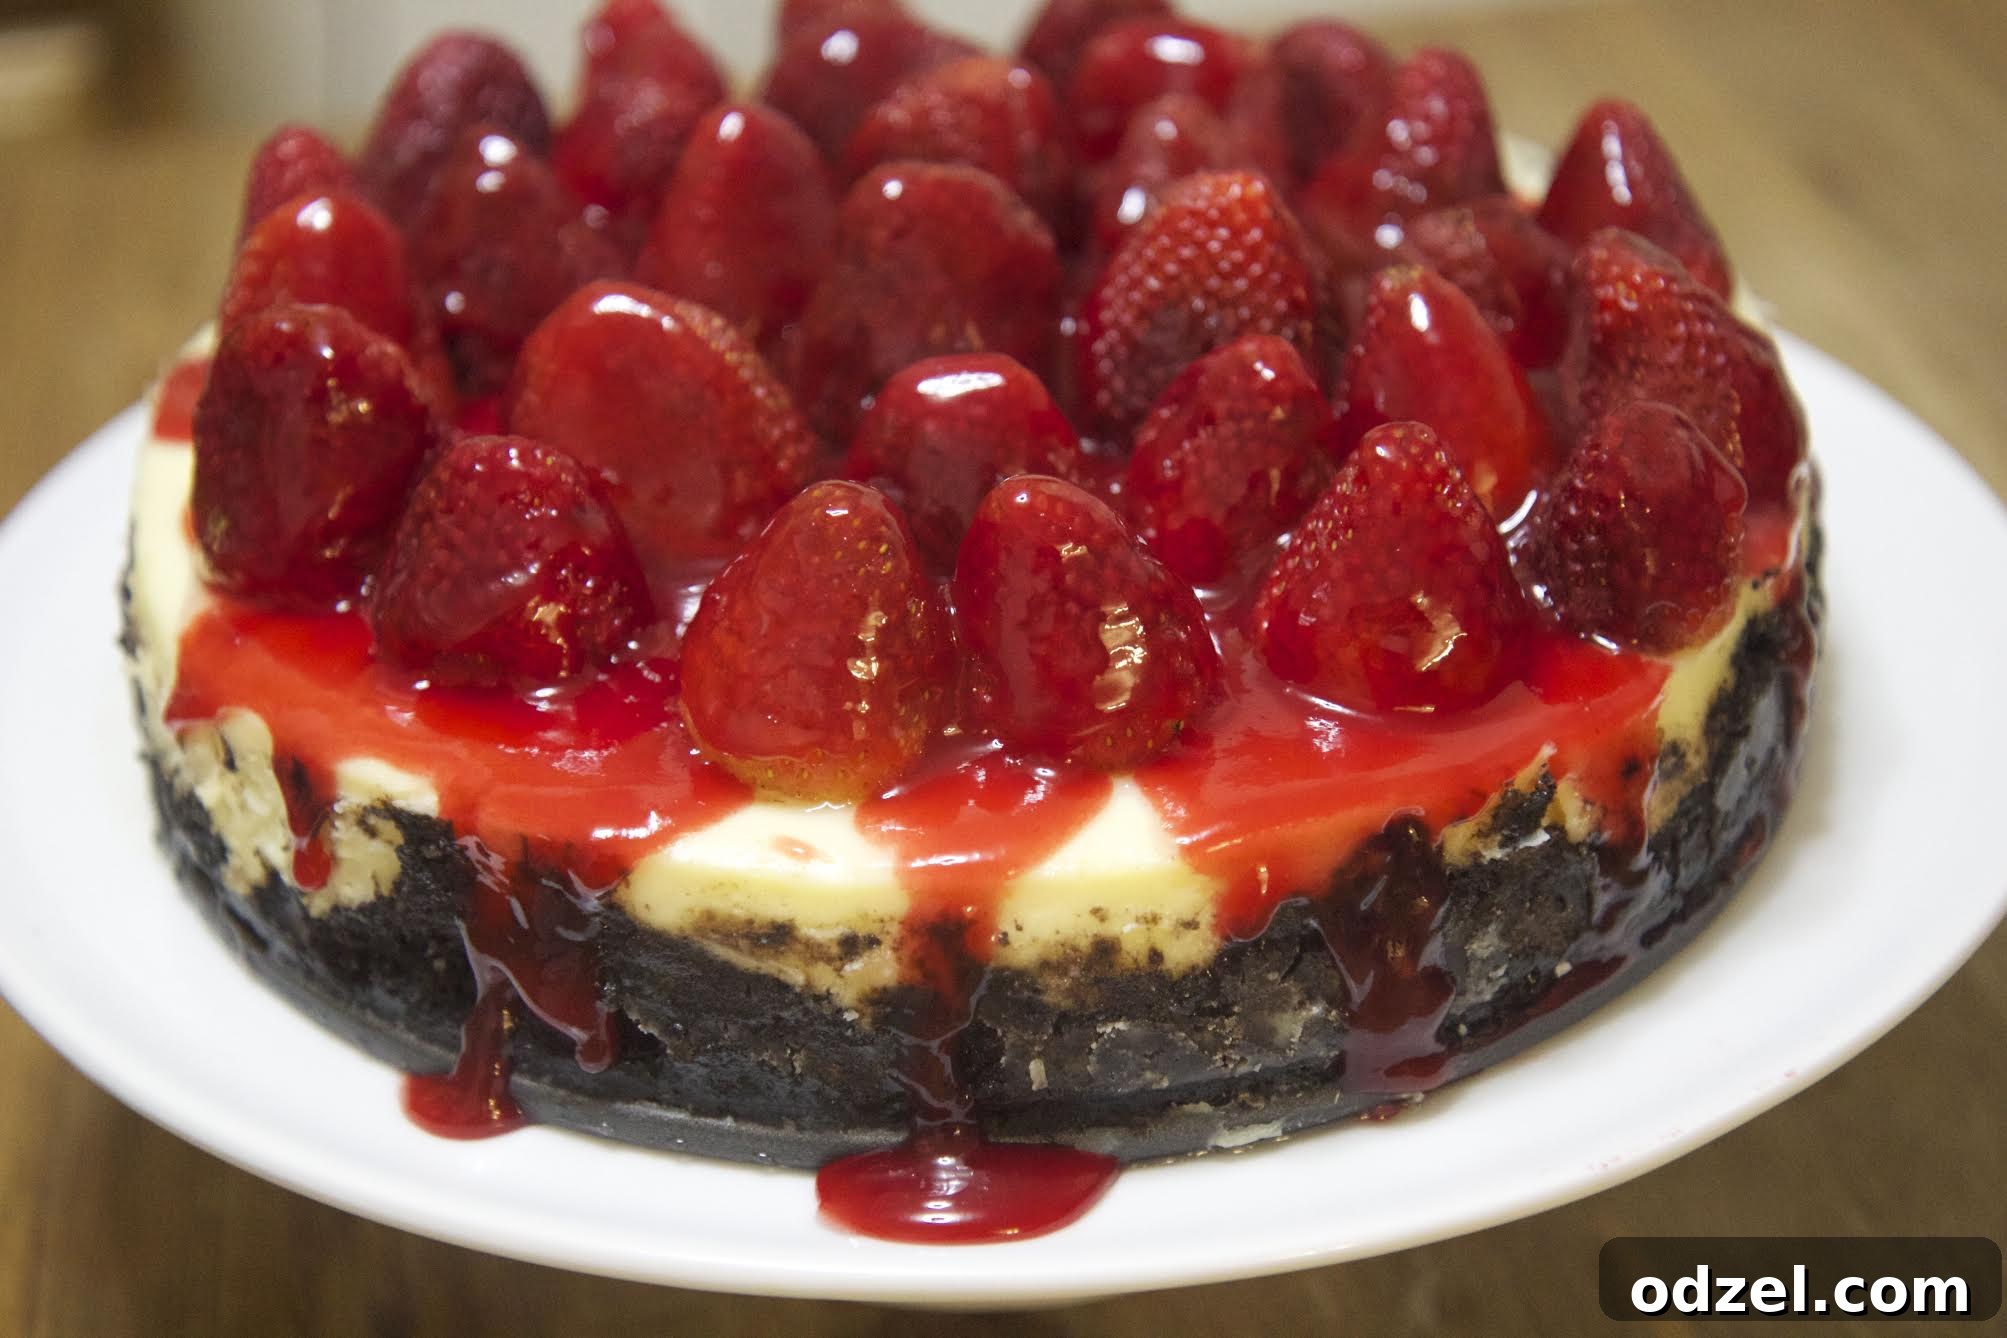
Forget the notion that cheesecakes are daunting to make. While they require a bit of patience, the steps for this Strawberry Oreo Cheesecake are straightforward, leading to a dessert that looks like it came from a gourmet bakery but boasts the comforting touch of homemade goodness. Imagine a thick, buttery Oreo cookie crust, a velvety smooth cream cheese filling, and a glistening, vibrant strawberry glaze cascading over the top. Each bite offers a symphony of textures and flavors that will have everyone asking for the recipe.
This dessert truly shines at any gathering. As someone who loves to bring delicious food to parties, I can attest that this cheesecake has consistently been the star of the show, earning rave reviews and leaving a lasting impression on every host and guest. It’s more than just food; it’s an experience, a perfect blend of indulgence and fresh fruit delight.
Why This Strawberry Oreo Cheesecake Will Be Your New Favorite
There are countless reasons why this particular Strawberry Oreo Cheesecake stands out. Firstly, the combination of flavors is simply irresistible. The deep chocolate of the Oreo crust provides a perfect counterpoint to the light, tangy cream cheese filling. Then, the fresh strawberry glaze adds a burst of fruity brightness, cutting through the richness and making each slice feel perfectly balanced. It’s a dessert that caters to various palates, from chocolate lovers to fruit enthusiasts, making it a crowd-pleaser for any occasion.
Beyond its incredible taste, this cheesecake offers a luxurious texture. The crust is firm enough to hold its shape but crumbles delightfully with every forkful, offering a satisfying crunch. The filling is smooth, dense, and melts in your mouth, while the vibrant glaze adds a subtle chewiness from the fruit. It’s a textural masterpiece that will elevate any dessert table. Moreover, the visual appeal is undeniable – a beautiful contrast of dark crust, creamy white filling, and ruby-red topping, often adorned with fresh whole strawberries, making it a feast for the eyes as well as the palate.
Finally, while some cheesecakes can be temperamental, this recipe is designed to be approachable even for novice bakers. With clear, step-by-step instructions and a few essential tips (which we’ll cover later), you can achieve a professional-looking and tasting cheesecake right in your own kitchen. This makes it a rewarding baking project that culminates in a truly spectacular treat that you’ll be proud to share.
Strawberry Oreo Cheesecake
By: Julie Maestre
This picture-perfect Strawberry Oreo cheesecake makes for the perfect dessert! Pair with a bottle of wine and make any occasion extra special.
Rate/Comment
Print Recipe
Ingredients
For the Oreo Crust
- 1 package Oreo cookies (approx. 36 cookies), crushed
- 7 tbsp unsalted butter, melted
For the Cheesecake Filling
- 24 ounces (3 blocks, 8 oz each) cream cheese, softened
- 1 cup granulated sugar
- 1 cup sour cream
- 3 large eggs
- 1 tsp vanilla extract
For the Strawberry Glaze & Topping
- 1 tbsp corn starch
- 1/4 cup water
- 3/4 cup strawberry jelly (or preserves)
- 1 tsp red food coloring (optional, for vibrant color)
- Fresh strawberries for garnish
Instructions
- Prepare the Crust: Preheat your oven to 325°F (160°C). In a food processor, pulse the Oreo cookies until they form fine crumbs. Add the melted butter and pulse again until well combined. Press the mixture firmly and evenly into the bottom of an 8-inch springform pan. Wrap the bottom and sides of the springform pan tightly with heavy-duty aluminum foil to prevent water from entering during the water bath. Set aside.
- Make the Filling: In a large mixing bowl, using an electric mixer on medium speed, beat the softened cream cheese until smooth and creamy (about 2-3 minutes). Gradually add the granulated sugar, mixing on low speed until just combined. Stir in the sour cream and vanilla extract. Finally, add the eggs one at a time, mixing only until each egg is incorporated into the batter. It’s crucial not to overmix at this stage, as overmixing can introduce too much air, which can cause the cheesecake to crack during baking.
- Prepare for Water Bath: Pour the cheesecake filling evenly over the prepared Oreo crust in the springform pan. To create a water bath, place the foil-wrapped springform pan into a larger roasting pan or baking dish. Carefully pour boiling water into the larger dish, ensuring the water level reaches about 1 inch up the sides of the springform pan. This water bath provides a moist, even heat, essential for a crack-free, creamy cheesecake.
- Bake the Cheesecake: Carefully transfer the roasting pan with the cheesecake and water bath to the preheated oven. Bake for 10 minutes at 325°F (160°C). After the initial 10 minutes, reduce the oven temperature to 300°F (150°C) and continue baking for an additional 1 hour and 15 minutes. The cheesecake should be mostly set around the edges but still have a slight jiggle in the center (about a 2-inch circle).
- Gradual Cooling: Once the baking time is complete, turn off the oven. Leave the cheesecake inside the oven with the door closed for 30 minutes. This gradual cooling prevents sudden temperature changes that can cause cracks. After 30 minutes, open the oven door slightly (about 1-2 inches) and let the cheesecake sit in the oven for another 10 minutes.
- Initial Chill: Carefully remove the cheesecake from the water bath and the larger baking dish. Run a thin, sharp knife gently along the inside edge of the springform pan to loosen the cheesecake from the sides. Let the cheesecake cool completely at room temperature for approximately 1 hour. Once cooled, transfer it to the refrigerator and chill for a minimum of 4 hours, or ideally overnight, until it is thoroughly set and firm.
- Prepare the Strawberry Glaze: In a small saucepan, whisk together the corn starch and water until a smooth paste forms. Cook this mixture over medium heat for 2 minutes, stirring constantly, until it thickens slightly. Stir in the strawberry jelly (or preserves) and continue to cook for 3-4 minutes, or until the sauce becomes thick, glossy, and lump-free. Remove from heat and let the glaze cool completely to room temperature. If you desire a more vibrant red color, stir in the optional red food coloring.
- Decorate and Serve: Once the cheesecake is fully chilled and the glaze is cool, carefully release and remove the sides of the springform pan. Artfully arrange fresh strawberries on top of the cheesecake. Gently pour or spoon the prepared strawberry glaze over the fresh strawberries and the entire cheesecake surface. Slice with a warm, clean knife and serve immediately. Enjoy your magnificent homemade Strawberry Oreo Cheesecake!
Recipe Video
Nutrition Information
Nutrition information is automatically calculated and should be used as an approximation.
Tips for Baking the Perfect Strawberry Oreo Cheesecake
Achieving a flawless, crack-free cheesecake with a perfectly creamy texture is within reach! Follow these expert tips to ensure your Strawberry Oreo Cheesecake turns out beautifully every time:
- Room Temperature Ingredients are Key: This is crucial for a smooth, lump-free batter. Ensure your cream cheese, eggs, and sour cream are at room temperature. Cold cream cheese will be difficult to beat smoothly, leading to a lumpy filling. Cold eggs and sour cream won’t incorporate as evenly, which can affect the final texture and increase the risk of overmixing.
- Do Not Overmix the Filling: This is arguably the most important tip for preventing cracks. Overmixing incorporates too much air into the batter. As the cheesecake bakes and cools, this trapped air expands and then collapses, leading to unsightly cracks. Beat the cream cheese until just smooth, then add other ingredients and mix on low speed until *just* combined. Stop as soon as no streaks remain.
- The Importance of a Water Bath: A water bath (bain-marie) creates a moist, even heat environment around the cheesecake, preventing it from baking too quickly and drying out. This slow, gentle cooking helps achieve that signature silky, smooth texture and significantly reduces the risk of cracks. Make sure your springform pan is tightly wrapped in heavy-duty aluminum foil (or two layers of regular foil) to prevent any water from seeping in.
- Gradual Cooling is Essential: Don’t remove your cheesecake from the oven immediately after baking. The sudden change in temperature can shock the cheesecake, causing it to crack. Follow the instructions to let it cool gradually in the turned-off oven with the door ajar. This allows the cheesecake to slowly adjust to room temperature and settle without stress.
- Chill Thoroughly: Patience is a virtue when it comes to cheesecake. A minimum of 4 hours of chilling is necessary for the cheesecake to fully set, firm up, and allow the flavors to meld. For the best results and the cleanest slices, chill it overnight. This ensures optimal texture and flavor development.
- Loosen the Edges: After the cheesecake has cooled at room temperature (but before full chilling), gently run a thin, sharp knife around the inner edge of the springform pan. This simple step helps prevent the cheesecake from sticking to the sides and cracking as it naturally contracts during the cooling process.
- For a Vibrant Glaze: If your strawberry jelly isn’t as vibrantly red as you’d like, the optional red food coloring can enhance its visual appeal. Start with a few drops and add more until you reach your desired shade. Always ensure the glaze is completely cool before pouring it over the chilled cheesecake to prevent it from melting or running.
Creative Variations & Customizations
While the classic Strawberry Oreo Cheesecake is absolutely divine, there’s always room to experiment and tailor it to your personal taste. Here are a few ideas to get your creativity flowing and make this dessert uniquely yours:
- Different Cookie Crusts: The Oreo crust is iconic, but feel free to get creative. Instead of classic Oreos, try a vanilla wafer crust, a digestive biscuit crust, or even a different flavored Oreo (like golden Oreos for a vanilla twist or mint Oreos for a refreshing seasonal option).
- Alternative Fruit Toppings: If strawberries aren’t in season or you prefer other fruits, this cheesecake base is incredibly versatile. Consider a homemade blueberry compote, a vibrant raspberry swirl, delicately sliced peaches, or a medley of fresh mixed berries. A tangy lemon curd topping could also provide a delightful zesty contrast to the rich filling.
- Chocolate Lover’s Dream: For an extra dose of chocolate indulgence, consider adding mini chocolate chips or finely chopped chocolate bars directly into the cheesecake filling. You could also drizzle melted dark or white chocolate over the finished cheesecake along with the strawberry glaze for a truly decadent presentation.
- Add a Citrus Zest: A tablespoon of finely grated lemon or orange zest mixed into the cream cheese filling can brighten the flavors considerably and add a subtle fragrant note that beautifully complements both the rich cheesecake and the fresh strawberries.
- Spices for Warmth: A pinch of ground cinnamon, nutmeg, or even a hint of cardamom added to the Oreo crust can impart a warm, cozy undertone that pairs wonderfully with the chocolate and cream cheese.
- Cream Cheese Swirls: For a beautiful marbled effect, set aside a small portion of the plain cream cheese mixture (about 1/2 cup). Swirl in a tablespoon or two of strawberry jam, raspberry puree, or melted chocolate into this reserved portion. Then, dollop it artistically over the main cheesecake filling before baking and gently swirl with a knife or skewer for a stunning pattern.
Serving and Storage Suggestions
Once your magnificent Strawberry Oreo Cheesecake is ready, here’s how to best serve and store it to maintain its deliciousness and extend its shelf life:
Serving
- Classic Presentation: Serve chilled slices on their own, allowing the exquisite combination of flavors and textures to be the star. The vibrant colors speak for themselves.
- Enhanced Indulgence: For an even more luxurious experience, add a dollop of fresh whipped cream, a sprinkle of finely grated chocolate shavings, or a few extra fresh strawberry slices alongside each serving.
- Beverage Pairings: This rich and creamy dessert pairs wonderfully with a cup of strong, freshly brewed coffee, a delicate black or herbal tea, or a complementary dessert wine such as a late-harvest Riesling, a sweet Moscato, or a sparkling rosé.
Storage
- Refrigeration: Leftover cheesecake should be stored in an airtight container in the refrigerator. It will keep well for up to 3-4 days. In fact, many find that the flavors deepen and improve on the second day, making it an excellent make-ahead dessert.
- Freezing: Cheesecake freezes remarkably well, making it perfect for preparing in advance or saving for later. For best results, freeze individual slices or the whole cheesecake (without the fresh strawberry garnish or glaze initially) on a baking sheet until firm. Once solid, wrap it tightly first in plastic wrap, then in a layer of aluminum foil, and store in a freezer-safe container or bag. It can be kept frozen for up to 1-2 months. Thaw frozen cheesecake in the refrigerator overnight before serving. Add fresh glaze and strawberries after thawing for the best appearance and texture.
Frequently Asked Questions (FAQ) About Cheesecake
Here are some common questions and helpful answers to ensure your cheesecake baking experience is successful and enjoyable:
- Why did my cheesecake crack? Cracks are usually caused by a few common factors: overmixing the batter (which incorporates too much air), baking at too high a temperature, or cooling the cheesecake too rapidly. Following the gradual cooling steps and utilizing a water bath, as detailed in this recipe, will significantly reduce the risk of cracking.
- Can I use frozen strawberries for the glaze? Yes, you can absolutely use frozen strawberries for the glaze. Just be sure to thaw them first and drain any excess liquid before proceeding with the glaze recipe. You might need to adjust the amount of cornstarch slightly if the mixture seems thinner due to the moisture from frozen fruit.
- How do I know when the cheesecake is done baking? The edges of the cheesecake should appear set and slightly puffed, but the very center (a circle about 2 inches in diameter) should still have a slight, gentle jiggle when you carefully nudge the pan. Don’t worry if it seems a bit soft; the cheesecake will continue to set as it cools and chills in the refrigerator.
- Do I really need a springform pan for this recipe? A springform pan is highly recommended for cheesecakes because its removable sides allow for easy and clean extraction of the delicate dessert without having to invert it. If you don’t have a springform pan, you could use a regular 8-inch round cake pan lined with parchment paper that extends over the sides, creating “handles” to lift the cheesecake out once it’s completely cooled and chilled, but this method is typically trickier.
- Can this Strawberry Oreo Cheesecake be made ahead of time? Absolutely! Cheesecake is an excellent make-ahead dessert. You can bake the cheesecake base up to 2-3 days in advance and keep it chilled in the refrigerator. For the freshest look, prepare the strawberry glaze and decorate with fresh strawberries just before you plan to serve it. This flexibility makes it perfect for entertaining.
Love this Strawberry Oreo Cheesecake recipe?
We’d be thrilled to hear about your experience! Leave a comment below, share your photos, or ask any questions you might have. Your feedback helps us grow and inspires other home bakers!
Share Your Review Now!