
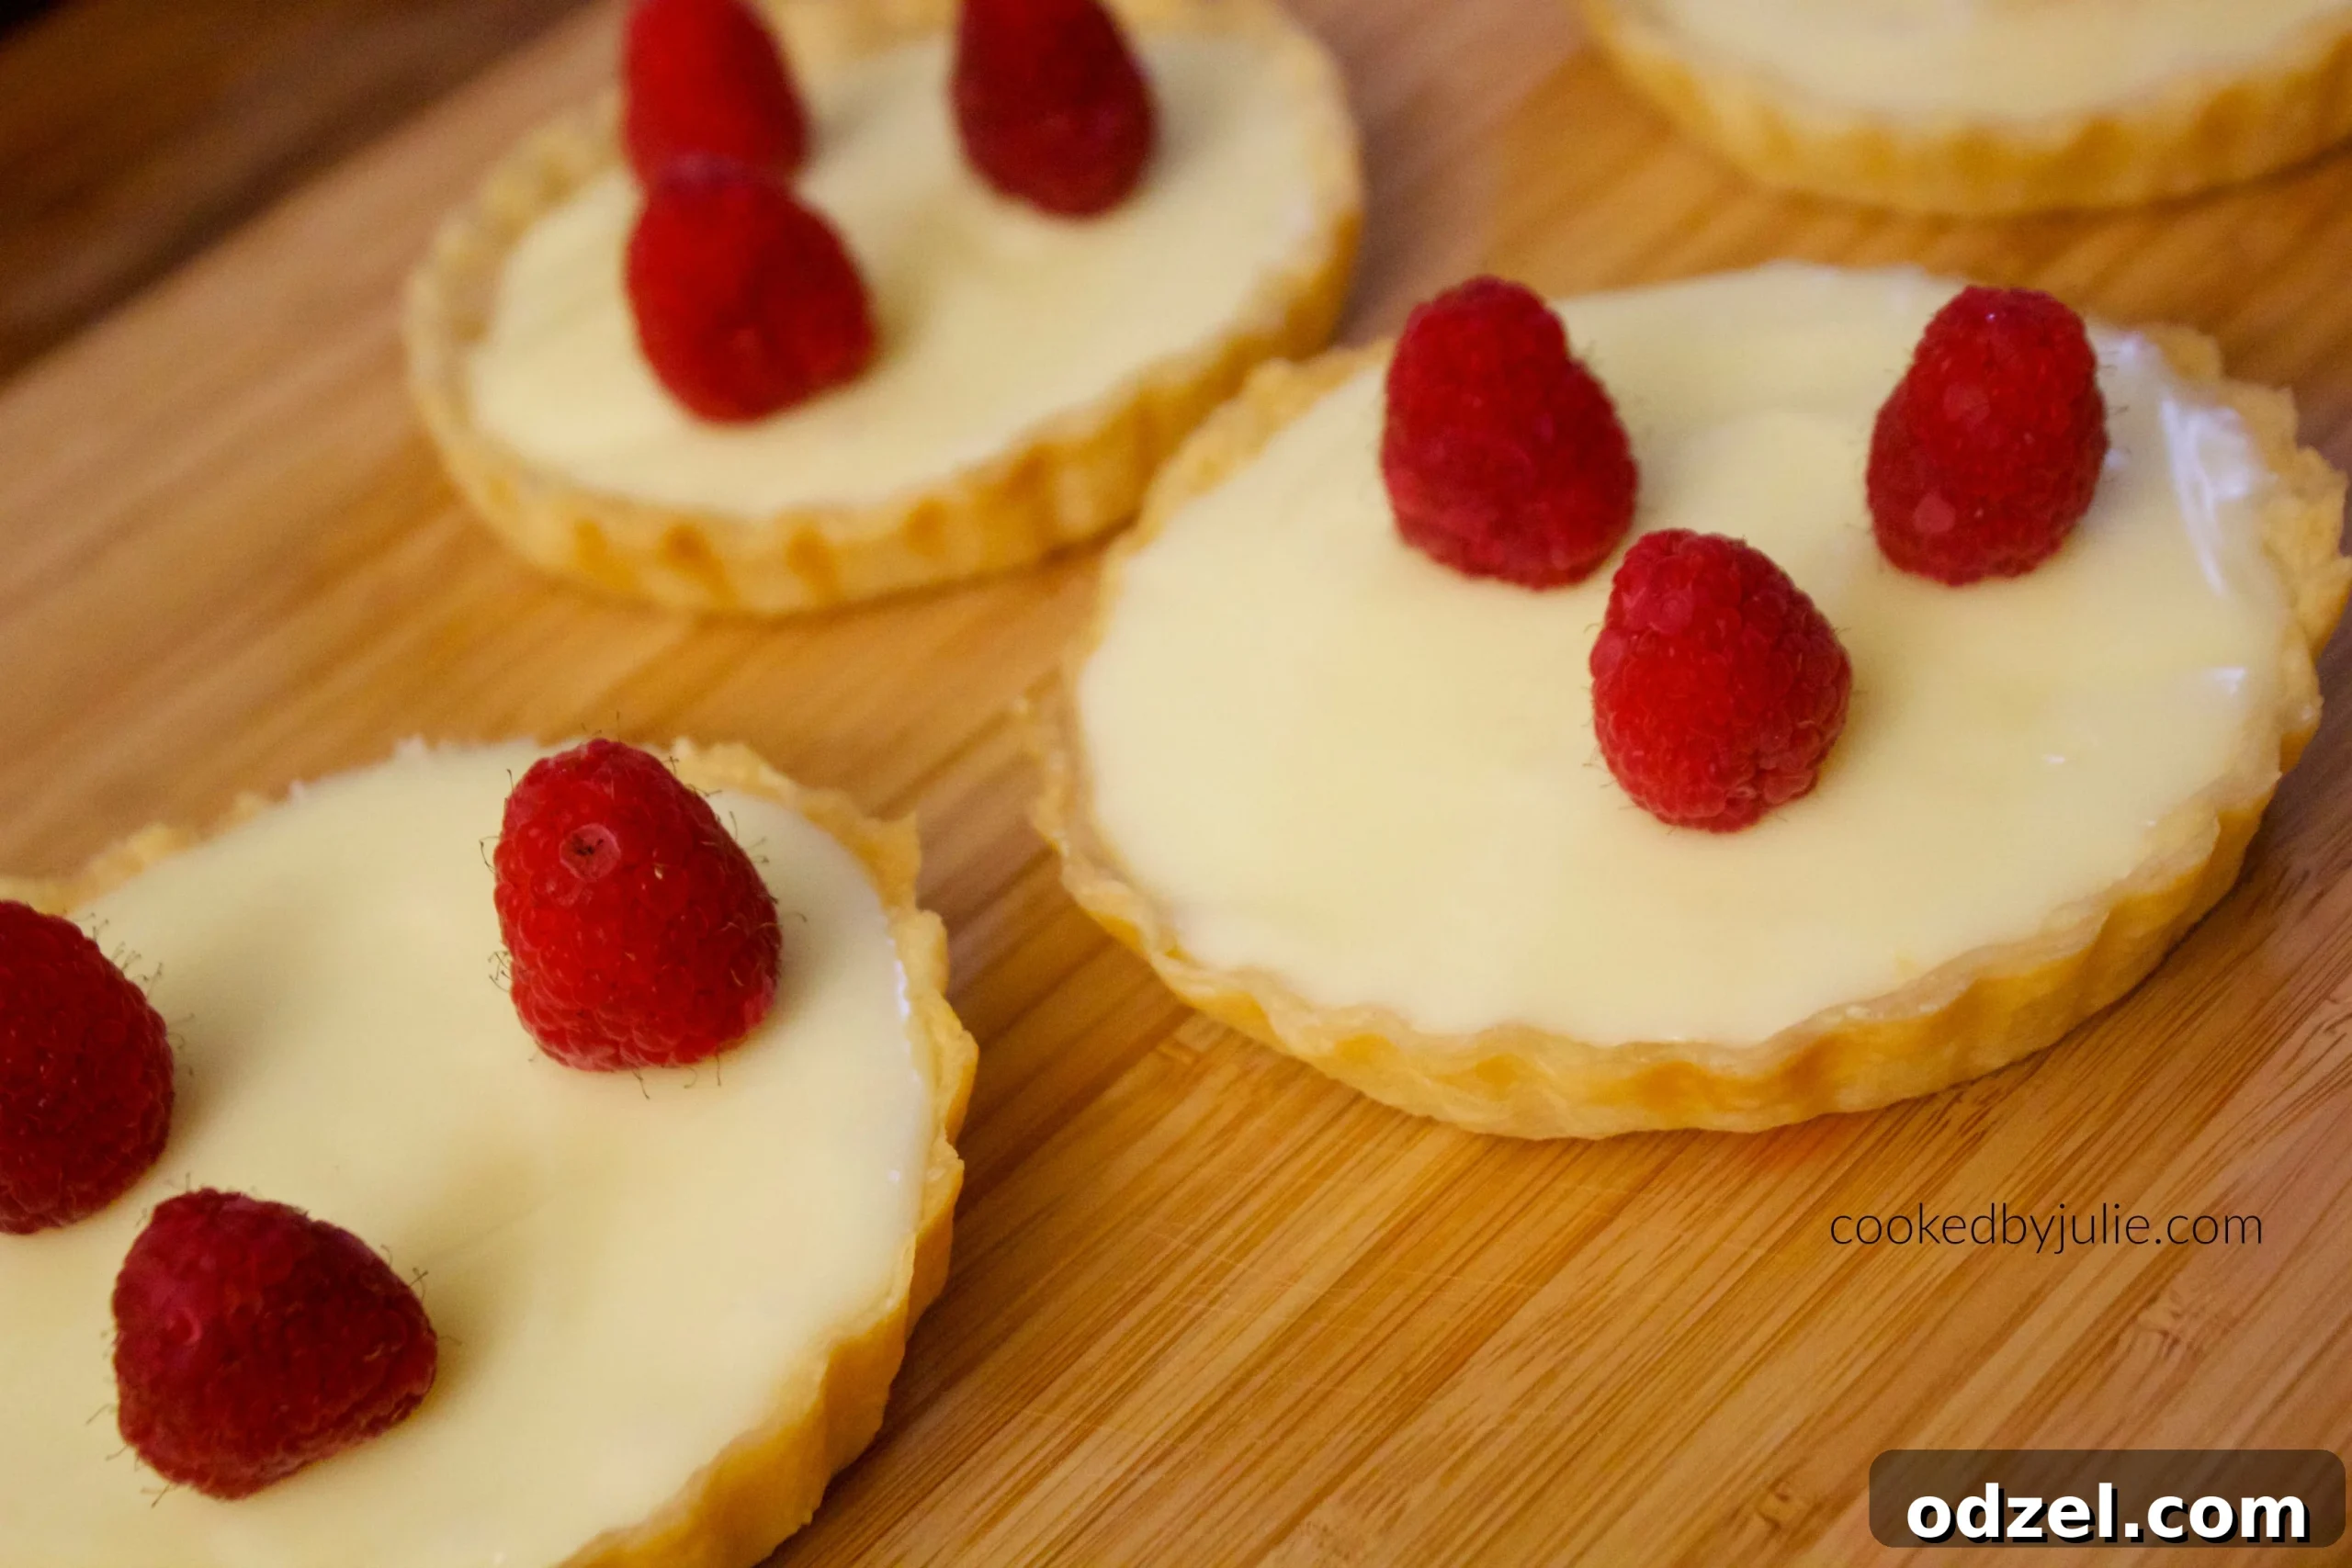
Decadent White Chocolate Tarts: Your New Go-To Elegant Dessert
While white chocolate might not always be the first choice for everyone, these white chocolate tarts are an absolute game-changer! Imagine the luscious creaminess of a perfectly baked cheesecake, but with a rich, melt-in-your-mouth white chocolate twist. That’s precisely the delightful experience these tarts offer. The best part? They are incredibly simple to prepare, yet their sophisticated appearance will convince everyone you spent hours in the kitchen perfecting them.
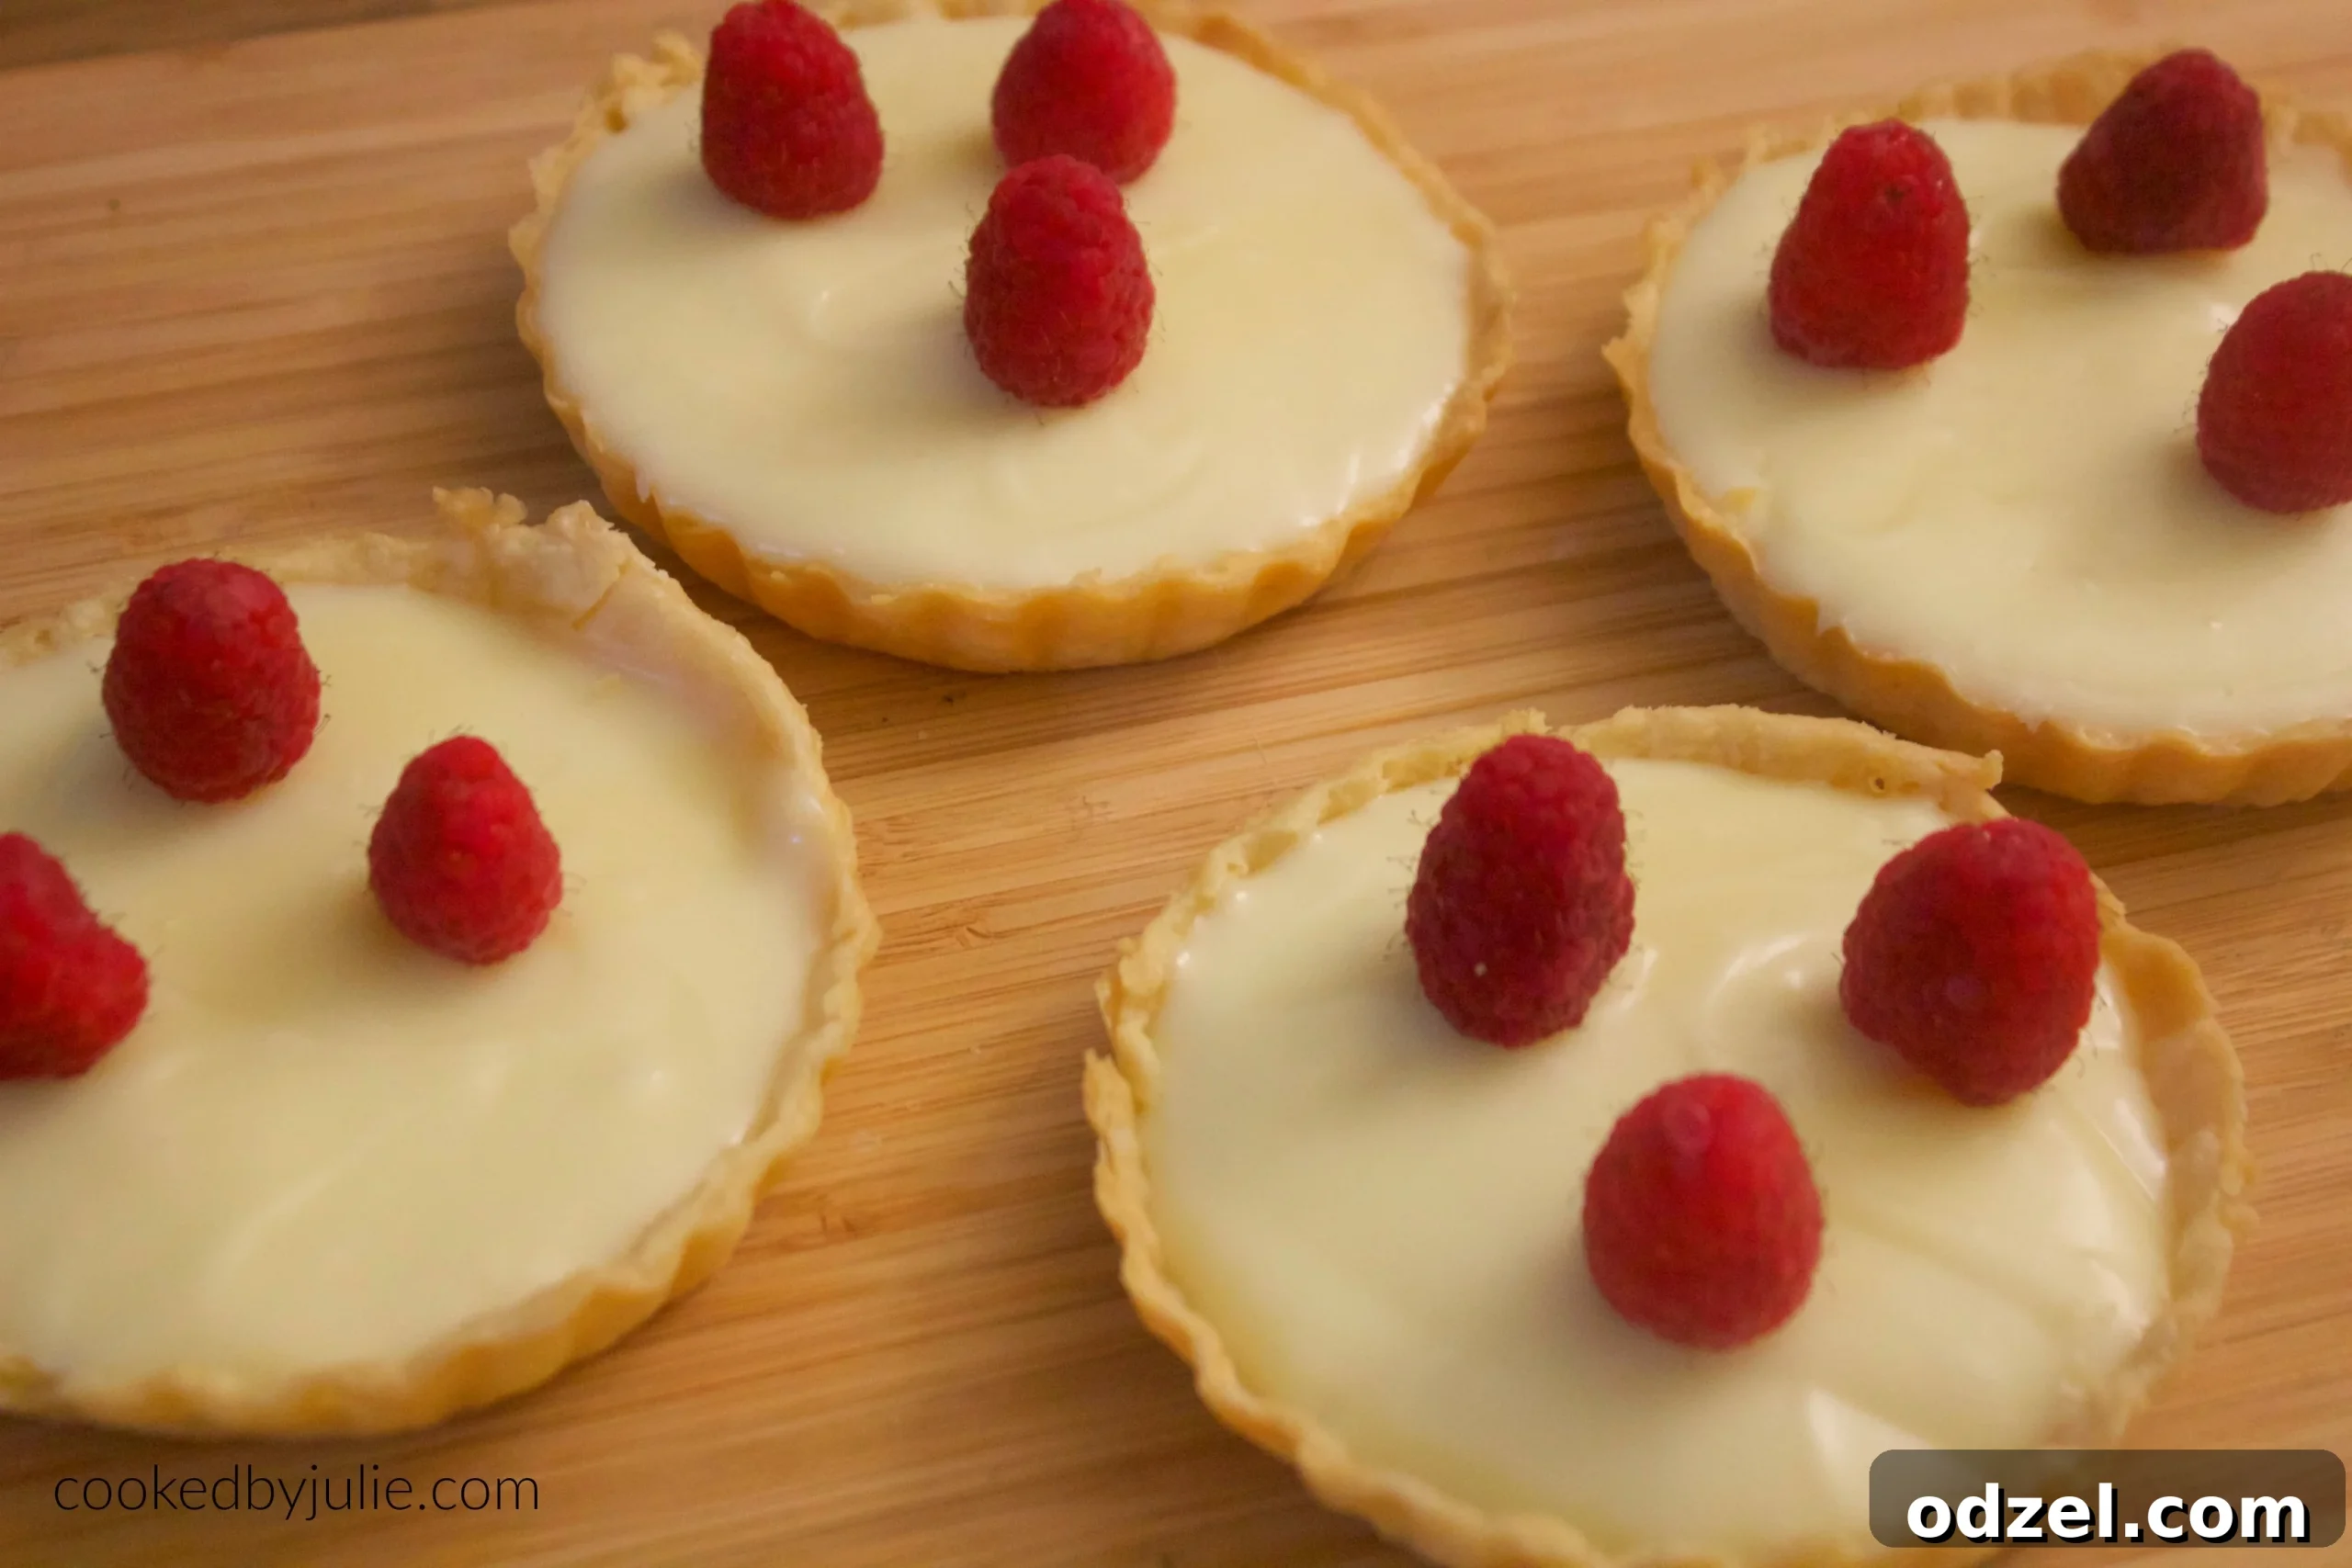
The beauty of these tarts truly shines when they are adorned with a generous medley of fresh fruits. While the accompanying photos showcase a minimalist approach with simple berry toppings, I highly encourage you to experiment. The filling is sumptuously rich and sweet, making the vibrant tang of fresh berries – like raspberries, blueberries, or sliced strawberries – an essential counterpart. The bright acidity of the fruit cuts through the sweetness, creating a harmonious balance that will leave your taste buds wanting more. These tarts are not just a dessert; they’re an experience, perfect for impressing guests or simply indulging yourself in a moment of pure bliss.
Why You’ll Fall in Love with These White Chocolate Tarts
There are countless reasons why these White Chocolate Tarts are destined to become a staple in your dessert repertoire. Firstly, their deceptive simplicity belies an extraordinary flavor profile. The combination of sweet white chocolate and tangy cream cheese creates a filling that is both familiar and exciting, reminiscent of a gourmet cheesecake but in a more delicate, individual portion.
Secondly, the visual appeal is undeniable. Individual tarts, especially when beautifully garnished, always make a stunning presentation. They are ideal for dinner parties, brunches, or any special occasion where you want to serve something elegant without the stress of complicated baking. Each tart is a mini masterpiece, offering a personalized dessert experience for your guests.
Lastly, the recipe itself is forgiving and accessible to bakers of all skill levels. Whether you opt for a store-bought crust for ultimate convenience or enjoy the process of making your own, the filling comes together with minimal fuss. The chilling time is the most significant part of the preparation, allowing you to assemble these ahead of time and simply pull them out when ready to serve. This makes them a fantastic make-ahead option, freeing you up to enjoy your event.
The Magic of White Chocolate in Dessert
White chocolate, often misunderstood, is a versatile ingredient that brings a unique sweetness and creamy texture to desserts. Unlike its darker counterparts, white chocolate contains no cocoa solids, instead deriving its flavor from cocoa butter, sugar, and milk. This composition gives it a distinctively smooth, rich, and mellow profile that pairs wonderfully with tart fruits and acidic elements like cream cheese. In these tarts, the white chocolate forms the luxurious base of the filling, providing a comforting sweetness and velvety mouthfeel that is truly irresistible. Its subtle vanilla notes are enhanced by the other ingredients, creating a complex yet approachable flavor that appeals to a wide range of palates.
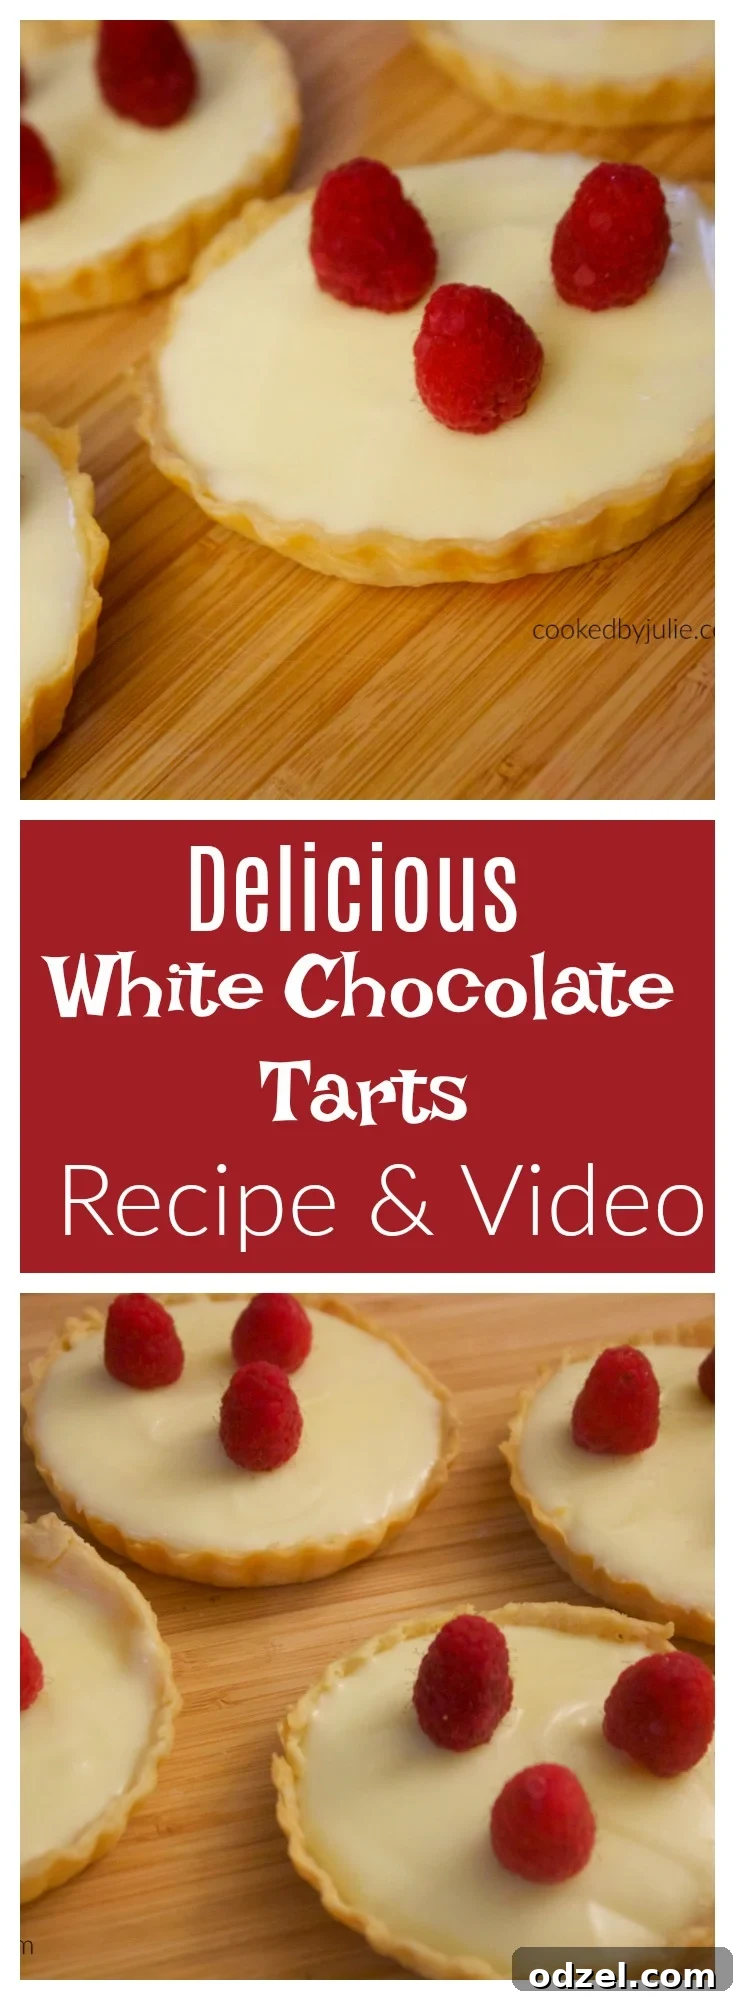
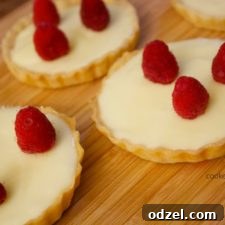
White Chocolate Tarts
Rate Recipe
Print Recipe
Ingredients
- 12- ounce package of good quality white chocolate (chopped or chips)
- 1/4 cup heavy cream
- 8 oz softened cream cheese (full-fat for best results)
- Fresh raspberries, for topping (or mixed berries)
- Store-bought or homemade pie crust (enough for 8 mini tarts or 1 large tart)
Instructions
-
Prepare the Crust: Preheat your oven to 350 degrees F (175 degrees C). If using store-bought pie crust, roll out the dough and carefully fit it into each individual tart mold. For a single large tart, fit it into a 9-inch tart pan. Trim any excess dough from the edges, leaving a small overhang, then crimp the edges decoratively. Use a fork to gently poke holes across the bottom and sides of the dough. This step, known as “docking,” prevents the crust from puffing up excessively during baking.
-
Blind Bake the Crust: Line each tart crust with aluminum foil or parchment paper, ensuring it covers the bottom and extends up the sides. Fill the lined crusts with pie weights, dried beans, or uncooked rice. This technique, called blind baking, helps the crust maintain its shape and prevents it from shrinking.
-
Bake the Crust: Place the weighted tart crusts in the preheated oven and bake for 15 minutes. After 15 minutes, carefully remove the foil and pie weights. Return the crusts to the oven and bake for an additional 5-7 minutes, or until the crusts are lightly golden brown and firm. This ensures a crisp, fully cooked base for your filling. Allow the baked crusts to cool completely on a wire rack while you prepare the filling.
-
Melt the White Chocolate: To make the luscious filling, begin by melting the white chocolate. The best method for this is a double boiler: place the white chocolate in a heatproof bowl set over a saucepan of simmering water, ensuring the bottom of the bowl does not touch the water. Stir continuously until the white chocolate is fully melted and smooth. Alternatively, you can microwave it in 30-second intervals, stirring after each, until melted. Be careful not to overheat white chocolate, as it can seize easily.
-
Combine with Heavy Cream: Once the white chocolate is perfectly melted, remove it from the heat. Gradually add the 1/4 cup of heavy cream to the melted white chocolate, stirring gently until the mixture is fully combined, smooth, and completely lump-free. Set this rich white chocolate ganache aside to cool slightly.
-
Create the Cream Cheese Filling: In the bowl of a stand mixer fitted with the paddle attachment (or using a hand mixer), beat the softened cream cheese on medium speed until it is light, fluffy, and smooth, with no lumps. Gradually pour the slightly cooled melted white chocolate and heavy cream mixture into the cream cheese, mixing on low speed until everything is fully incorporated and the filling is uniform and silky smooth. Scrape down the sides of the bowl as needed to ensure all ingredients are well combined.
-
Fill and Chill: Carefully spoon or pour the creamy white chocolate filling into each cooled, baked pie crust. Distribute the filling evenly, smoothing the tops with a spatula. Once filled, transfer the tarts to the refrigerator and chill for a minimum of 4 hours, or preferably overnight. This crucial chilling time allows the tarts to set properly, resulting in a firm yet creamy texture that is essential for these delectable treats.
-
Garnish and Serve: Just before serving, remove the tarts from the refrigerator. Generously top each white chocolate tart with fresh raspberries or your choice of mixed berries. The vibrant color and tartness of the fruit beautifully complement the rich, sweet filling. Slice and enjoy immediately!
Video Tutorial
Nutrition Facts (Per Serving)
Carbohydrates: 26g |
Protein: 4g |
Fat: 26g |
Saturated Fat: 15g |
Cholesterol: 50mg |
Sodium: 132mg |
Potassium: 166mg |
Sugar: 26g |
Vitamin A: 505IU |
Vitamin C: 0.2mg |
Calcium: 117mg |
Iron: 0.2mg
Nutrition information is automatically calculated and should be used as an approximation.
Additional Recipe Details
Pro Tips for Perfect White Chocolate Tarts
- Quality White Chocolate: The flavor of your tarts heavily depends on the quality of your white chocolate. Opt for a good brand of baking white chocolate bars or chips, rather than confectionery melts, for a superior taste and smoother melt.
- Room Temperature Cream Cheese: Ensure your cream cheese is thoroughly softened to room temperature. This is crucial for achieving a lump-free, silky-smooth filling. Cold cream cheese will result in a grainy texture.
- Don’t Overmix the Filling: Once the cream cheese and chocolate mixture are combined, mix only until smooth. Overmixing can incorporate too much air, which can affect the texture of your set tarts.
- Chill Adequately: The 4-hour minimum chilling time is not optional. It allows the white chocolate and cream cheese to firm up properly, creating that perfect sliceable texture. If you’re short on time, try to chill them for at least 2 hours in the freezer, then move to the fridge.
- Blind Baking is Key: Don’t skip blind baking the crust. It prevents a soggy bottom and ensures a beautifully crisp base that can stand up to the creamy filling.
Creative Variations to Try
While delicious on their own, these White Chocolate Tarts offer a fantastic canvas for creativity:
- Different Fruits: Instead of just raspberries, try a mix of blueberries, sliced strawberries, kiwi, or even mango for a tropical twist. A light dusting of powdered sugar over the fruit can add an extra touch of elegance.
- Citrus Zest: Add a teaspoon of lemon or orange zest to the cream cheese mixture for a subtle, bright citrus note that complements the white chocolate beautifully.
- Nutty Crust: Incorporate finely ground nuts like almonds or pecans into your homemade pie crust for added flavor and texture. Or, use a crushed shortbread cookie crust for an extra buttery base.
- Chocolate Drizzle: For an even more decadent treat, melt a little dark or milk chocolate and drizzle it over the tarts before serving, creating an appealing visual contrast.
- Flavor Extracts: A few drops of almond extract or vanilla bean paste can elevate the filling’s flavor profile.
Storage Tips
These White Chocolate Tarts are best enjoyed fresh, especially with vibrant fruit toppings. However, they can be stored for future enjoyment:
- Refrigeration: Store leftover tarts, preferably without fruit toppings (to prevent sogginess), in an airtight container in the refrigerator for up to 3-4 days. Add fresh fruit just before serving.
- Freezing (Un-topped): The un-topped white chocolate filling in the crusts can be frozen. Wrap individual tarts tightly in plastic wrap, then aluminum foil, and store in a freezer-safe bag or container for up to 1 month. Thaw in the refrigerator overnight before garnishing and serving.
Frequently Asked Questions (FAQ)
Q: Can I use a different type of crust?
A: Absolutely! A graham cracker crust or an Oreo cookie crust would also be delicious and provide a no-bake crust option. Just press the crumb mixture into your tart pans and chill before adding the filling.
Q: Can I make one large tart instead of individual ones?
A: Yes, you can definitely make one large 9-inch tart. The baking and chilling times will remain similar, but ensure the larger crust is fully blind-baked.
Q: How can I prevent my white chocolate from seizing when melting?
A: White chocolate is very sensitive to heat and moisture. Use a clean, dry bowl and spatula. Melt it slowly over a double boiler or in short bursts in the microwave, stirring frequently. Avoid introducing any water into the chocolate.
Q: What other toppings would work well?
A: Beyond berries, consider shaved white chocolate, toasted coconut flakes, a dollop of whipped cream, a dusting of cocoa powder, or a simple mint leaf for garnish.
Love this recipe? Share your thoughts and leave a comment below!