
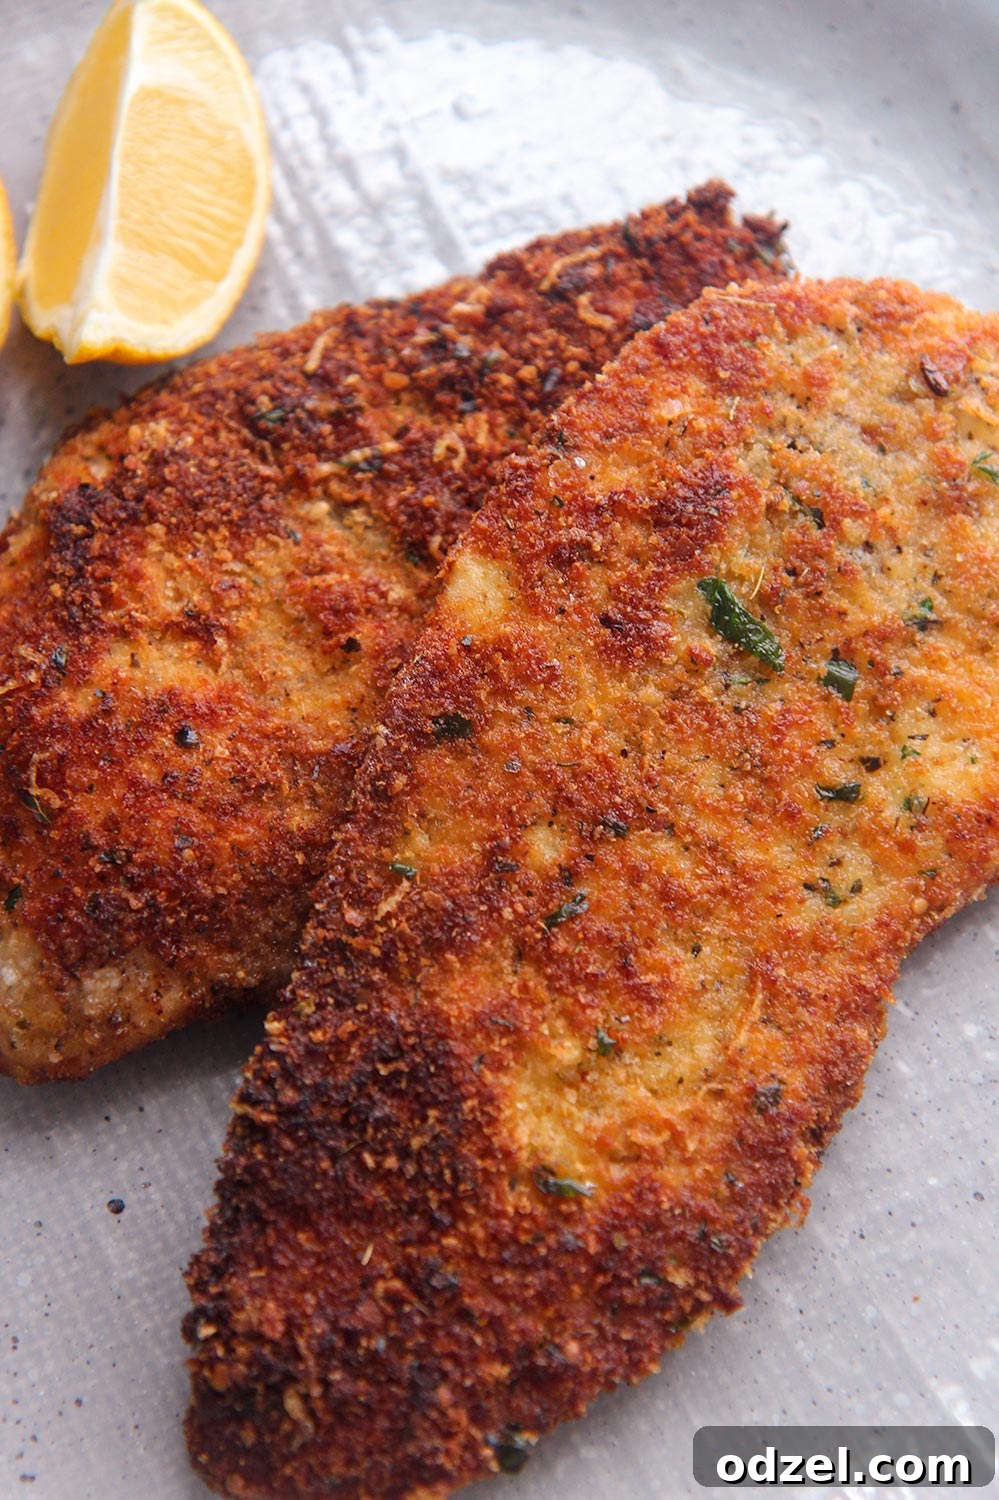
Welcome to the ultimate guide for crafting the most delectable and irresistibly Crispy Chicken Cutlets! Imagine succulent, thinly sliced chicken breast, perfectly coated in a golden, crunchy crust infused with savory Parmesan cheese and aromatic Italian herbs. This isn’t just another chicken recipe; it’s a culinary staple that promises a delightful texture, rich flavor, and incredible versatility, making it a go-to for quick weeknight dinners or impressive weekend meals. Whether you serve them simply, alongside your favorite pasta, or as a crunchy addition to a vibrant salad, these pan-fried chicken cutlets are guaranteed to become a family favorite.
Achieving restaurant-quality crispiness at home is easier than you think, and this recipe breaks down every step to ensure your chicken cutlets are perfectly cooked, tender on the inside, and wonderfully crunchy on the outside. Get ready to transform ordinary chicken breasts into an extraordinary dish that’s both comforting and exciting.
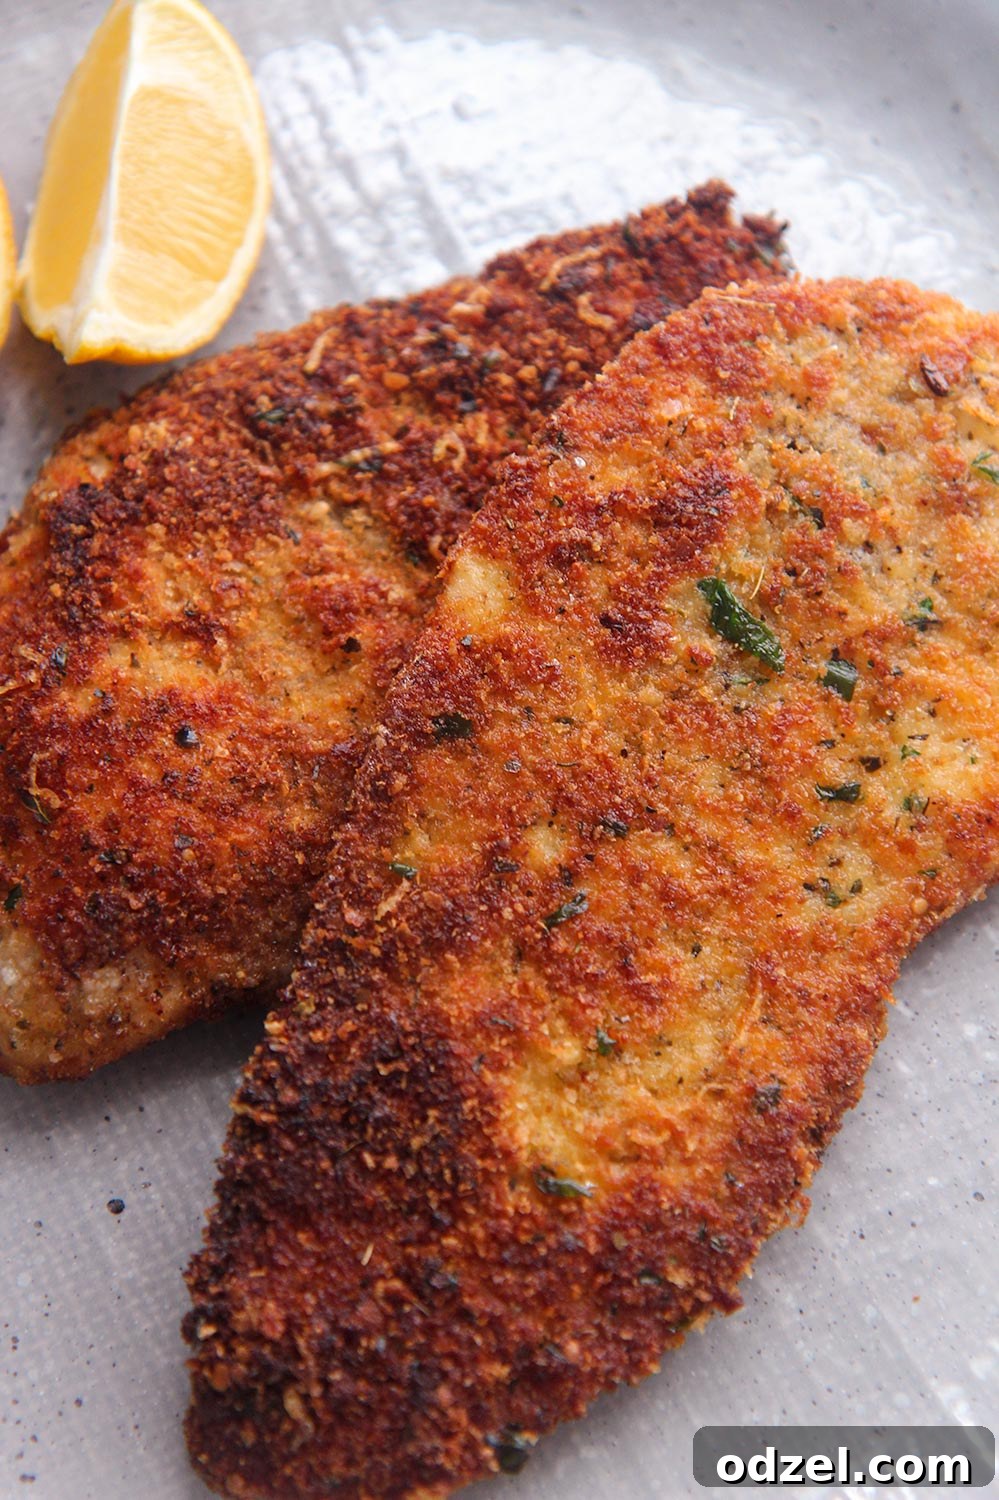
Why These Crispy Chicken Cutlets Will Become Your Favorite Recipe
There are countless reasons to fall in love with this crispy chicken cutlet recipe. It’s more than just a meal; it’s a culinary solution for busy households and a delightful experience for your taste buds.
- Effortless & Accessible Ingredients: Forget specialty stores! This recipe relies on common, readily available ingredients you can easily find at any local grocery store. No exotic spices or hard-to-find components, just simple staples that come together to create something truly special.
- The Ultimate Weeknight Hero: In search of a quick and satisfying dinner? These chicken cutlets are your answer. They cook up in a flash and serve as an incredible base for nearly any side dish you can imagine – from mashed potatoes and rice to roasted vegetables or a crisp green salad. Their quick cooking time and adaptable flavor make them perfect for busy evenings.
- Fantastic for Meal Prep & Leftovers: Not only are they delicious fresh, but any extra cutlets are also a treasure! Easily transform them into a classic Chicken Parmesan by adding marinara and mozzarella, or slice them for quick sandwiches and wraps for lunch the next day. They reheat beautifully, maintaining much of their delightful crunch.
- Speedy & Delicious: From prep to plate, these crispy chicken cutlets are ready to enjoy in 20 minutes or less. This makes them ideal for those hectic evenings when you crave a homemade, flavorful meal without spending hours in the kitchen.
- Family-Friendly Appeal: The mild yet flavorful breading and tender chicken make this a hit with kids and adults alike. It’s a dish that everyone at the table can agree on, even picky eaters.
Understanding the Chicken Cutlet: What It Is and How to Prepare It
At its core, a chicken cutlet is simply a chicken breast that has been sliced thinly, often to about a quarter-inch thickness. This preparation method is key to its quick cooking time and ensures that each bite is tender and moist, allowing the exterior to achieve maximum crispiness.
While many grocery stores offer pre-sliced chicken cutlets, it’s incredibly easy (and often more economical) to make them yourself from whole boneless, skinless chicken breasts. Here’s how:
- Butterfly the Breast: Place a boneless, skinless chicken breast on a cutting board. Hold a sharp knife parallel to the board and carefully slice the breast horizontally through the middle, almost all the way, but leave about half an inch connected on one side. Open it up like a book.
- Pound for Uniformity: Cover the butterflied chicken breast with plastic wrap or parchment paper. Using a meat tenderizer (the flat side), a rolling pin, or even a heavy-bottomed pan, gently pound the chicken until it reaches your desired uniform thickness, usually about 1/4 to 1/2 inch. This ensures even cooking and maximizes the surface area for that delicious crispy coating, preventing any parts from drying out.
The goal is a consistent thickness, which allows the chicken to cook quickly and evenly without drying out, resulting in a perfectly tender interior and a crisp golden crust.
Essential Ingredients for Crispy Chicken Cutlets
Creating truly outstanding crispy chicken cutlets starts with a selection of fresh, quality ingredients. Each component plays a vital role in building the layers of flavor and achieving that desirable crunch:
- Thinly Sliced Chicken Breasts: As discussed, uniform thickness is crucial for quick and even cooking. If your breasts are thicker than 1/2 inch, make sure to pound them down for consistent results.
- Whole Milk: Used in combination with eggs for the wet dredge. Whole milk adds a touch of richness and helps the flour and breadcrumbs adhere beautifully to the chicken, creating a robust crust. It also contributes to a more tender finished product.
- Italian Seasoning: A fragrant blend of dried herbs typically including oregano, basil, thyme, rosemary, and marjoram. This seasoning imparts a classic, aromatic Italian flavor profile to the breading, infusing every bite with savory notes. Feel free to adjust the amount or add individual herbs if you have a preference.
- Granulated Garlic: Provides a savory depth that perfectly complements the chicken and Italian seasoning. Granulated garlic is preferred over fresh minced garlic in this recipe, as fresh garlic can burn quickly during pan-frying, leading to a bitter taste. Garlic powder can also be used as a substitute.
- Eggs: The essential binder in our breading process. Whisked eggs create a sticky surface that the dry ingredients cling to, forming the crucial foundation of your crispy crust.
- Plain Breadcrumbs: The hero of crispiness! While any plain breadcrumbs work, Panko breadcrumbs are highly recommended for an even lighter and crunchier texture. Their unique flaky, airy structure absorbs less oil and provides superior crispiness. You can also make your own from stale bread for an extra fresh flavor.
- All-Purpose Flour: The first layer in our dredging process. Flour helps to dry the surface of the chicken, creating an ideal texture for the egg wash to stick better, which in turn helps the breadcrumbs adhere firmly. This triple-layer coating contributes to a substantial and satisfying crunchy coating.
- Grated Parmesan Cheese: Adds a wonderfully salty, umami-rich flavor and contributes significantly to the beautiful golden-brown color of the crust as it fries. Freshly grated Parmesan is always superior to pre-shredded varieties for both flavor and how it melts and crisps. Pecorino Romano is a delicious alternative for a sharper, saltier kick.
- Fresh Parsley: Finely chopped, fresh parsley is a fantastic garnish, adding a vibrant pop of color and a fresh, herbaceous counterpoint to the rich flavors of the chicken. It can also be incorporated into the breadcrumb mixture for a subtle freshness throughout.
- Salt & Black Pepper: These fundamental seasonings are critical for enhancing all the other flavors in the dish. Don’t be shy – season the chicken generously at each stage (the chicken itself and the breading mixture) for the best, well-balanced taste.
- Oil for Frying: Choose an oil with a high smoke point for pan-frying, such as vegetable oil, canola oil, grapeseed oil, or peanut oil. This ensures the oil can get hot enough to crisp the chicken without burning or smoking, yielding that perfect golden finish without imparting unwanted flavors.
Step-by-Step Guide: How To Make Perfectly Crispy Chicken Cutlets
Making crispy chicken cutlets is a straightforward process, but following these steps carefully will ensure a perfect result every time. The key is setting up an efficient dredging station and managing your frying temperature.
- Prepare Your Dredging Station: Set up three separate shallow dishes or pie plates in an assembly line for easy coating.
In the first dish, place the all-purpose flour.
In the second dish, whisk together the 2 large eggs and 2 tablespoons of whole milk until thoroughly combined and no streaks of yolk remain.
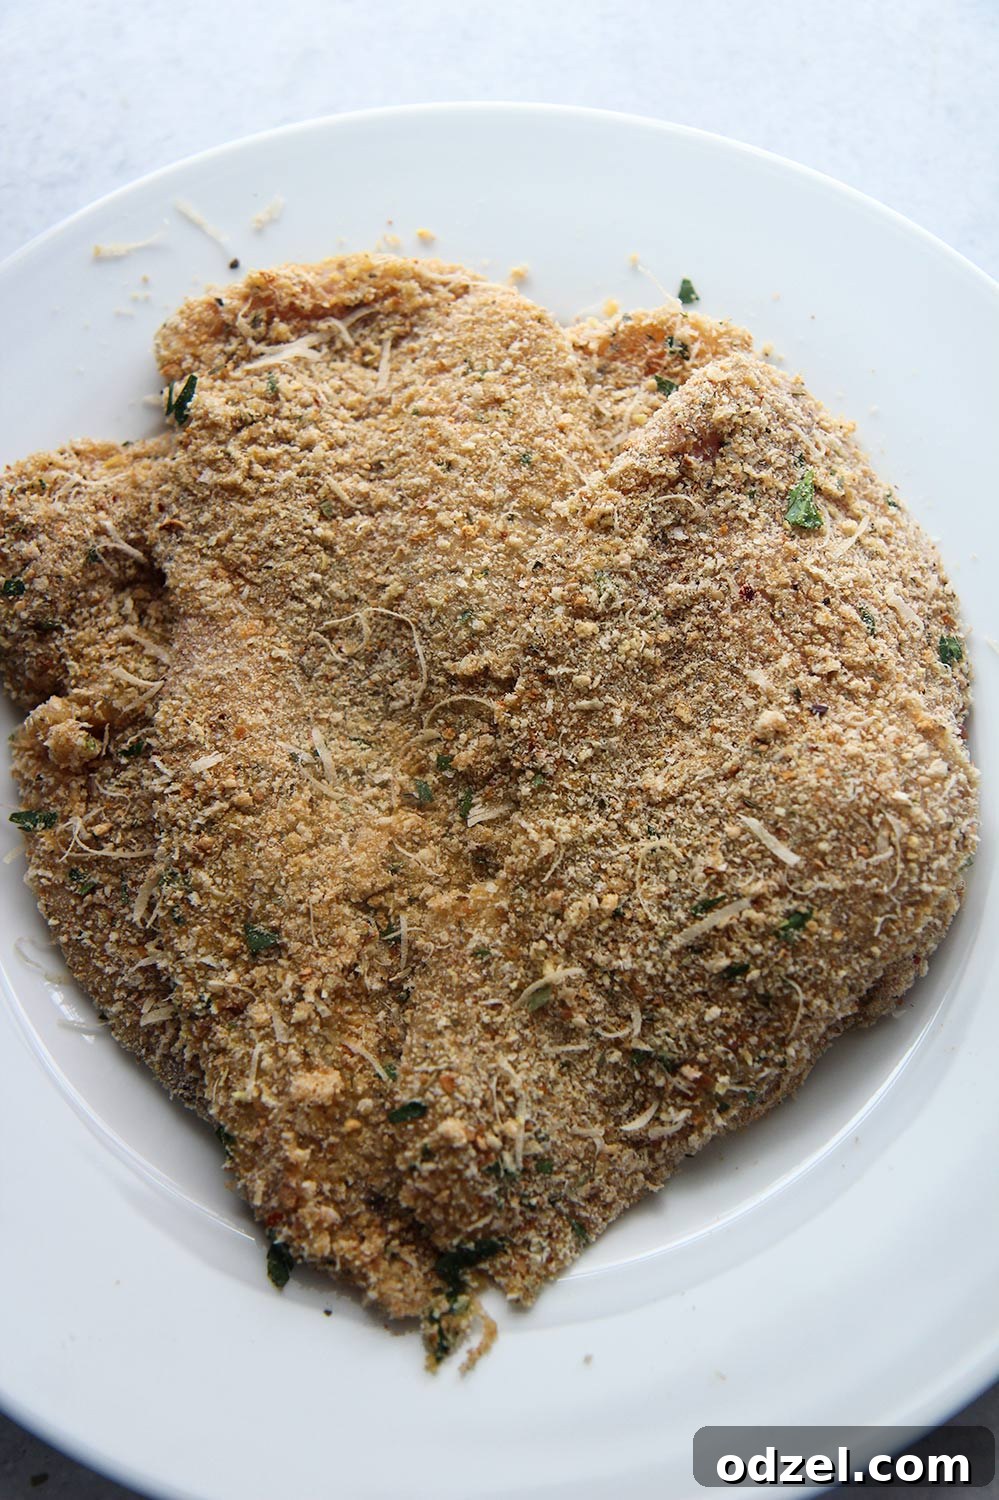
In the third and largest dish, combine the 1 cup of plain breadcrumbs, 1 tablespoon of grated parmesan cheese, 1 teaspoon of Italian seasoning, 1 teaspoon of granulated garlic, and a generous pinch of salt and pepper. Mix these dry ingredients thoroughly to ensure an even distribution of flavors in your crust. - Season the Chicken: Pat your thinly sliced chicken breasts dry with paper towels. This is a critical step to help the flour adhere properly. Season both sides of each chicken cutlet generously with salt and freshly ground black pepper. Even though the breading has seasoning, direct seasoning on the chicken ensures flavor penetrates deeply into the meat itself.
- Dredge the Chicken: Take one seasoned chicken cutlet and coat it thoroughly in the flour, shaking off any excess. Next, dip it into the egg and milk mixture, ensuring both sides are fully coated. Allow any excess egg wash to drip off for a few seconds. Finally, transfer the chicken to the breadcrumb mixture. Press the breadcrumbs firmly onto both sides of the chicken, ensuring an even and complete coating. This firm press is crucial for a secure, thick, and ultimately crispy crust. Set the coated cutlet aside on a clean plate or baking sheet and repeat with the remaining chicken.
- Pan-Fry to Golden Perfection: Heat about 1/2 inch of your chosen frying oil (vegetable, canola, or grapeseed oil) in a large skillet or cast-iron pan over medium-high heat. The oil should reach approximately 350-360°F (175-180°C). If you don’t have a thermometer, a small pinch of breadcrumbs should sizzle immediately and vigorously upon contact. Carefully place 1-2 chicken cutlets into the hot oil, ensuring not to overcrowd the pan. Cook for 2-3 minutes per side, or until deeply golden brown and cooked through.
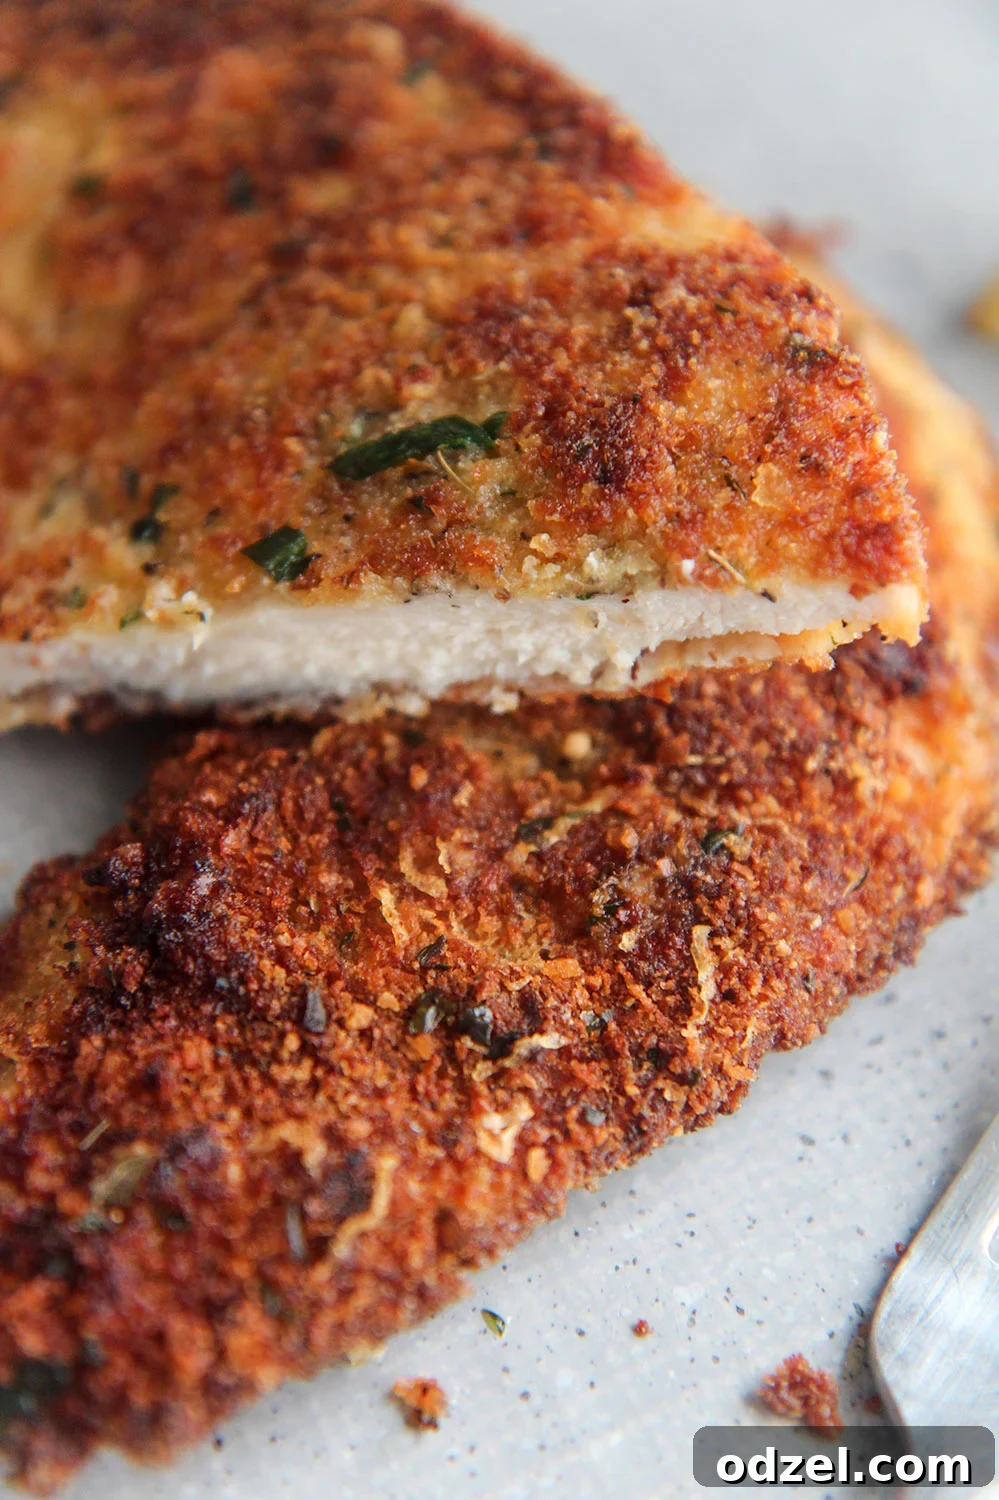
- Check for Doneness: The internal temperature of the chicken should reach 165°F (74°C) when measured with an instant-read meat thermometer at its thickest part. The cutlets should be visibly golden and crispy on both sides, and the juices should run clear.
- Drain and Serve: Once cooked, transfer the crispy chicken cutlets to a wire rack set over a paper towel-lined baking sheet. This allows excess oil to drain off and helps maintain crispiness by preventing the bottom from steaming. Serve immediately with fresh lemon wedges for a bright, zesty finish that beautifully cuts through the richness. Garnish with fresh chopped parsley if desired.
Expert Tips for the Crispiest Chicken Cutlets Every Time
Achieving consistently crispy and perfectly cooked chicken cutlets is an art, but these expert tips will guide you to success, ensuring a delightful crunch with every bite:
- Choose the Right Oil: Always use cooking oil with a high smoke point for pan-frying. Vegetable oil, canola oil, grapeseed oil, or peanut oil are excellent choices. Olive oil has a lower smoke point and can burn at higher temperatures, imparting an undesirable flavor.
- Ensure Uniform Thickness: Pounding the chicken breasts to an even 1/4 to 1/2 inch thickness is paramount. This guarantees that all parts of the cutlet cook at the same rate, preventing some areas from drying out while others remain undercooked. Use a meat mallet or a rolling pin for best results, covering the chicken with plastic wrap to prevent splattering.
- Don’t Overcrowd the Pan: This is a golden rule for frying! Cooking too many cutlets at once will drastically lower the oil’s temperature, leading to soggy chicken instead of crispy. Cook in batches, adding more oil as needed, and ensure there’s enough space around each cutlet for proper browning.
- Embrace Panko Breadcrumbs: While plain breadcrumbs work well, Panko breadcrumbs (Japanese-style breadcrumbs) offer an unparalleled level of crispiness due to their flaky, airy texture. They absorb less oil and create a lighter, crunchier coating that truly shines.
- Bring Chicken to Room Temperature: For optimal tenderness and even cooking, allow your chicken cutlets to sit at room temperature for 10-15 minutes before frying. Taking the chill off prevents the chicken from seizing up and becoming tough, ensuring a juicy interior.
- Maintain Oil Temperature: Use a thermometer if possible to keep the oil between 350-360°F (175-180°C). If the oil isn’t hot enough, the breading will absorb too much oil and become greasy. If it’s too hot, the breading will burn before the chicken cooks through. Adjust heat as needed between batches.
- Press the Breading Firmly: When coating the chicken with breadcrumbs, press them firmly onto the surface. This creates a secure, thick crust that is less likely to fall off during frying and yields maximum crispiness.
- Drain Excess Oil Properly: After frying, immediately transfer the cooked cutlets to a wire rack set over a baking sheet lined with paper towels. This allows air to circulate around the chicken and drains off any excess oil, preventing the bottom from becoming soggy.
- Season Liberally: Don’t rely solely on the seasoned breadcrumbs. Season the chicken itself with salt and pepper before dredging to ensure every layer of the dish is flavorful from the inside out.
Delicious Variations & Serving Suggestions
These crispy chicken cutlets are incredibly versatile, offering endless possibilities for customization and pairing. Here are some ideas to inspire your culinary creativity and keep your meals fresh and exciting:
Variations to Try:
- Spicy Kick: Infuse some heat by adding a pinch of cayenne pepper, red pepper flakes, or a dash of your favorite chili powder to the breadcrumb mixture for a delightful spicy zing.
- Herbaceous Twist: Experiment with different dried or fresh herbs in your breading. Finely chopped fresh rosemary, thyme, or a blend of Herbs de Provence can add unique aromatic notes.
- Cheese Alternatives: Swap Parmesan for grated Pecorino Romano for a saltier, sharper flavor, or try Asiago cheese for a nuttier, milder profile that still crisps beautifully.
- Healthier Baked or Air-Fried Option: For a lighter version with less oil, bake the breaded cutlets in an oven at 400°F (200°C) for 15-20 minutes, flipping halfway, until golden and cooked through. Alternatively, air fry at 375°F (190°C) for 10-14 minutes, flipping halfway, for excellent crispiness with minimal oil.
- Chicken Nuggets or Strips: For a kid-friendly meal or appetizer, cut the chicken cutlets into bite-sized pieces or strips before breading and frying. Adjust cooking time accordingly (shorter for smaller pieces).
- Gluten-Free: Easily adapt this recipe to be gluten-free by using gluten-free all-purpose flour and gluten-free breadcrumbs. The results are just as delicious and crispy!
- Sesame-Crusted: For an Asian-inspired twist, add 1-2 tablespoons of sesame seeds to the breadcrumb mixture and serve with a sweet chili sauce or soy-ginger dipping sauce.
Perfect Serving Pairings:
These cutlets are a fantastic centerpiece that pairs well with a myriad of sides. Here are some popular ideas to complete your meal:
- Comforting Sides: Serve alongside creamy mashed potatoes, a warm heap of yellow rice with corn, fluffy couscous, or a classic mac and cheese.
- Pasta Perfection: Lay a crispy cutlet over a bed of pasta tossed with marinara sauce, Alfredo sauce, a simple lemon-butter sauce, or a pesto. Transform it into a quick chicken piccata with capers or a lighter chicken parm without the heavy frying.
- Fresh Salads: Slice the crispy chicken and add it to a classic Caesar salad, a vibrant mixed green salad with a light vinaigrette, or a Mediterranean-inspired salad for added protein and crunch.
- Sandwiches & Wraps: Place a whole cutlet in a toasted bun with lettuce, tomato, and a drizzle of mayo or honey mustard for a gourmet chicken sandwich, or chop it up for flavorful wraps.
- Vegetable Companions: Roasted asparagus, green beans almondine, steamed broccoli, sautéed spinach, or a vibrant ratatouille make excellent, nutritious accompaniments.
- Sauce It Up: Beyond fresh lemon wedges, consider serving with a side of honey mustard, ranch dressing, a zesty aioli, a homemade marinara, or even a spicy buffalo sauce for dipping.
Storing, Freezing, and Reheating Your Crispy Chicken Cutlets
Proper storage and reheating are key to enjoying your crispy chicken cutlets long after they’re freshly made. This section covers how to keep them delicious for future meals and maintain their desirable texture.
- Storing Cooked Cutlets: Once cooled completely to room temperature, transfer any leftover cooked chicken cutlets to an airtight container. They can be safely stored in the refrigerator for up to 3-5 days. Ensuring they are fully cool before sealing prevents condensation from forming, which can make the breading soggy.
- Freezing Cooked Cutlets: To freeze cooked cutlets, first arrange them in a single layer on a baking sheet and flash freeze for about 2-4 hours, or until solid. This crucial step prevents them from sticking together. Once frozen, transfer them to a freezer-safe bag or an airtight container, removing as much air as possible to prevent freezer burn. They will keep well in the freezer for up to 3 months.
- Freezing Uncooked (Breaded) Cutlets: For future quick meals, you can also freeze the breaded but uncooked cutlets. Follow the same flash-freezing method as cooked cutlets, then transfer to freezer-safe bags. When ready to cook, fry them directly from frozen (do not thaw), adding a few extra minutes to the cooking time per side, or bake/air fry as described in the variations. This is a fantastic time-saver for busy days.
- Reheating for Crispiness: To bring your cutlets back to life with their original crunch, avoid the microwave at all costs, as it will make them rubbery and soggy!
- Oven Method: Preheat your oven to 375°F (190°C). Place the chicken cutlets on a wire rack set over a baking sheet and heat for 10-15 minutes, or until warmed through and crispy. The wire rack is essential for air circulation.
- Air Fryer Method: For even quicker reheating and excellent crispiness, an air fryer is ideal. Heat at 350°F (175°C) for 5-8 minutes, flipping halfway. This method closely mimics the original pan-fried texture.
- Skillet Method: Heat a small amount of oil in a non-stick skillet over medium heat and pan-fry the cutlets for 2-3 minutes per side until heated through and re-crisped. This works best for a single serving.
Frequently Asked Questions About Crispy Chicken Cutlets
Here are answers to some common questions about making and enjoying crispy chicken cutlets, ensuring your cooking experience is smooth and successful:
What is the difference between chicken cutlets and chicken tenders?
Chicken cutlets are typically thinly sliced chicken breasts, either from a whole breast or a butterflied and pounded breast. They are processed to be uniform in thickness. Chicken tenders (or chicken tenderloins) are a specific, smaller, and naturally more tender strip of meat located underneath the main chicken breast. While both are great for quick cooking, cutlets offer more surface area for breading and can be pounded to an ideal thinness, making them perfect for this crispy recipe.
How do you know when chicken cutlets are fully cooked?
The safest and most accurate way to determine if chicken cutlets are fully cooked is to use an instant-read meat thermometer. Insert it into the thickest part of the chicken (avoiding bone if present, though cutlets are boneless). The chicken is safe to eat when it reaches an internal temperature of 165°F (74°C). Visually, they should be deeply golden brown and the juices should run clear, with no pink remaining in the center.
How do I keep the chicken crispy after frying?
Several factors contribute to maintaining crispiness:
- Drain Properly: Immediately after frying, transfer cutlets to a wire rack (not directly on paper towels) set over a baking sheet. This allows air to circulate around all sides and prevents the bottom from steaming and becoming soggy from residual oil.
- Hot Oil: Ensure your frying oil is at the correct temperature (350-360°F / 175-180°C). Oil that isn’t hot enough leads to greasy, soggy breading because it absorbs too much fat.
- Avoid Overcrowding: Overcrowding the pan cools the oil, leading to an uneven cook and impacting crispiness.
- Serve Immediately: Crispy chicken is always best enjoyed fresh off the pan. If you must hold it, a warm oven (around 200°F / 95°C) on a wire rack can keep them warm for a short period without losing too much crispness.
Why did my breading fall off?
Breading can fall off for a few common reasons:
- Not Patting Dry: The chicken must be thoroughly patted dry with paper towels before flouring. Any excess moisture prevents the flour from sticking properly, which then affects the egg wash and breadcrumbs.
- Inadequate Pressing: The breadcrumbs need to be firmly pressed onto the chicken to adhere well. Don’t just lightly coat; give them a good, firm press on all sides.
- Overcrowding the Pan: Too many pieces in the pan can cause the oil temperature to drop significantly, making the breading less likely to set and more prone to falling off.
- Turning Too Early: Let the first side cook undisturbed until a golden, set crust forms before attempting to flip it. Premature flipping can disrupt the breading.
Can I bake or air fry these instead of pan-frying?
Absolutely! Baking or air frying are excellent healthier alternatives that still yield wonderfully crispy results. For baking, preheat your oven to 400°F (200°C) and bake the breaded cutlets for 15-20 minutes, flipping once halfway through. For air frying, preheat to 375°F (190°C) and air fry for 10-14 minutes, flipping halfway. Both methods significantly reduce the amount of oil used while still achieving a satisfying crunch.
Explore More Easy Chicken Recipes You’ll Love
If you enjoyed these crispy chicken cutlets, you’ll love exploring other delicious and easy chicken recipes perfect for any occasion. Expand your weeknight dinner repertoire with these fantastic options:
- Creamy Garlic Parmesan Chicken
- Air Fryer Chicken Drumsticks
- Spicy Baked Popcorn Chicken
- Slow Cooker Orange Chicken
- Lemon Herb Roasted Chicken
- Chicken Fajita Bowls
Discover even more culinary inspiration and watch step-by-step cooking tutorial videos by following on Youtube and Facebook. Join our community of home cooks and share your kitchen successes!
We hope this detailed guide helps you create the best crispy chicken cutlets you’ve ever tasted. Don’t hesitate to experiment with the variations and serving suggestions to make this recipe truly your own. Happy cooking!