
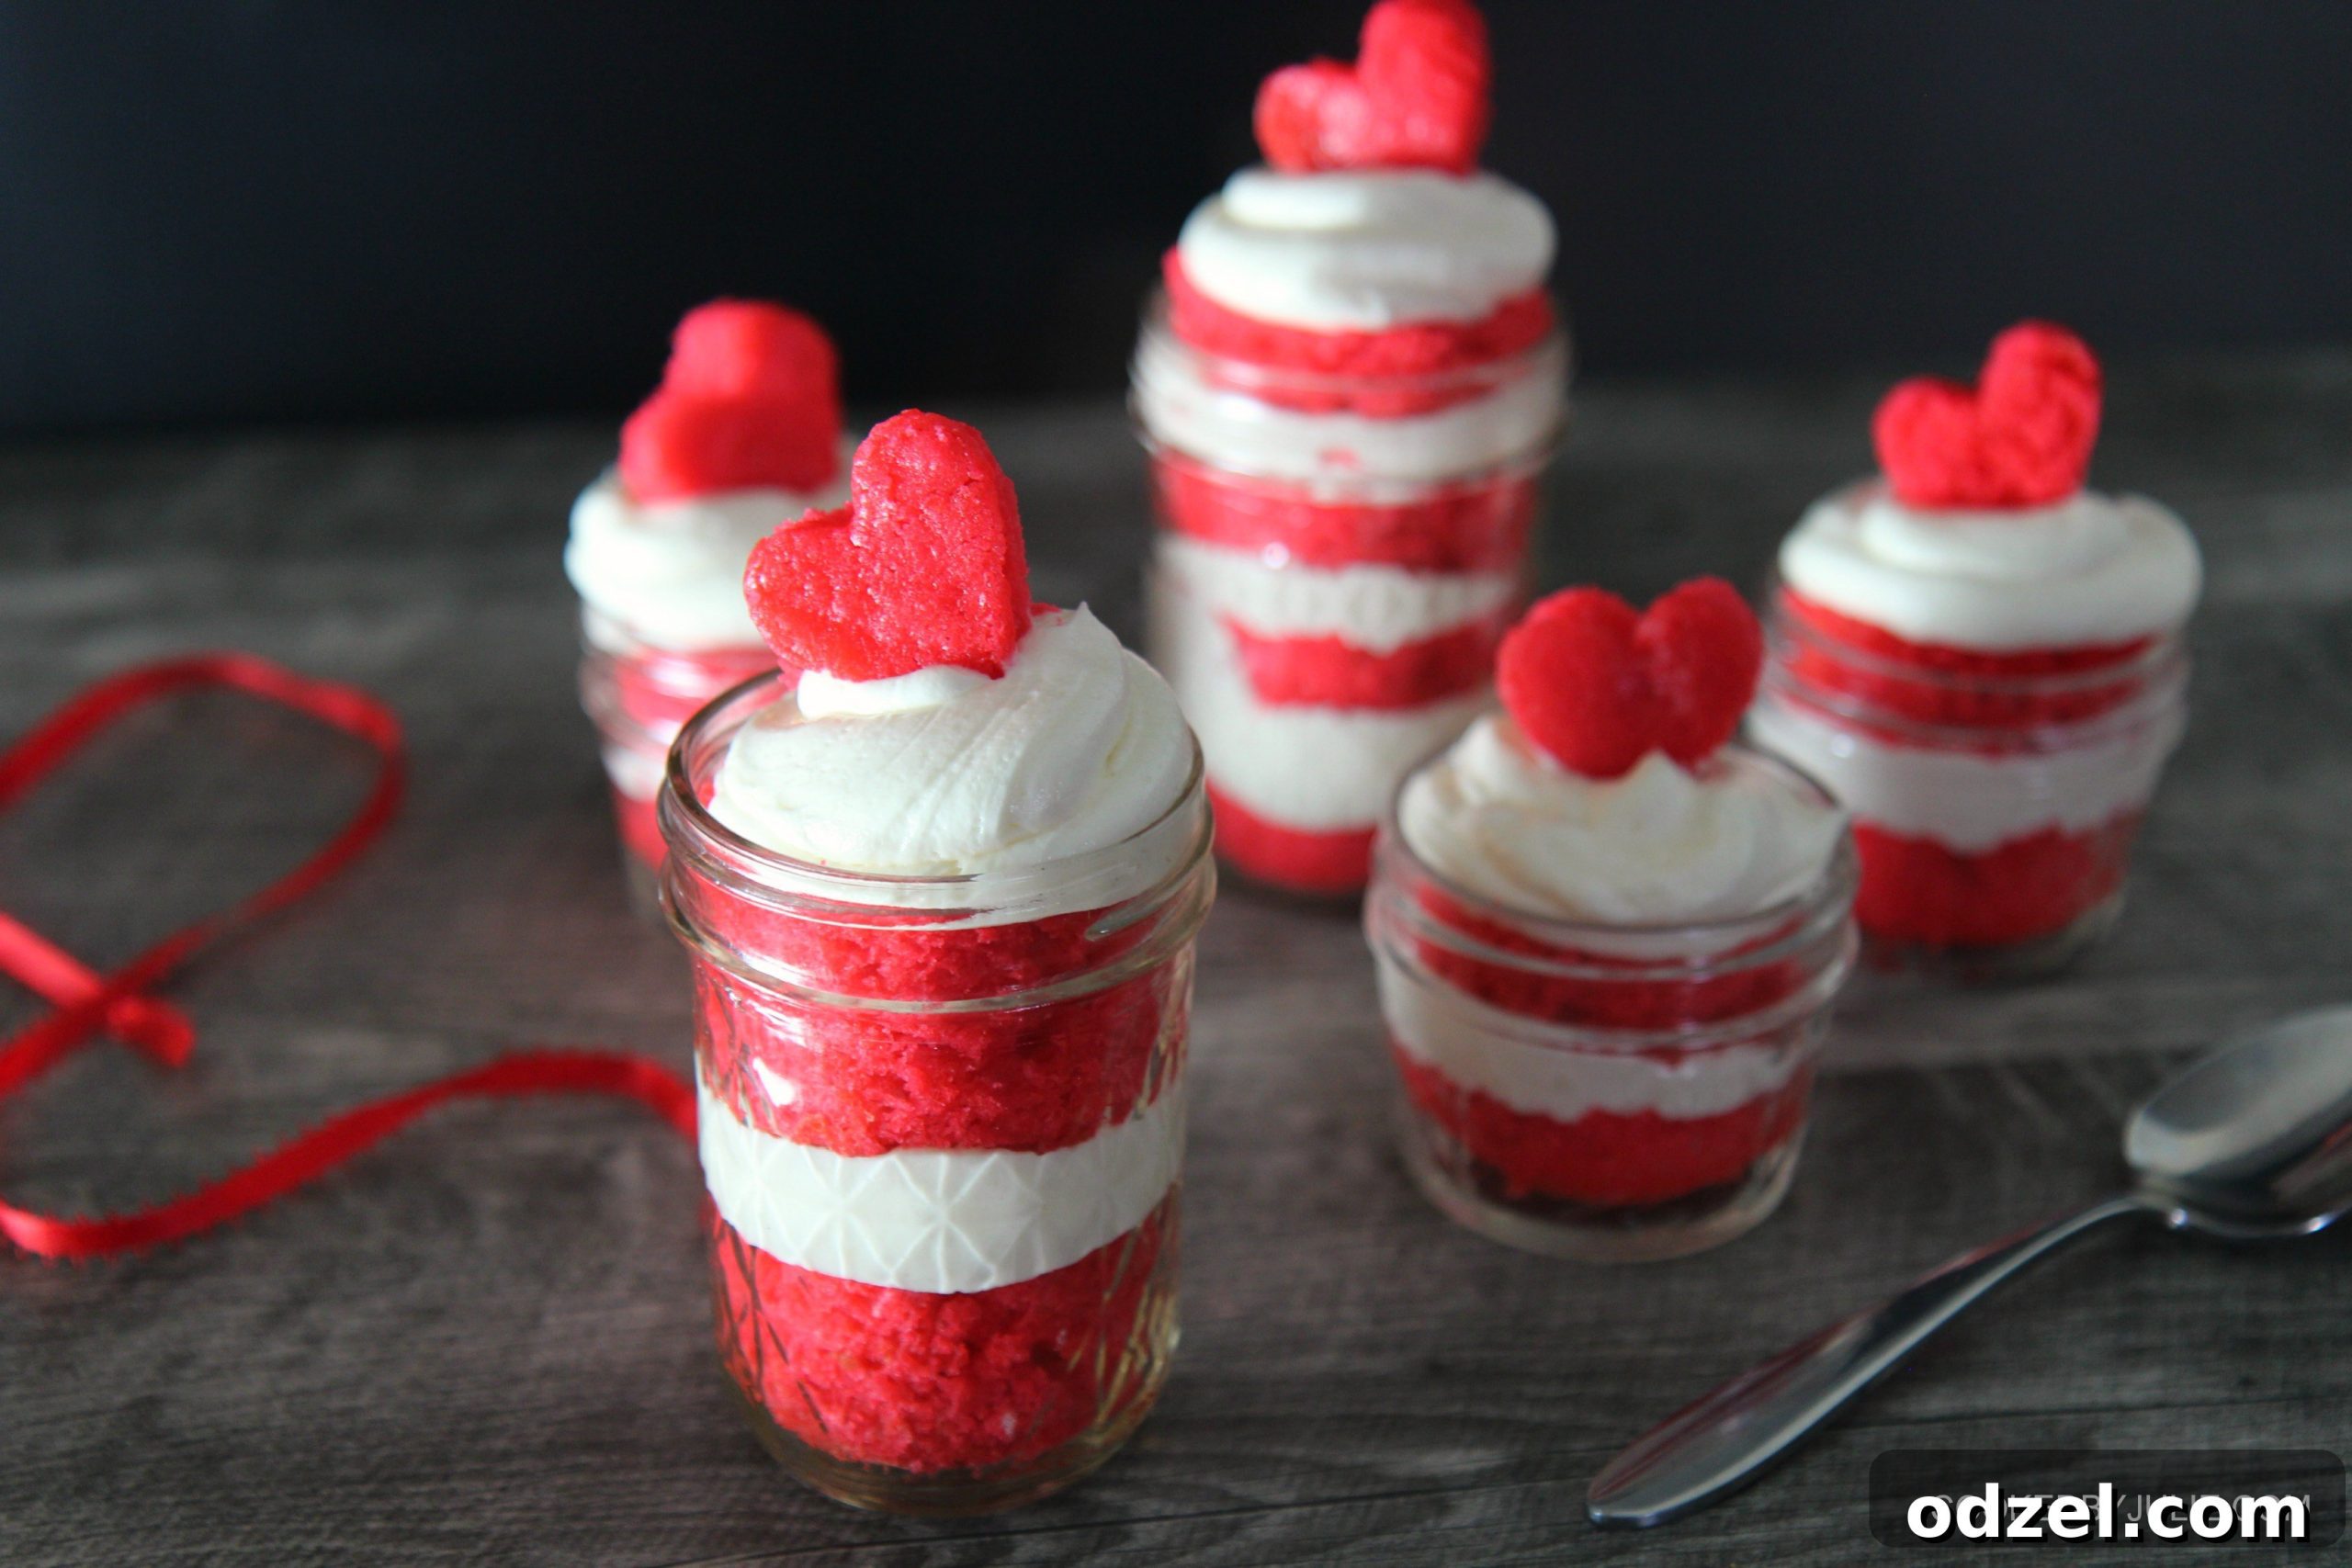
Delightful Red Velvet Cake Jars: Your New Favorite Homemade Treat
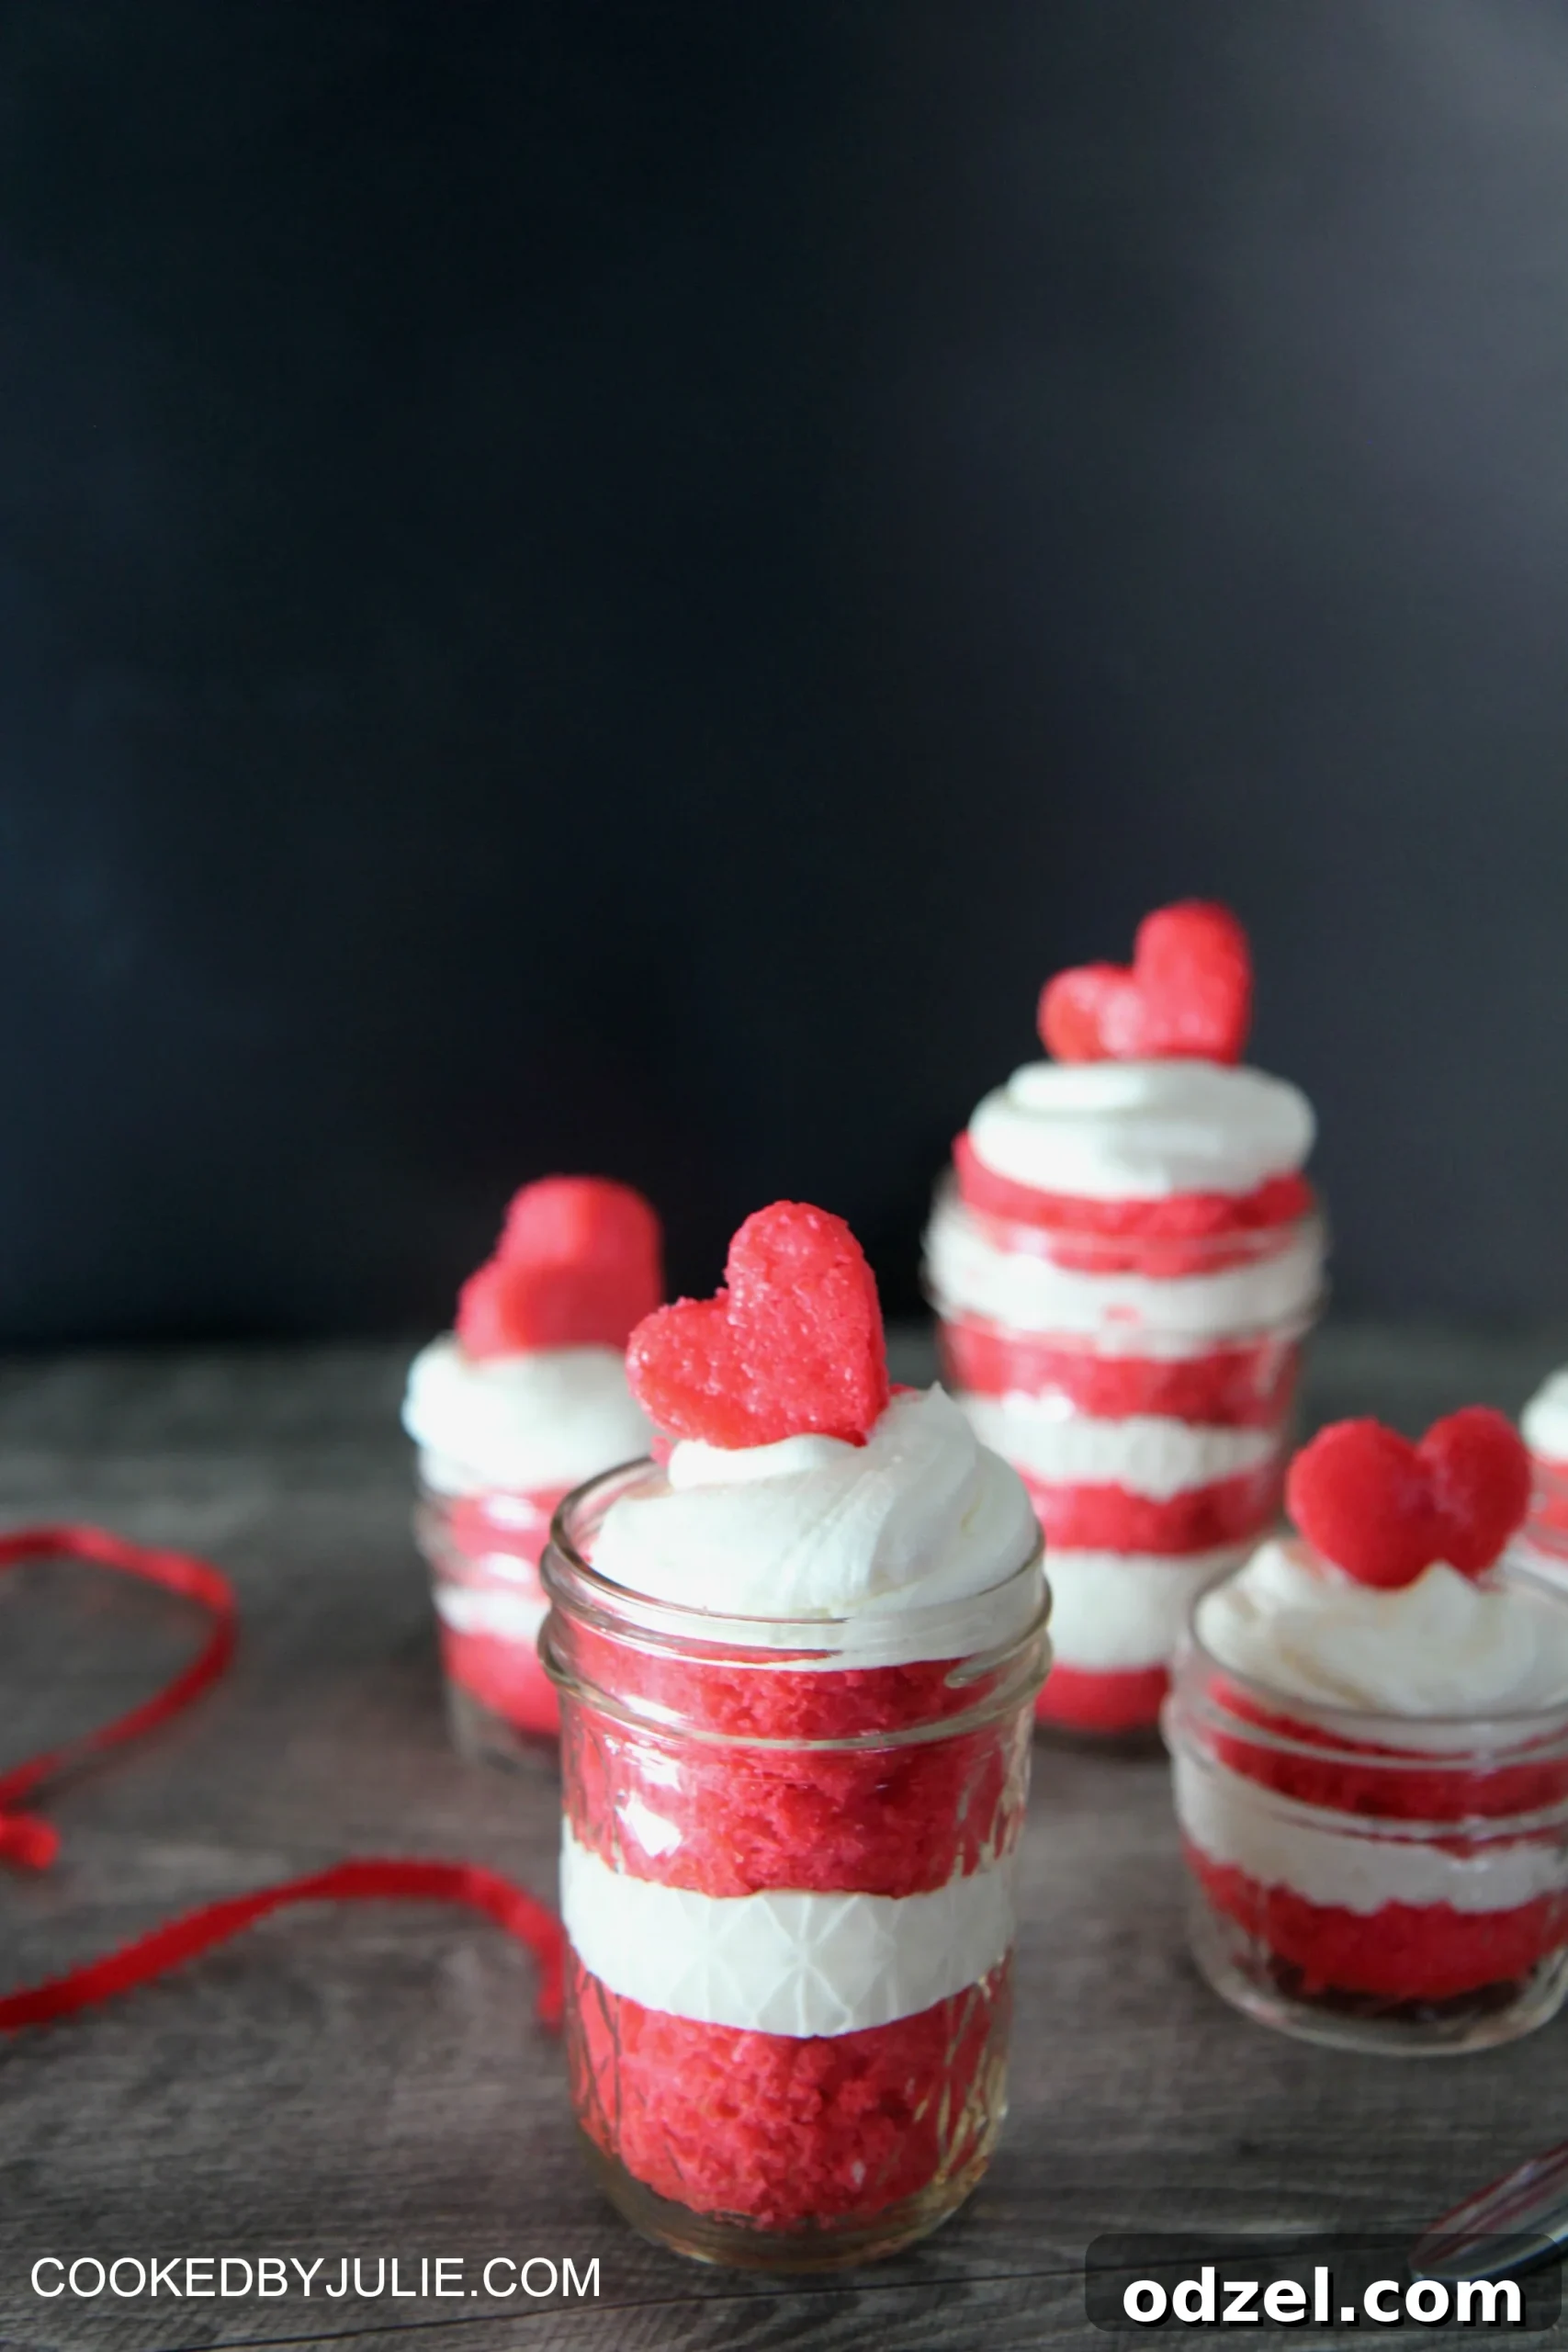
The culinary landscape is constantly evolving, bringing forth creative and charming ways to enjoy classic desserts. Among the most enchanting trends to grace social media feeds is the phenomenon of “cake jars.” These perfectly portioned, layered cakes, elegantly presented in individual jars, are more than just a passing fad; they are a testament to convenience, aesthetic appeal, and sheer deliciousness. Whether you’ve seen them populating your Instagram feed or in artisanal bakeries, it’s clear there’s a thriving market for these sweet sensations. And while many make a living selling them, the truly exciting news is that crafting your own Red Velvet Cake Jars at home is surprisingly straightforward and incredibly rewarding. Get ready to embark on a baking adventure that promises vibrant colors, rich flavors, and an irresistible personal touch.
Why Red Velvet Cake Jars Are the Ultimate Dessert
Red Velvet cake holds an esteemed position in the dessert hall of fame, celebrated for its unique flavor profile and stunning visual appeal. Its signature deep red crumb, subtle cocoa notes, and tangy cream cheese frosting create a symphony of tastes that is both comforting and sophisticated. Transforming this beloved classic into individual cake jars elevates its charm and practicality to new heights. These portable delights offer a multitude of benefits, making them a perfect choice for nearly any occasion:
- Perfect for Gifting: A homemade Red Velvet Cake Jar is a thoughtful and impressive present. They’re ideal for Valentine’s Day, birthdays, holiday treats, hostess gifts, or simply as a sweet gesture to show appreciation to friends and family.
- Ideal Portion Control: Say goodbye to the dilemma of slicing a whole cake and the temptation of overindulgence. Each jar provides a perfectly portioned serving, allowing you to enjoy a luxurious treat without guilt.
- Effortless Portability: Their self-contained nature makes cake jars incredibly easy to transport. Pack them for picnics, potlucks, lunchboxes, or enjoy them as a delightful treat at the office without needing plates or extra utensils.
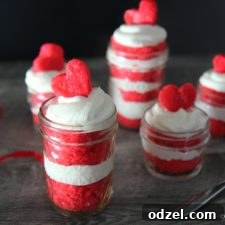
- Stunning Visual Appeal: The distinct layers of vibrant red cake and creamy white frosting create a mesmerizing visual contrast. These jars are not just a treat for the taste buds but also a feast for the eyes, guaranteed to impress anyone who sees them.
- Freshness Factor: Sealing the cake and frosting in a jar helps to keep it moist and fresh for longer, allowing you to enjoy your homemade dessert over several days.
Crafting the Iconic Red Velvet Cake Base from Scratch
My quest for the absolute best Red Velvet Cake leads me back to a cherished scratch recipe every time. While using a cake mix is always an option for expedience, there’s an unparalleled depth of flavor, moistness, and tender crumb achieved when you bake from scratch. This recipe is designed to deliver a cake that is light, fluffy, and robustly flavored, providing the perfect foundation for your show-stopping cake jars.
The hallmark of a truly magnificent red velvet cake is its striking, rich red hue. Achieving this iconic color while maintaining a balanced flavor profile is an art. In my preferred method, I consciously use a modest amount of unsweetened cocoa powder. This intentional choice isn’t to diminish the chocolate essence but rather to allow the red food coloring to dominate, resulting in that intensely vibrant, characteristic crimson. This very technique is what I employ for my popular red velvet cupcakes, simply scaled and slightly adjusted to ensure an even more dazzling red for the jars. On a side note, I’m always on the hunt for white chocolate cocoa powder, as it can help achieve a purer red without the brownish tint that regular cocoa can sometimes impart – a true secret weapon for bakers striving for perfection!
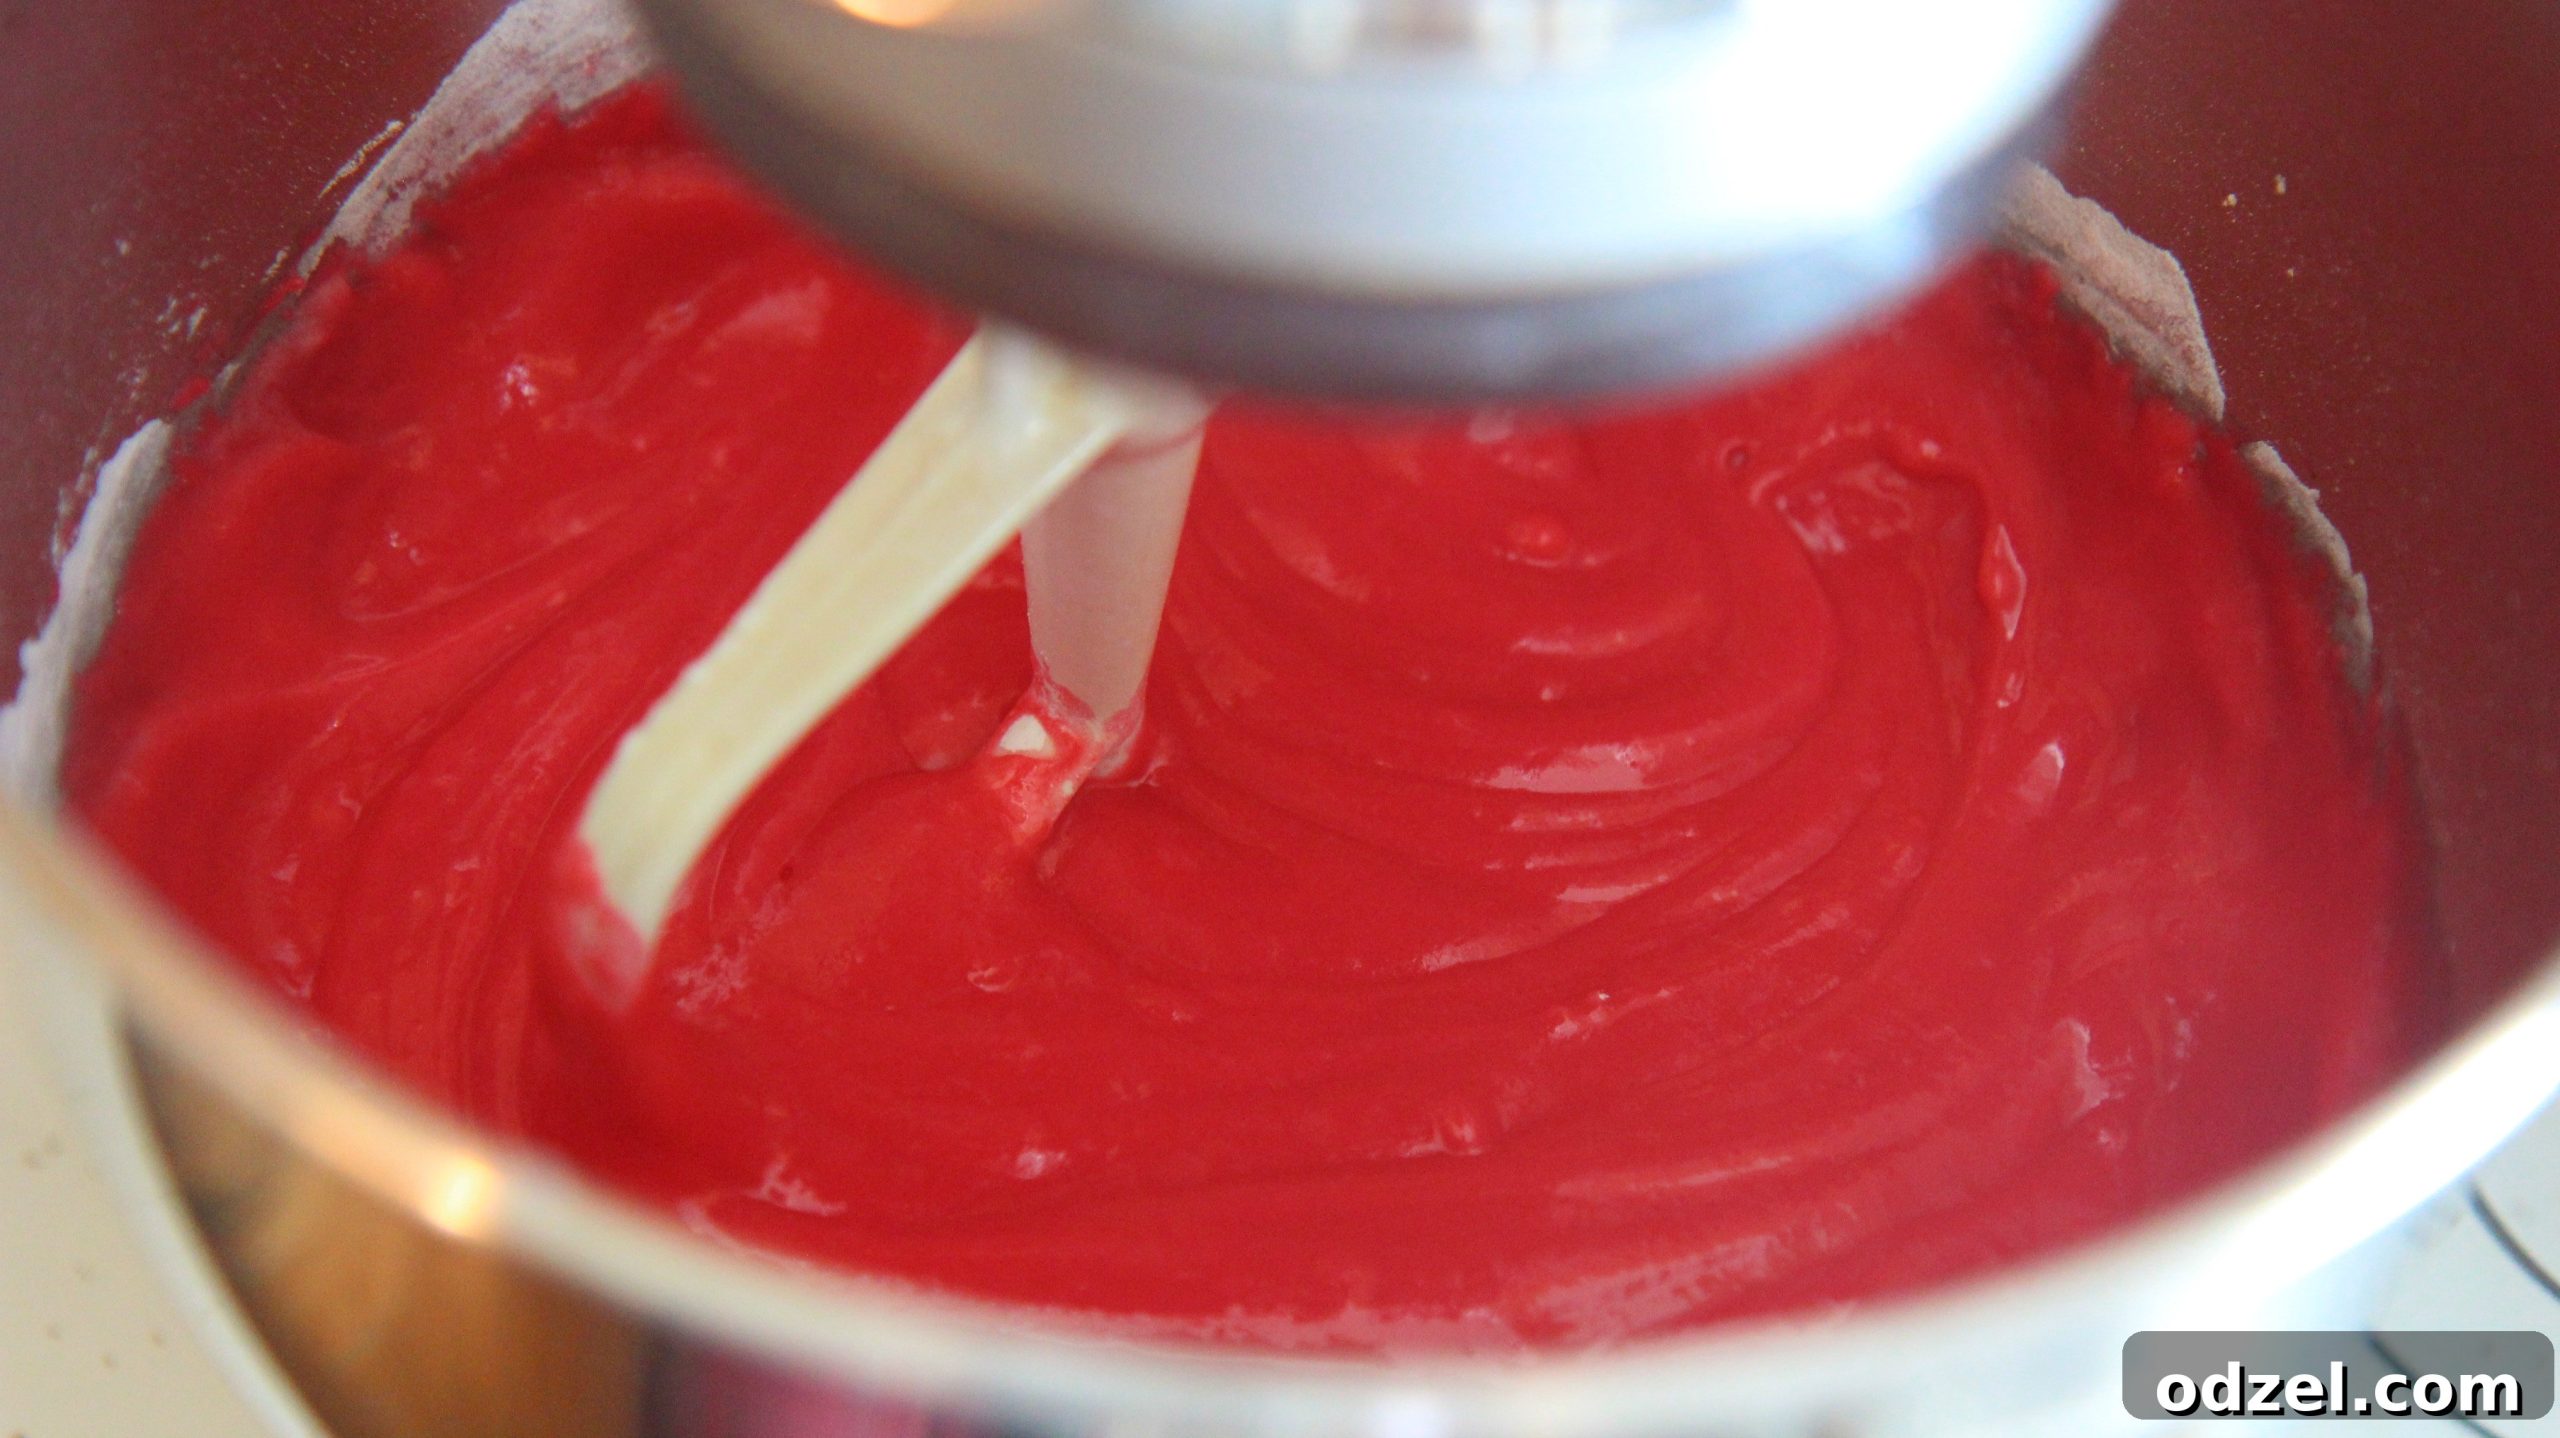
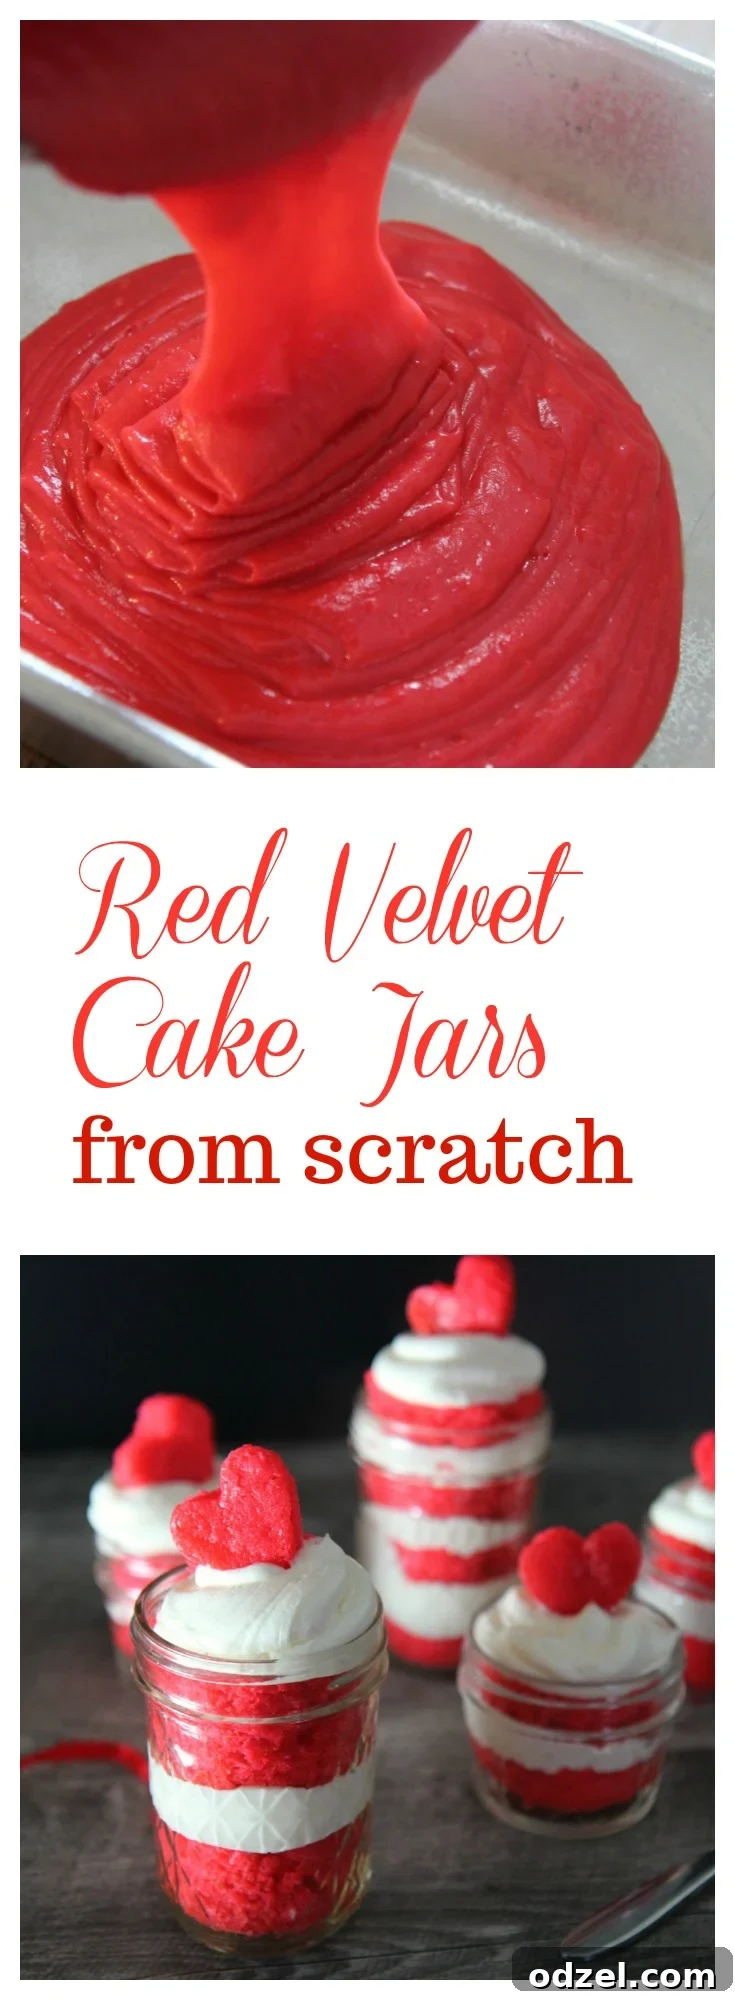
The baking process commences with the careful sifting of dry ingredients – all-purpose flour, a whisper of cocoa powder, and a pinch of salt. Sifting is a crucial step that ensures a uniformly light and airy cake texture. In a separate bowl, the wet components come together: eggs, vegetable oil, luscious buttermilk, aromatic vanilla extract, and the essential red food coloring, all whisked meticulously with sugar. Once both mixtures are prepared, the dry ingredients are gradually folded into the wet, ensuring they are just combined to avoid overmixing, which can lead to a tough cake. The final, magical ingredient is a quick mixture of baking soda and apple cider vinegar. This combination reacts to create a bubbly foam, which, when incorporated into the batter, provides the necessary lift and guarantees a tender, moist crumb. The result is a gorgeous, deep red batter – a shade I find so captivating that it frequently inspires my nail polish choices!
Streamlined Baking: From Oven to Jar
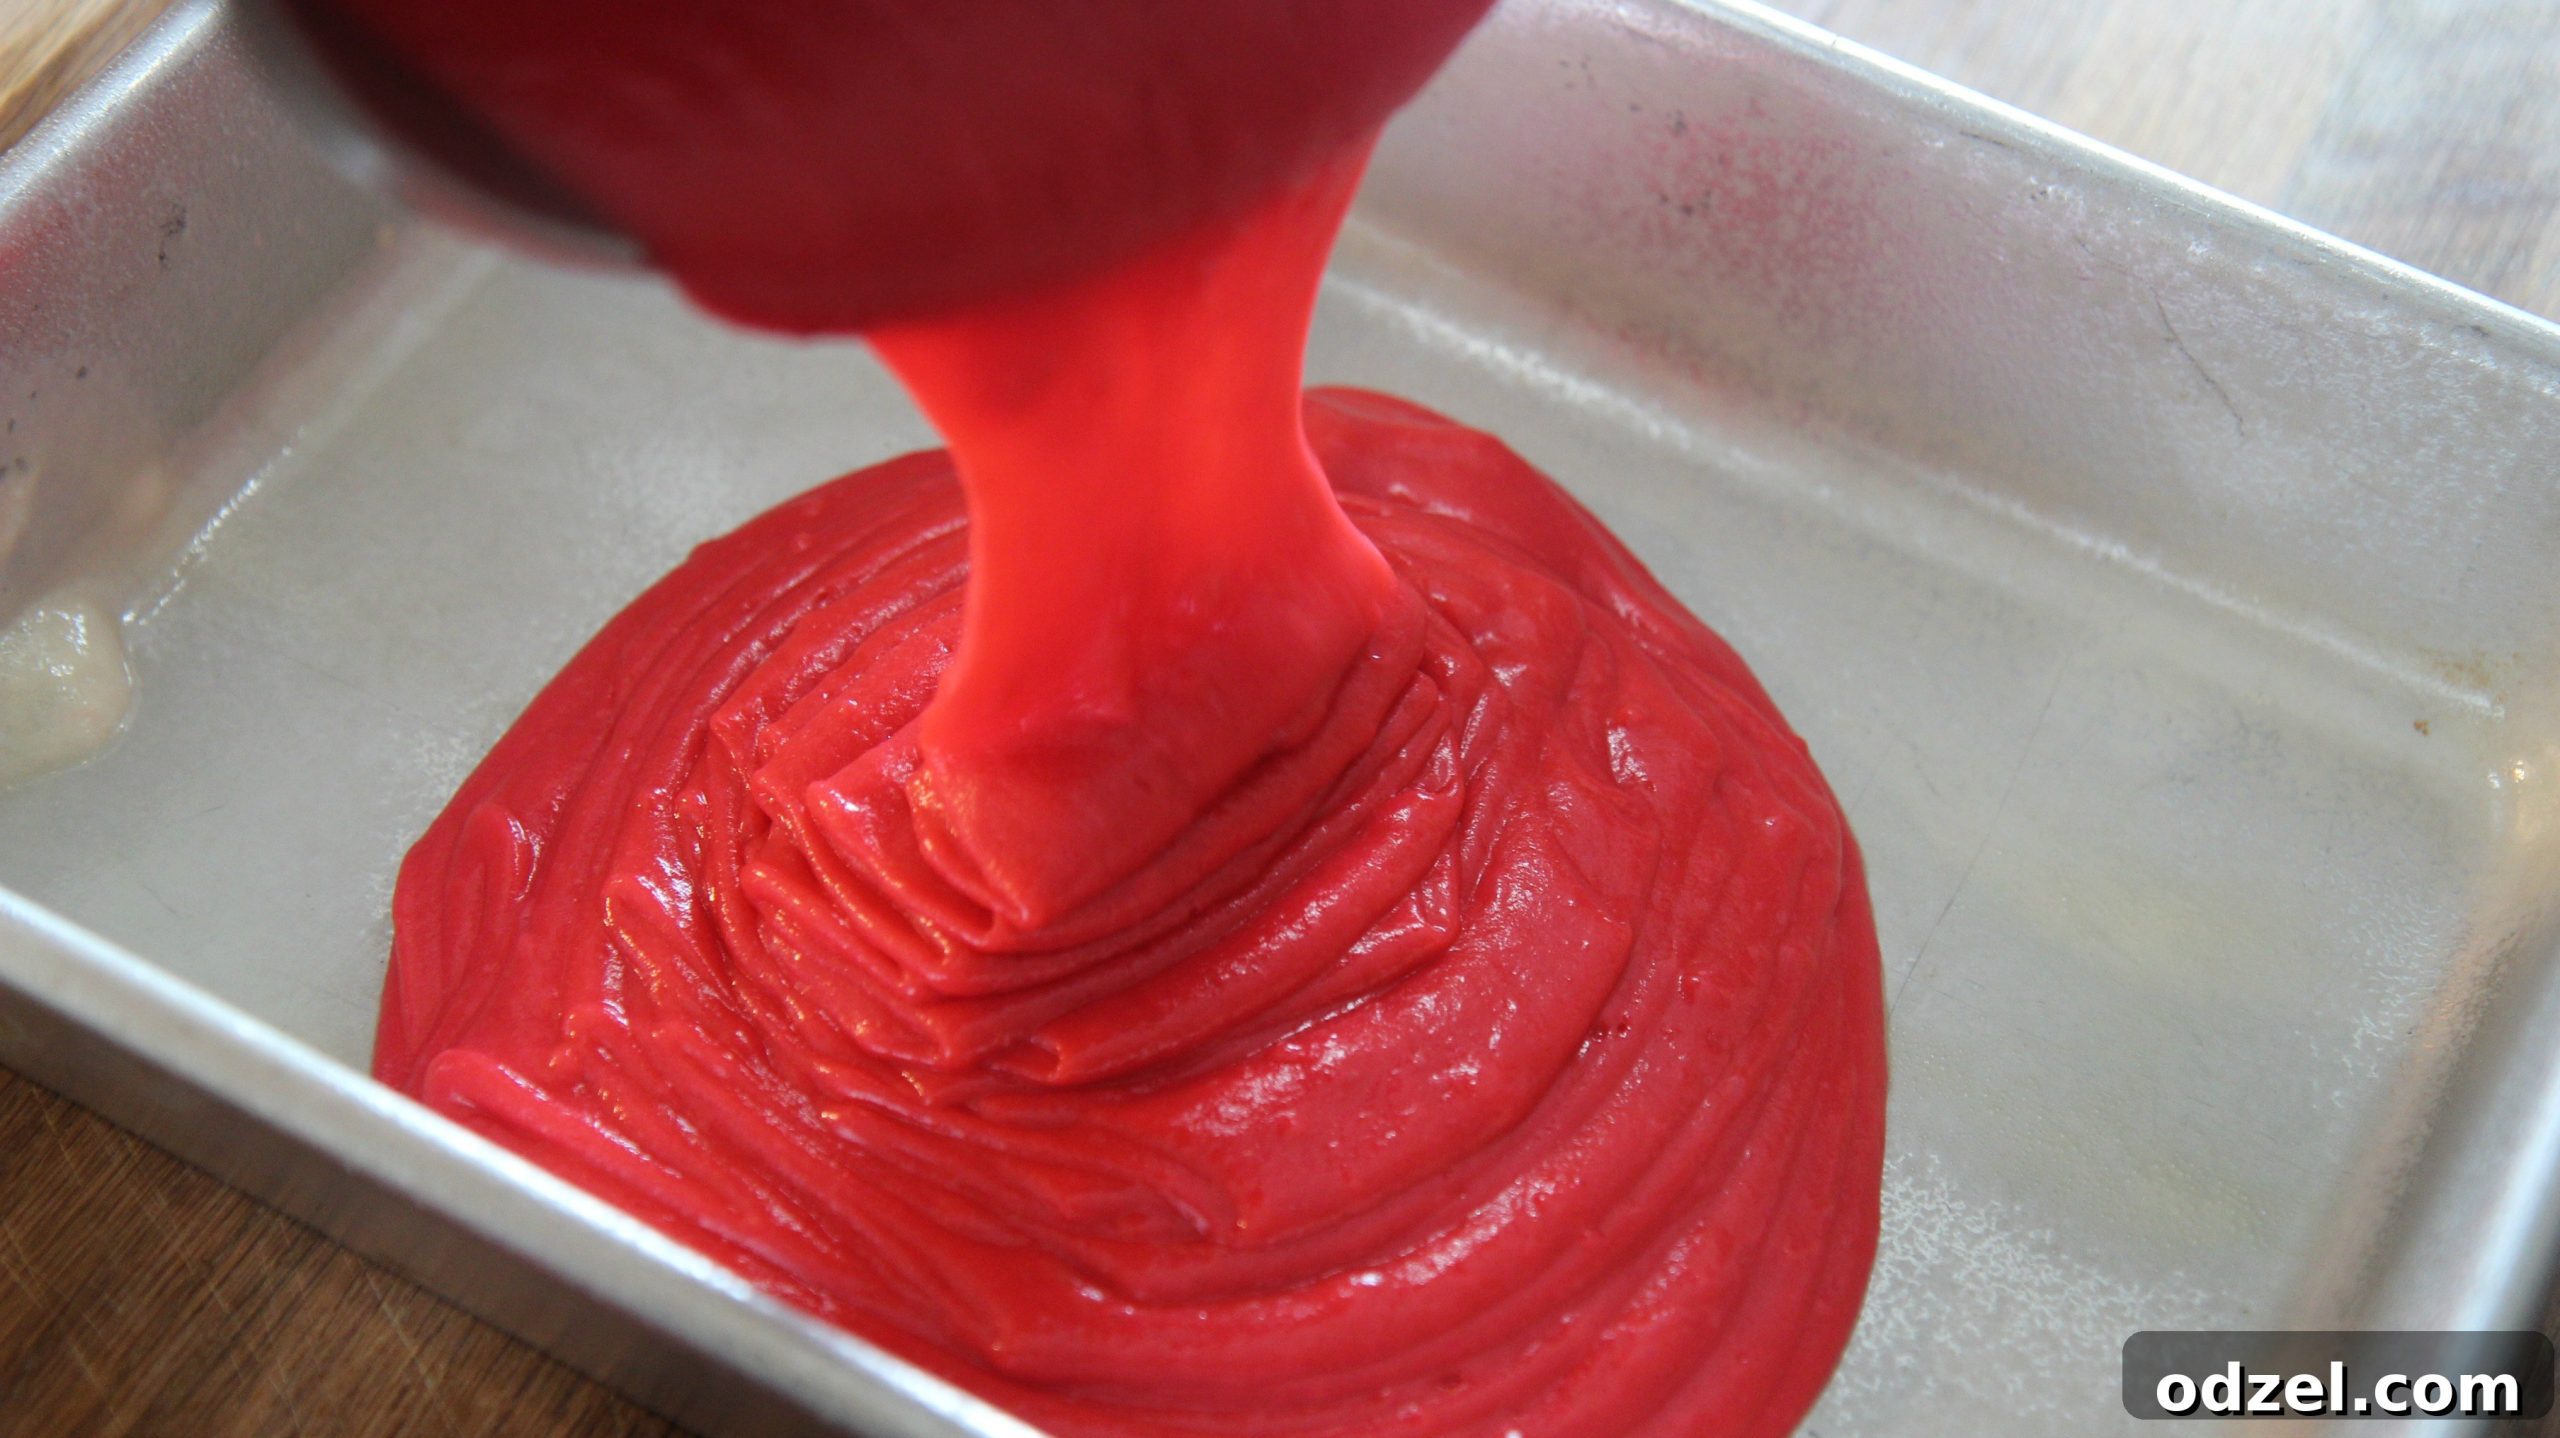
With your perfectly colored batter ready, it’s time to bake. While the idea of using a muffin tin might cross your mind for individual portions, I strongly advocate for pouring the entire batter into a single greased 9-inch baking dish. This method offers several practical advantages: it eliminates the need for numerous cupcake liners, saves time by allowing for one continuous pour, and significantly simplifies the cake-cutting process required for assembling your jars later. It’s a more efficient approach that still yields perfectly bake, tender cake rounds.
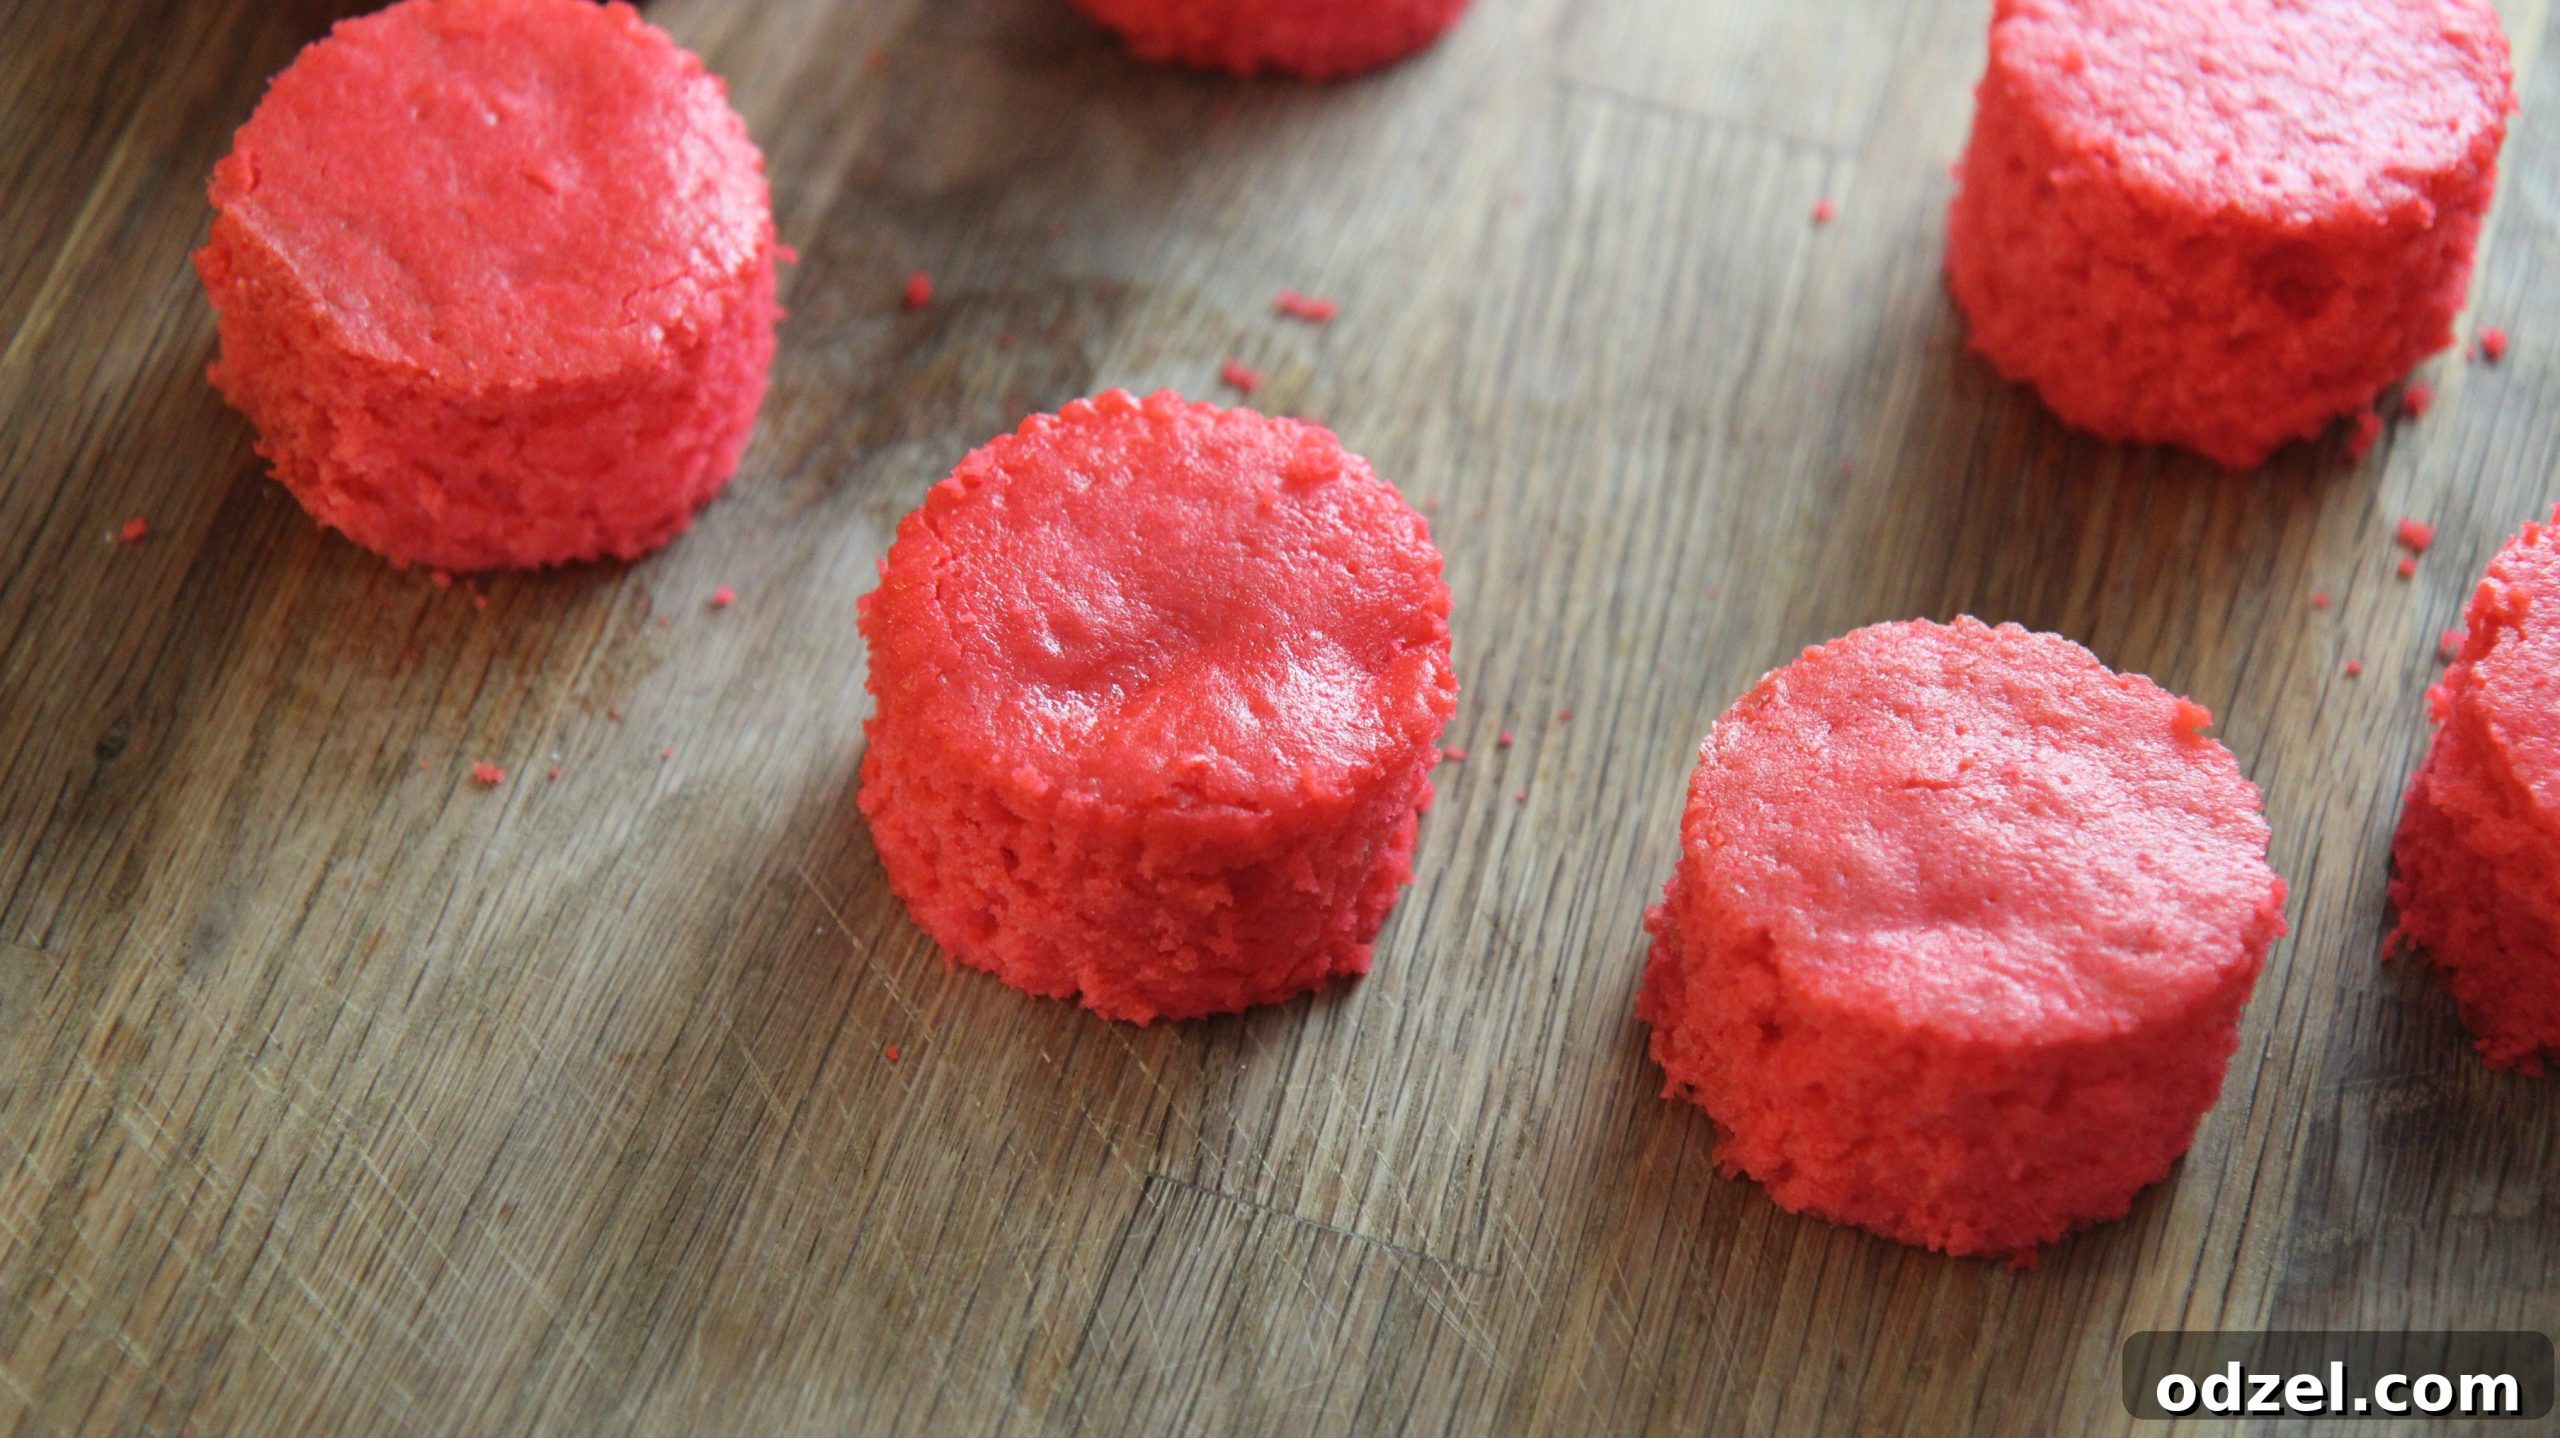
Bake the cake in a preheated oven at 350°F (175°C) for approximately 27-30 minutes. Keep a close eye on it, and test for doneness by inserting a toothpick into the center; if it comes out clean, your cake is ready. Overbaking is the enemy of moist cake, so remove it promptly. Once out of the oven, allow the cake to cool completely on a wire rack before attempting to cut or frost it. A warm cake will melt your beautiful frosting! I must confess, the aroma of the freshly baked red velvet cake is so incredibly tempting that I often find myself enjoying a small, unfrosted piece straight from the pan – it’s a delightful treat even in its purest form!
The Indispensable Cream Cheese Frosting
A Red Velvet Cake, whether in traditional form or nestled in a jar, is incomplete without its quintessential partner: a lusciously smooth, tangy, and rich cream cheese frosting. This frosting isn’t just a topping; it’s an integral part of the flavor experience, offering a delightful counterpoint to the cake’s subtle cocoa undertones. The beauty of this frosting lies in its simplicity and profound impact.
To prepare this irresistible frosting, start by creaming together softened cream cheese and unsalted butter. Ensure both ingredients are at room temperature for optimal smoothness and to prevent lumps. Beat them together for about two minutes until the mixture is light, airy, and uniformly creamy. Next, gradually incorporate the powdered sugar, adding it cup by cup and mixing thoroughly after each addition until it’s fully combined and the frosting begins to thicken. A generous splash of vanilla extract is then added to enhance the sweet, aromatic profile. For a final flourish, beat the frosting on high speed for an additional three minutes. This step is crucial for achieving that characteristic light and fluffy texture, making it perfectly pipeable. Once ready, transfer your velvety frosting into a piping bag. This tool will become your best friend for neatly layering the frosting within the jars, ensuring a clean and professional finish.
Assembling Your Stunning Red Velvet Cake Jars
Now comes the most exciting part: transforming your delicious cake into visually spectacular cake jars! Once your red velvet cake has thoroughly cooled, use a round cookie cutter that matches the diameter of your chosen jars (or simply use the jar’s rim as a guide) to cut out individual cake rounds. For easier layering and to create more distinct visual layers within the jar, gently slice each cake round in half horizontally using a serrated knife. This technique yields thinner cake discs that stack beautifully and absorb the frosting’s moisture wonderfully.
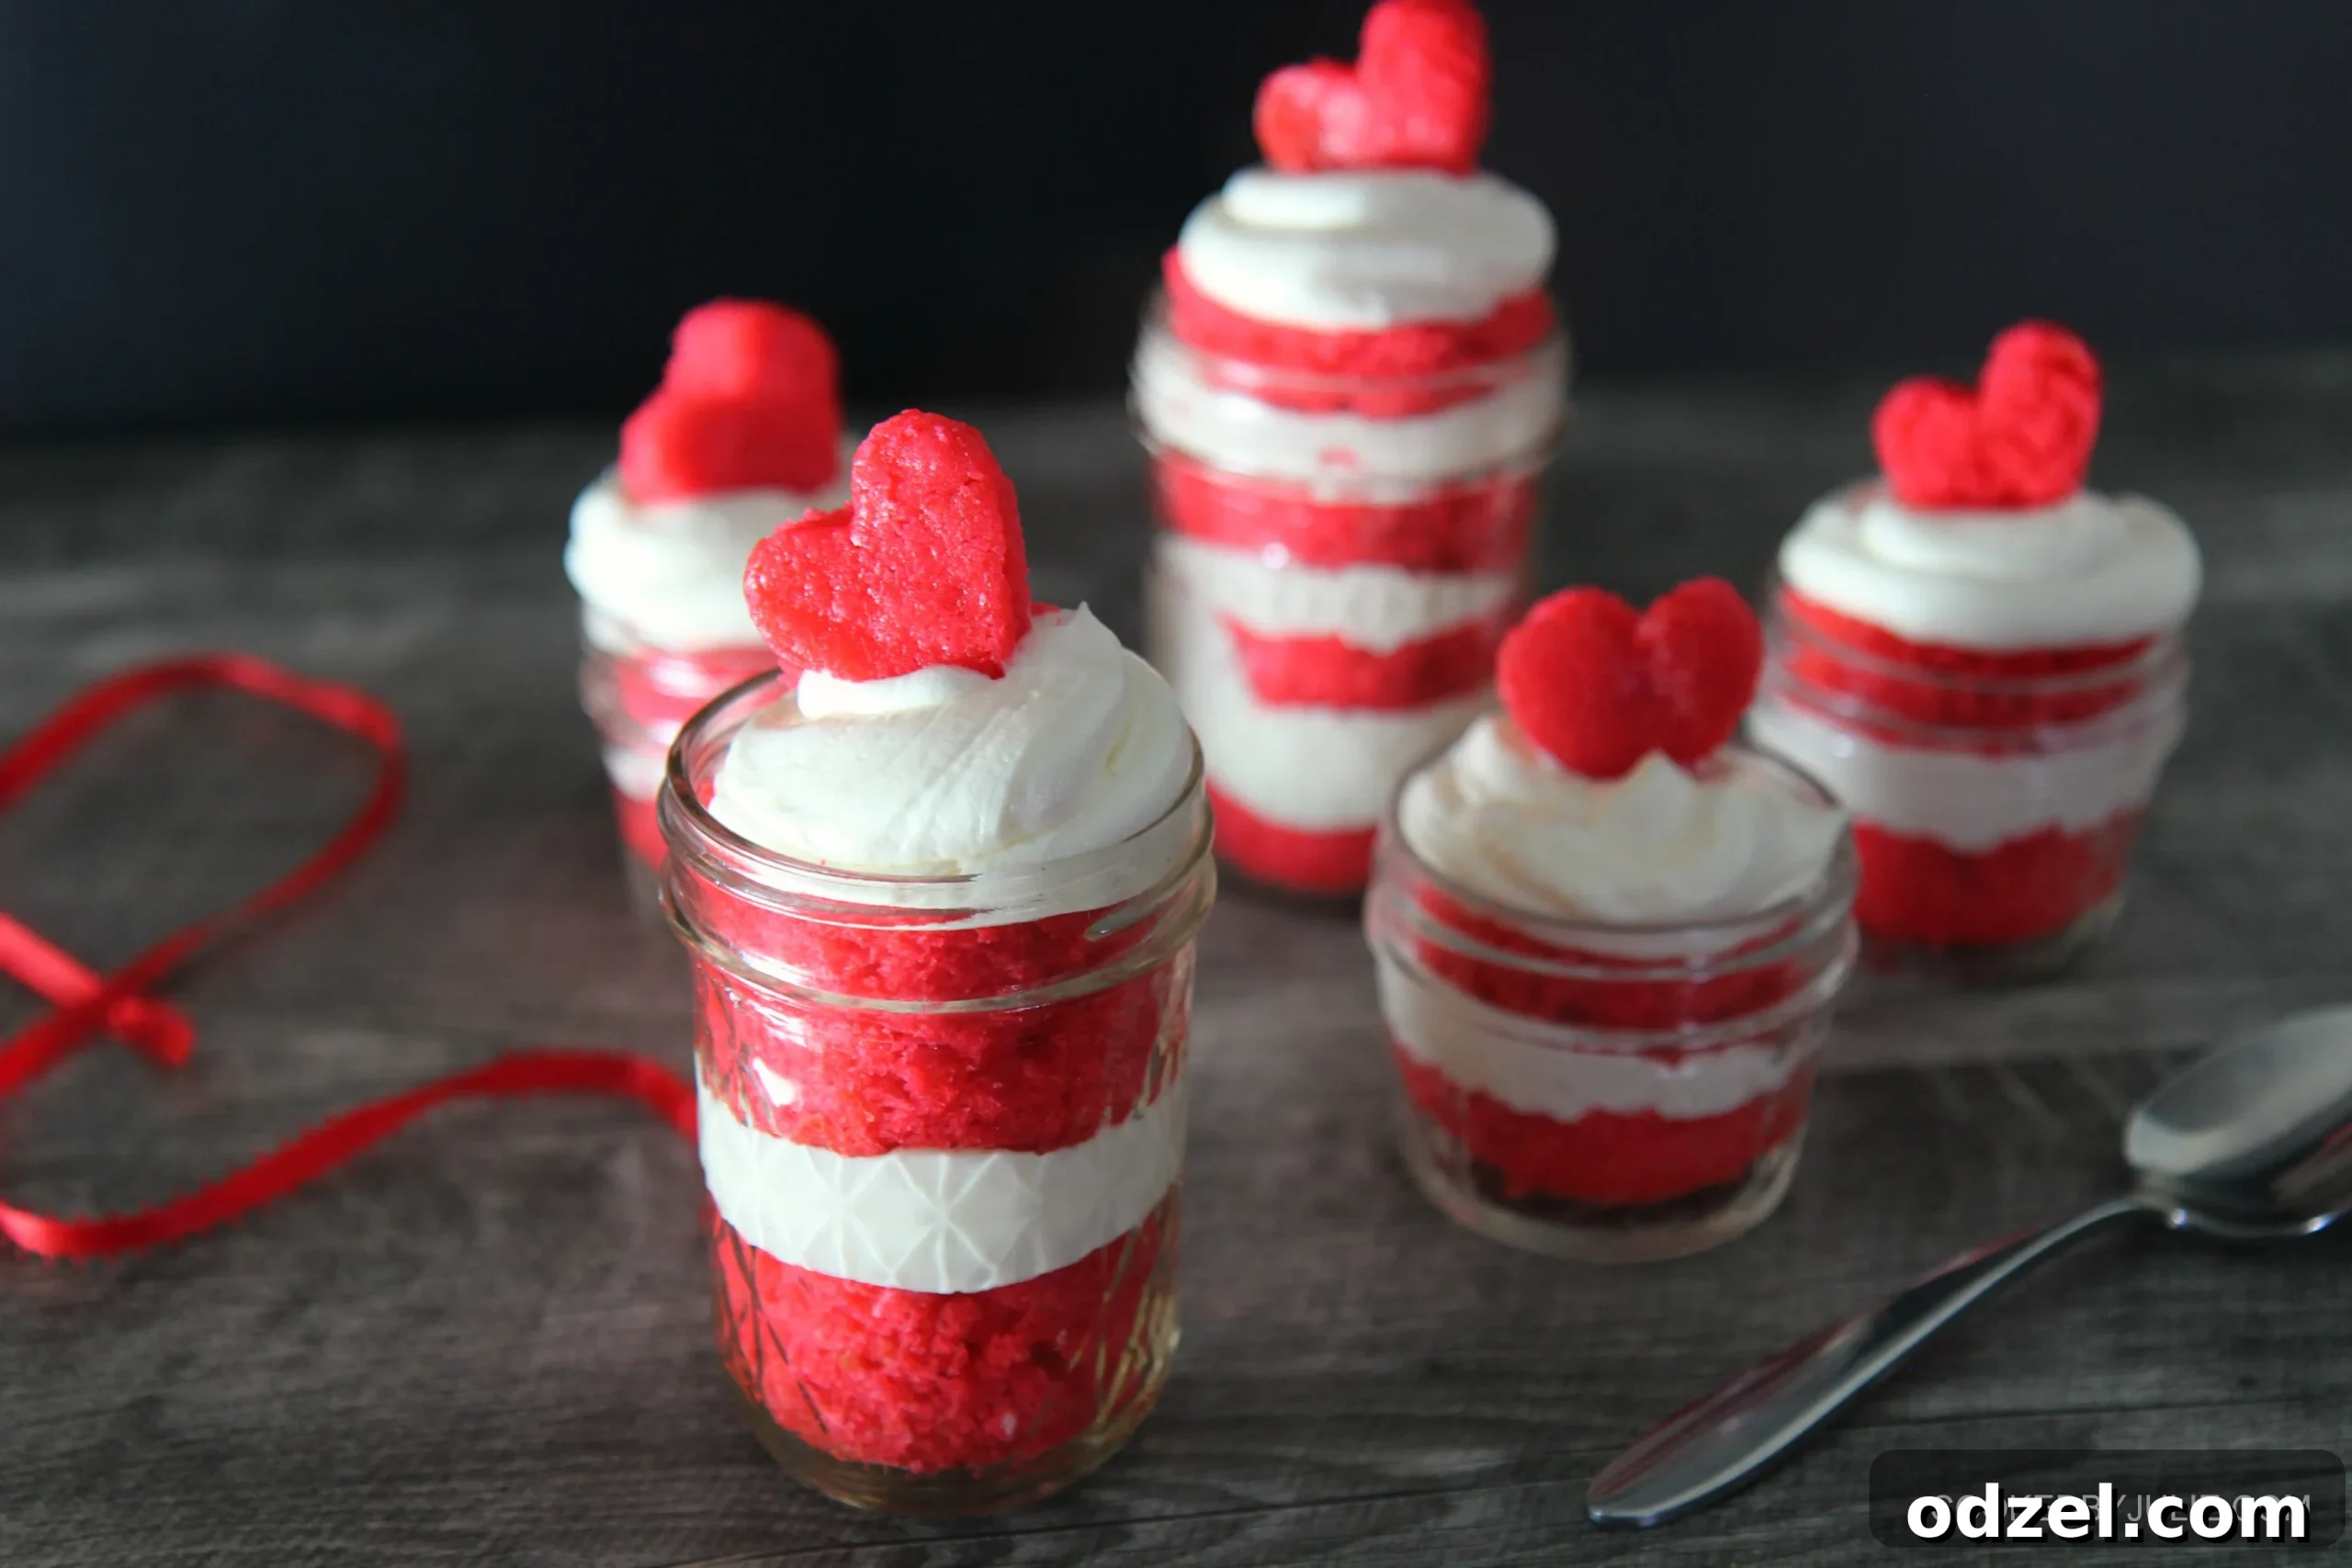
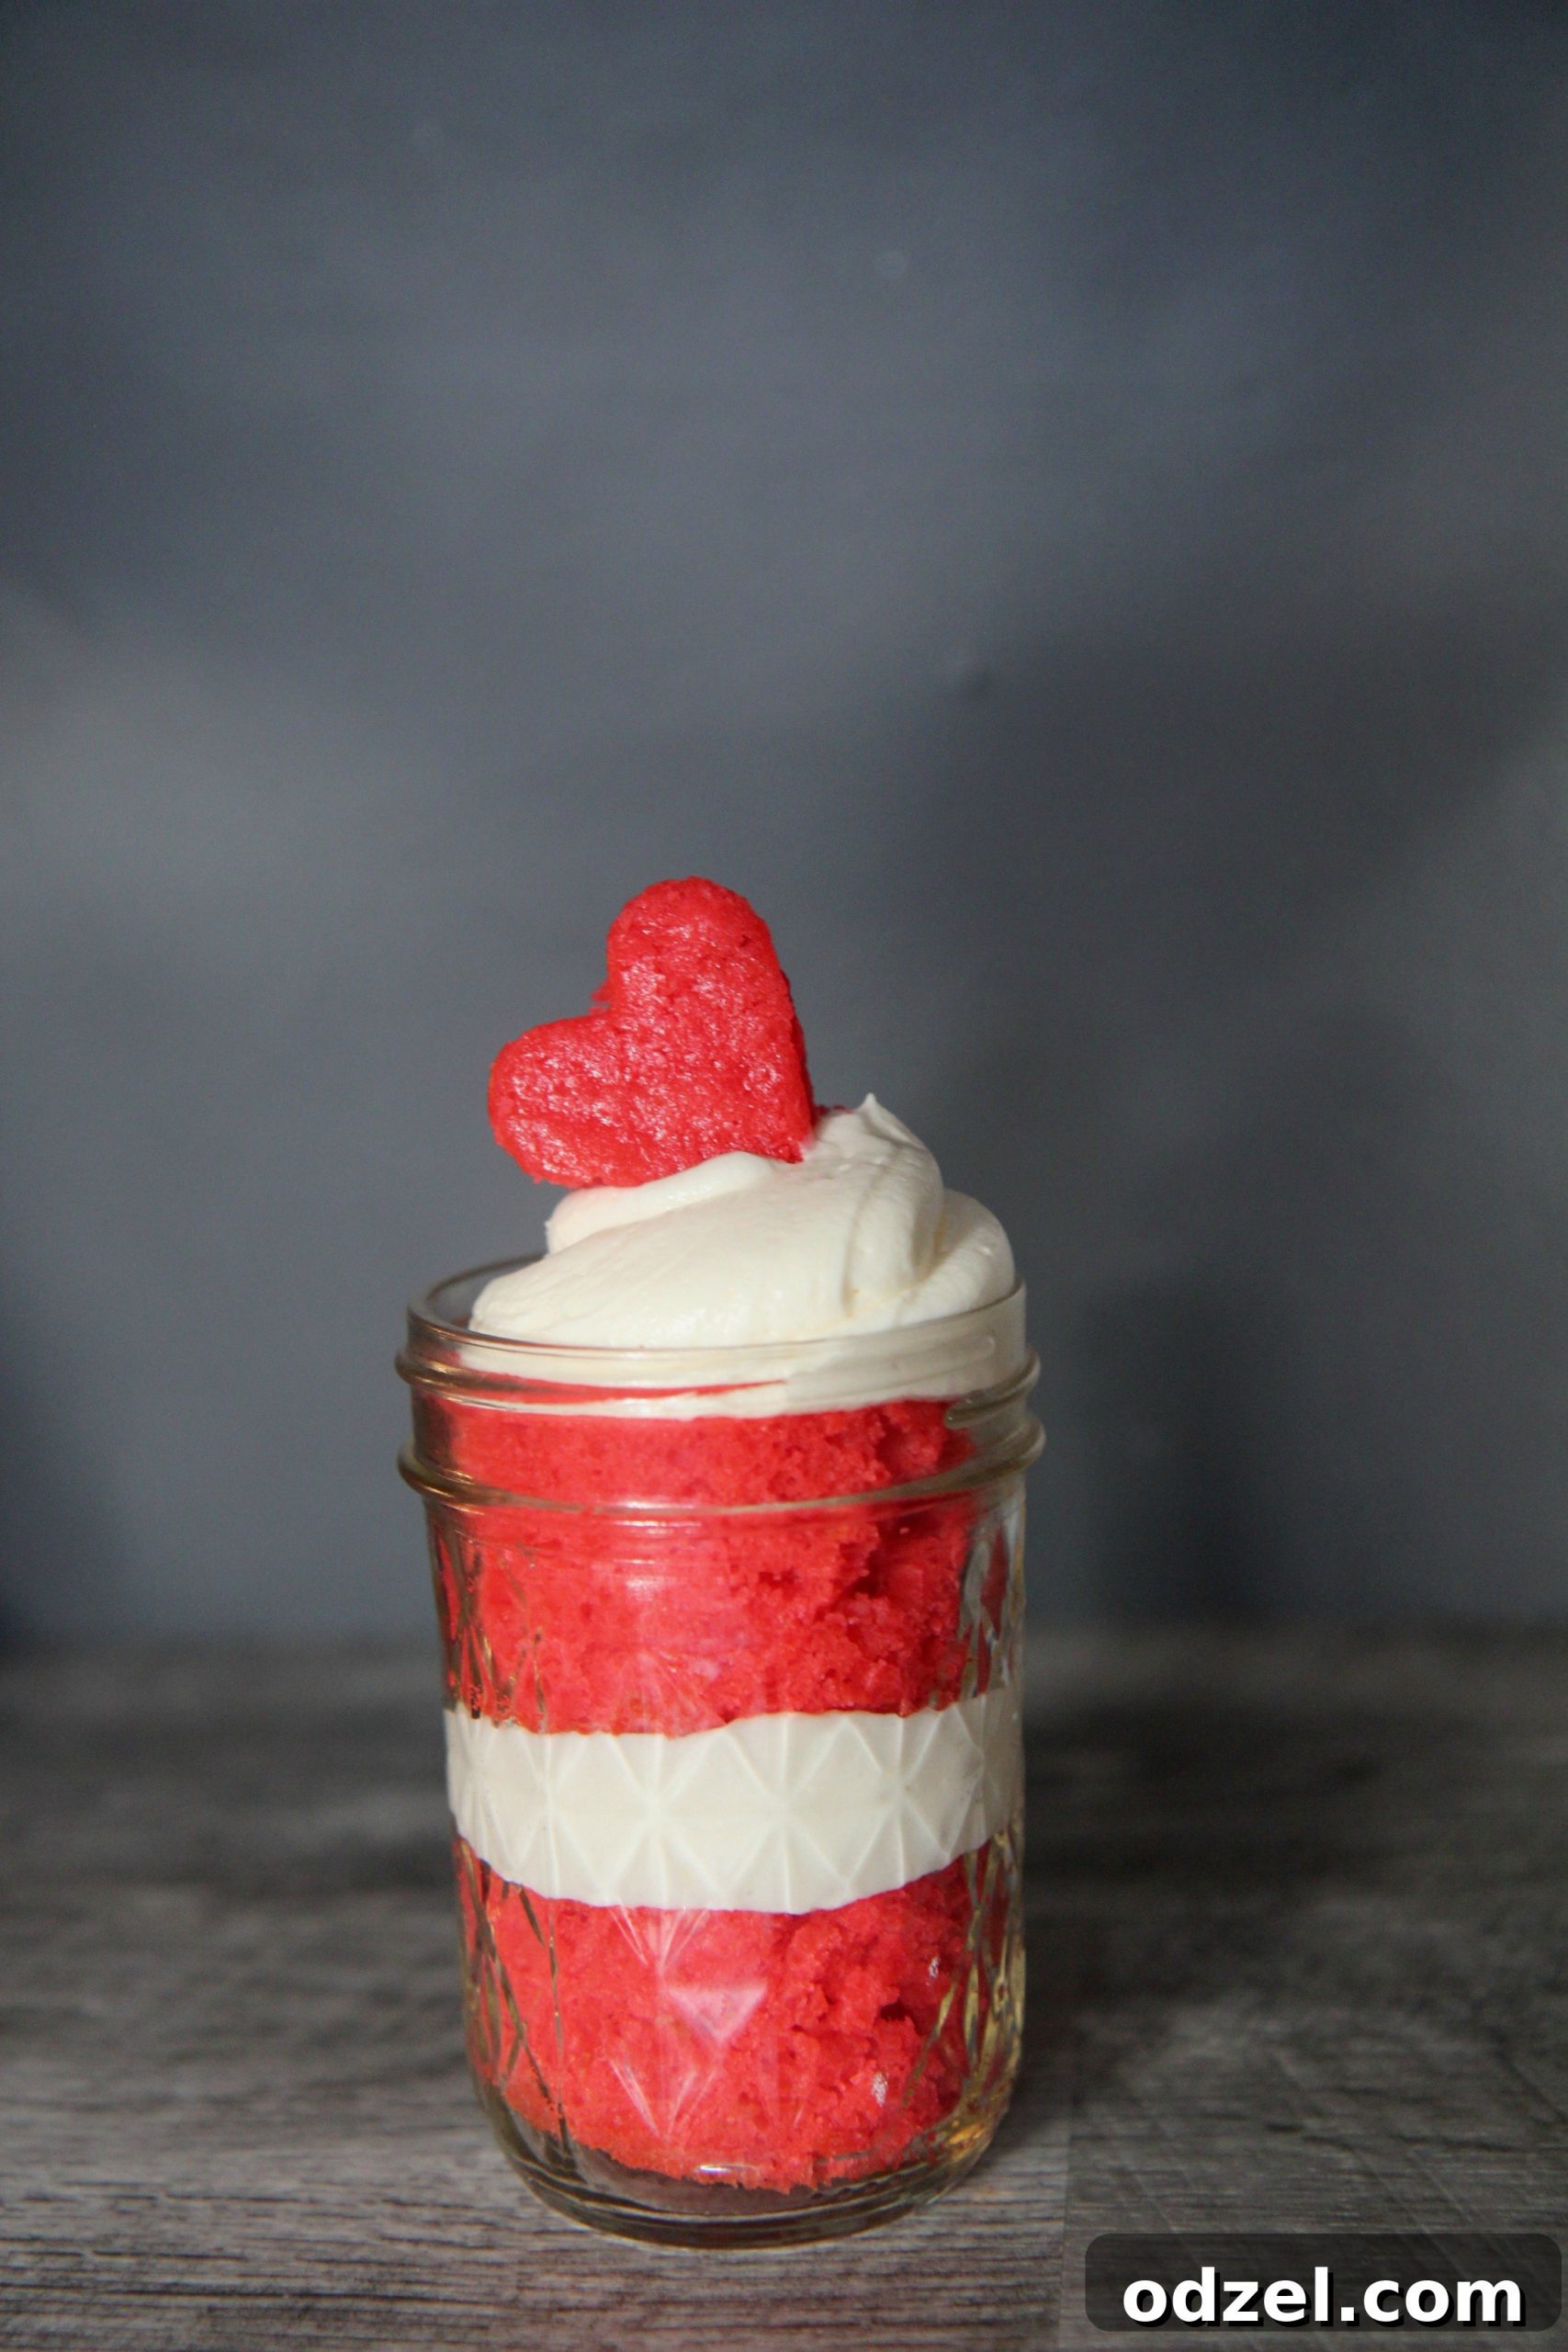
Begin the assembly by placing one cake layer snugly at the bottom of your clean, empty jar. Then, using your piping bag, pipe a generous, even swirl of the prepared cream cheese frosting directly over the cake layer. Continue this delightful process, alternating between a cake layer and a frosting layer, until your jar is filled to the top. The alternating crimson and white layers create a truly captivating visual effect that is both elegant and inviting. For an extra touch of charm, especially if you’re making these for a special occasion like Valentine’s Day or a birthday, utilize any leftover cake scraps. Use a small heart-shaped cookie cutter to cut out mini cake hearts and delicately place them on top of the final frosting layer for a sweet and decorative finish. These jars are not just desserts; they are edible works of art!
Essential Tips for Success and Creative Flavor Variations
To ensure your Red Velvet Cake Jars are nothing short of perfect, consider these helpful tips:
- Choosing the Right Jars: Opt for wide-mouth mason jars or similar glass containers. Their wider opening makes layering cake and frosting much easier and provides a more pleasant eating experience.
- Optimal Storage: Due to the cream cheese frosting, these cake jars must be stored in the refrigerator. For the best flavor and texture, allow them to come to room temperature for about 30 minutes before serving. Properly stored, they can remain fresh for 3-5 days in the fridge.
- Layering Precision: When assembling, gently press down on each cake layer after placing it in the jar. This helps to eliminate air pockets and creates a more stable, compact structure, preventing your layers from shifting.
- Maintain Cleanliness: Keep a damp paper towel handy during assembly. If any frosting smears on the inside of the jar, gently wipe it away for a pristine, professional appearance.
- Explore Flavor Variations: While red velvet is a timeless favorite, the cake jar concept is incredibly versatile! Experiment with other cake flavors like classic chocolate, vibrant lemon, or even a spicy carrot cake. The possibilities extend to frostings as well; try dark chocolate ganache, luscious whipped cream, or a zesty lime cream cheese frosting for different taste experiences.
- Personalize Your Presentation: Elevate your cake jars with simple decorative touches. Add colorful sprinkles, elegant chocolate shavings, fresh raspberries, or even a small cookie on top of the final frosting layer. Tie a ribbon around the jar or attach a custom label for a truly personalized gift.
The Ultimate Red Velvet Cake Jars Recipe
Red Velvet Cake Jars
By: Julie Maestre
Summary: These delightful individual desserts are perfect for Valentine’s Day, birthdays, or as charming little gifts for your loved ones. These mini cakes bake quickly and, with a bit of creative stacking and frosting, become stunning edible works of art. Be sure to prepare extra, as you’ll definitely want to save one (or two!) for yourself.
- Prep Time: 10 mins
- Cook Time: 35 mins
- Total Time: 45 mins
- Servings: 12 servings
Pin Recipe
Rate Recipe
Print Recipe
Ingredients
For the Red Velvet Cake:
- 2 1/2 cups all purpose flour
- 1 1/2 cups sugar
- 1 tsp salt
- 1 tsp baking soda
- 1 tsp apple cider vinegar
- 1 cup vegetable oil
- 1 1/2 cups buttermilk
- 1 tsp vanilla extract
- 1 tbsp red food coloring
- 1/2 tbsp unsweetened cocoa powder
- 2 eggs
For the Cream Cheese Frosting:
- 8 ounces cream cheese, softened
- 4 ounces unsalted butter, softened
- 3 cups powdered sugar
- 1 tsp vanilla extract
Instructions
- Preheat oven to 350°F (175°C).
- In a large bowl, sift together the all-purpose flour, cocoa powder, and salt. Set aside.
- In a separate large bowl, whisk together the eggs, vegetable oil, buttermilk, vanilla extract, red food coloring, and sugar until well combined.
- Gradually add the dry ingredients to the wet ingredients, mixing until just combined. Be careful not to overmix.
- In a small bowl, combine the baking soda and apple cider vinegar. It will foam up. Immediately add this mixture to the cake batter and mix gently until just incorporated.
- Pour the batter into a greased 9-inch baking dish. Bake for 27-30 minutes, or until a toothpick inserted into the center comes out clean.
- While the cake cools, prepare the cream cheese frosting: In a mixing bowl, beat the softened cream cheese and unsalted butter together for about 2 minutes until smooth and creamy.
- Gradually add the powdered sugar and vanilla extract. Beat on high speed for about 3 minutes until the frosting is light, fluffy, and smooth. Transfer the frosting to a piping bag.
- Once the cake is completely cooled, use a round cookie cutter (or the rim of your jar) to cut out individual cake rounds. Using a serrated knife, carefully slice each cake round in half horizontally.
- To assemble the cake jars: Place one cake layer at the bottom of a jar. Pipe a generous layer of cream cheese frosting over the cake. Repeat this process, alternating cake layers and frosting, until the jar is filled to the top.
- Optionally, use a small heart cookie cutter to cut out decorative shapes from leftover cake scraps and place them on top of the final frosting layer for a charming finish.
Video Tutorial
Nutrition Information
Calories: 487kcal | Carbohydrates: 77g | Protein: 5g | Fat: 17g | Saturated Fat: 10g | Cholesterol: 71mg | Sodium: 403mg | Potassium: 107mg | Sugar: 56g | Vitamin A: 580IU | Calcium: 63mg | Iron: 1.5mg
Nutrition information is automatically calculated, so should only be used as an approximation.
Additional Recipe Details
- Author: Julie Maestre
- Prep Time: 10 minutes
- Cook Time: 35 minutes
- Total Time: 45 minutes
- Course: Dessert
- Cuisine: American
- Servings: 12 servings
- Calories: 487
- Keyword: Red Velvet Cake Jars
Enjoy making these delicious Red Velvet Cake Jars! We’d love to hear from you. Please leave a comment below.