
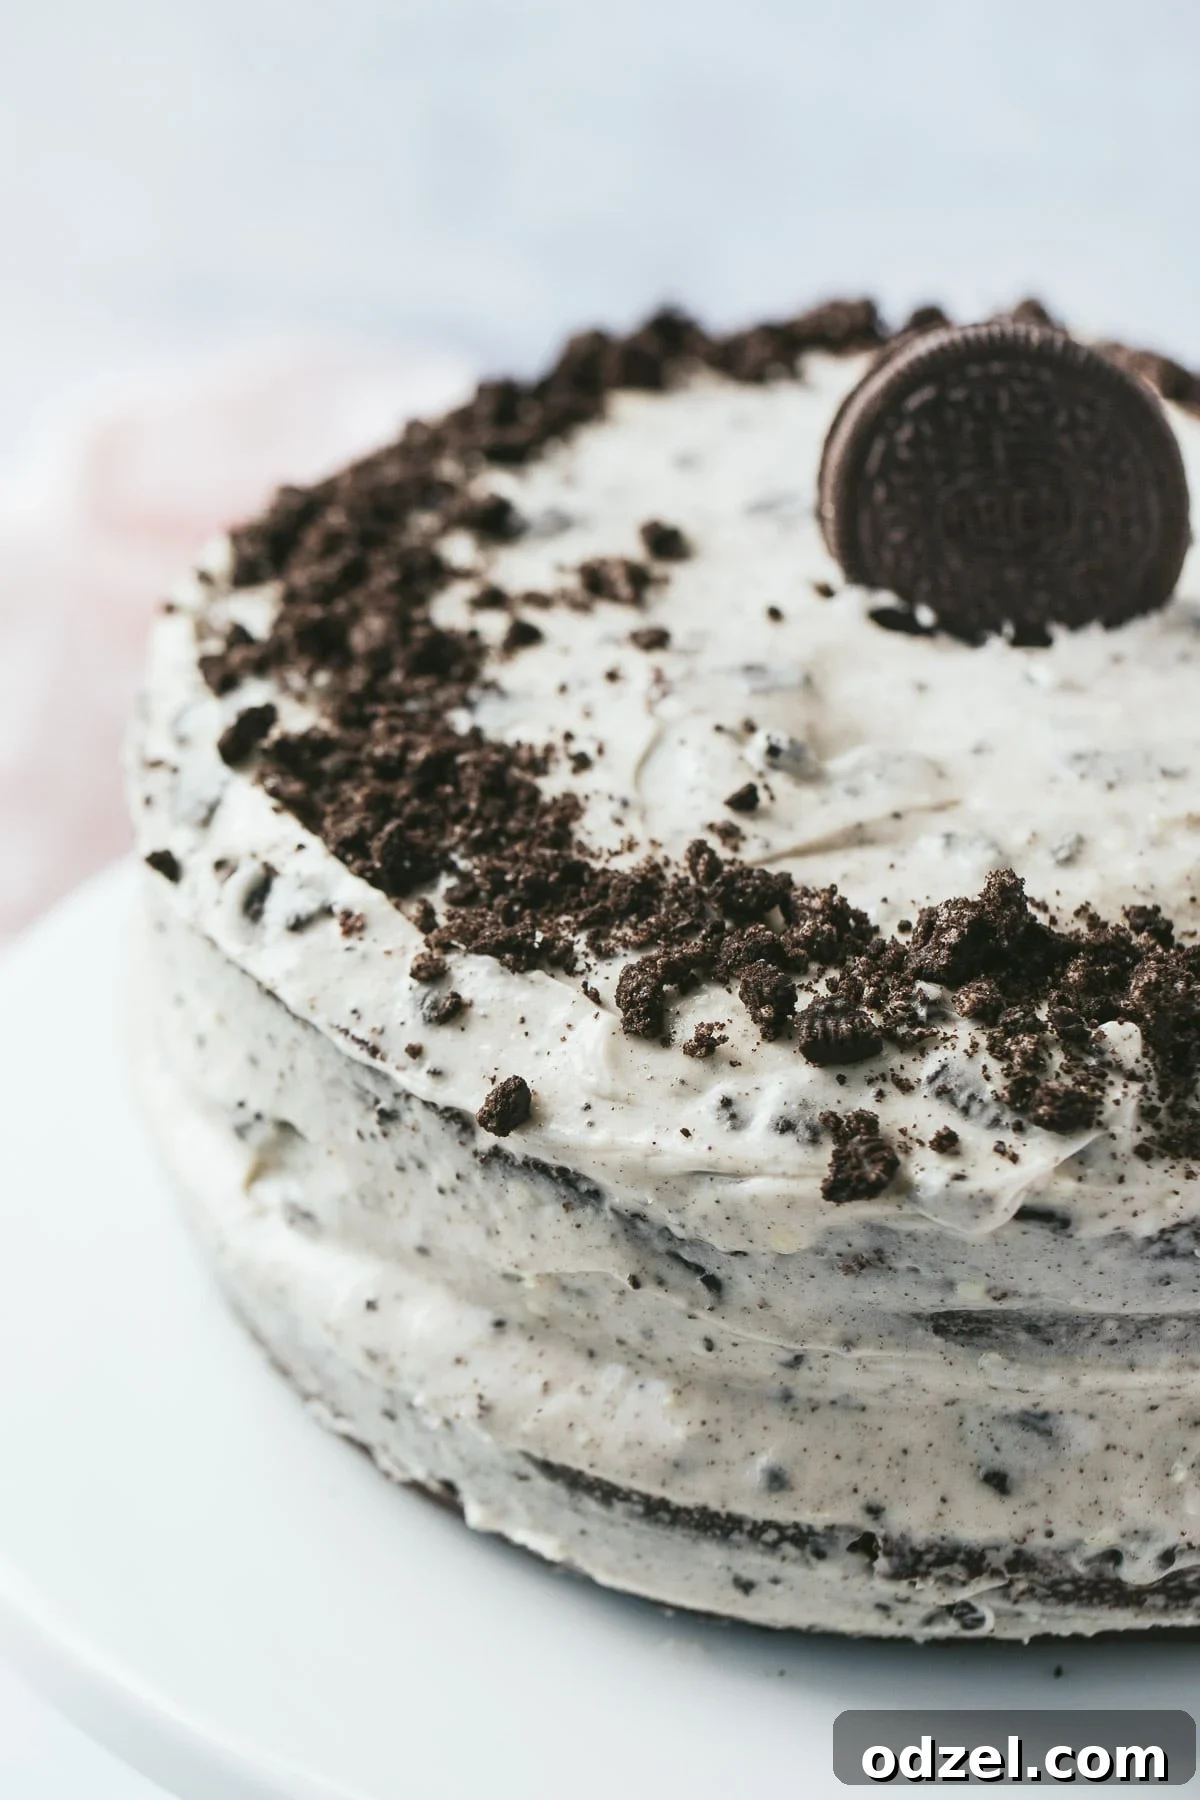
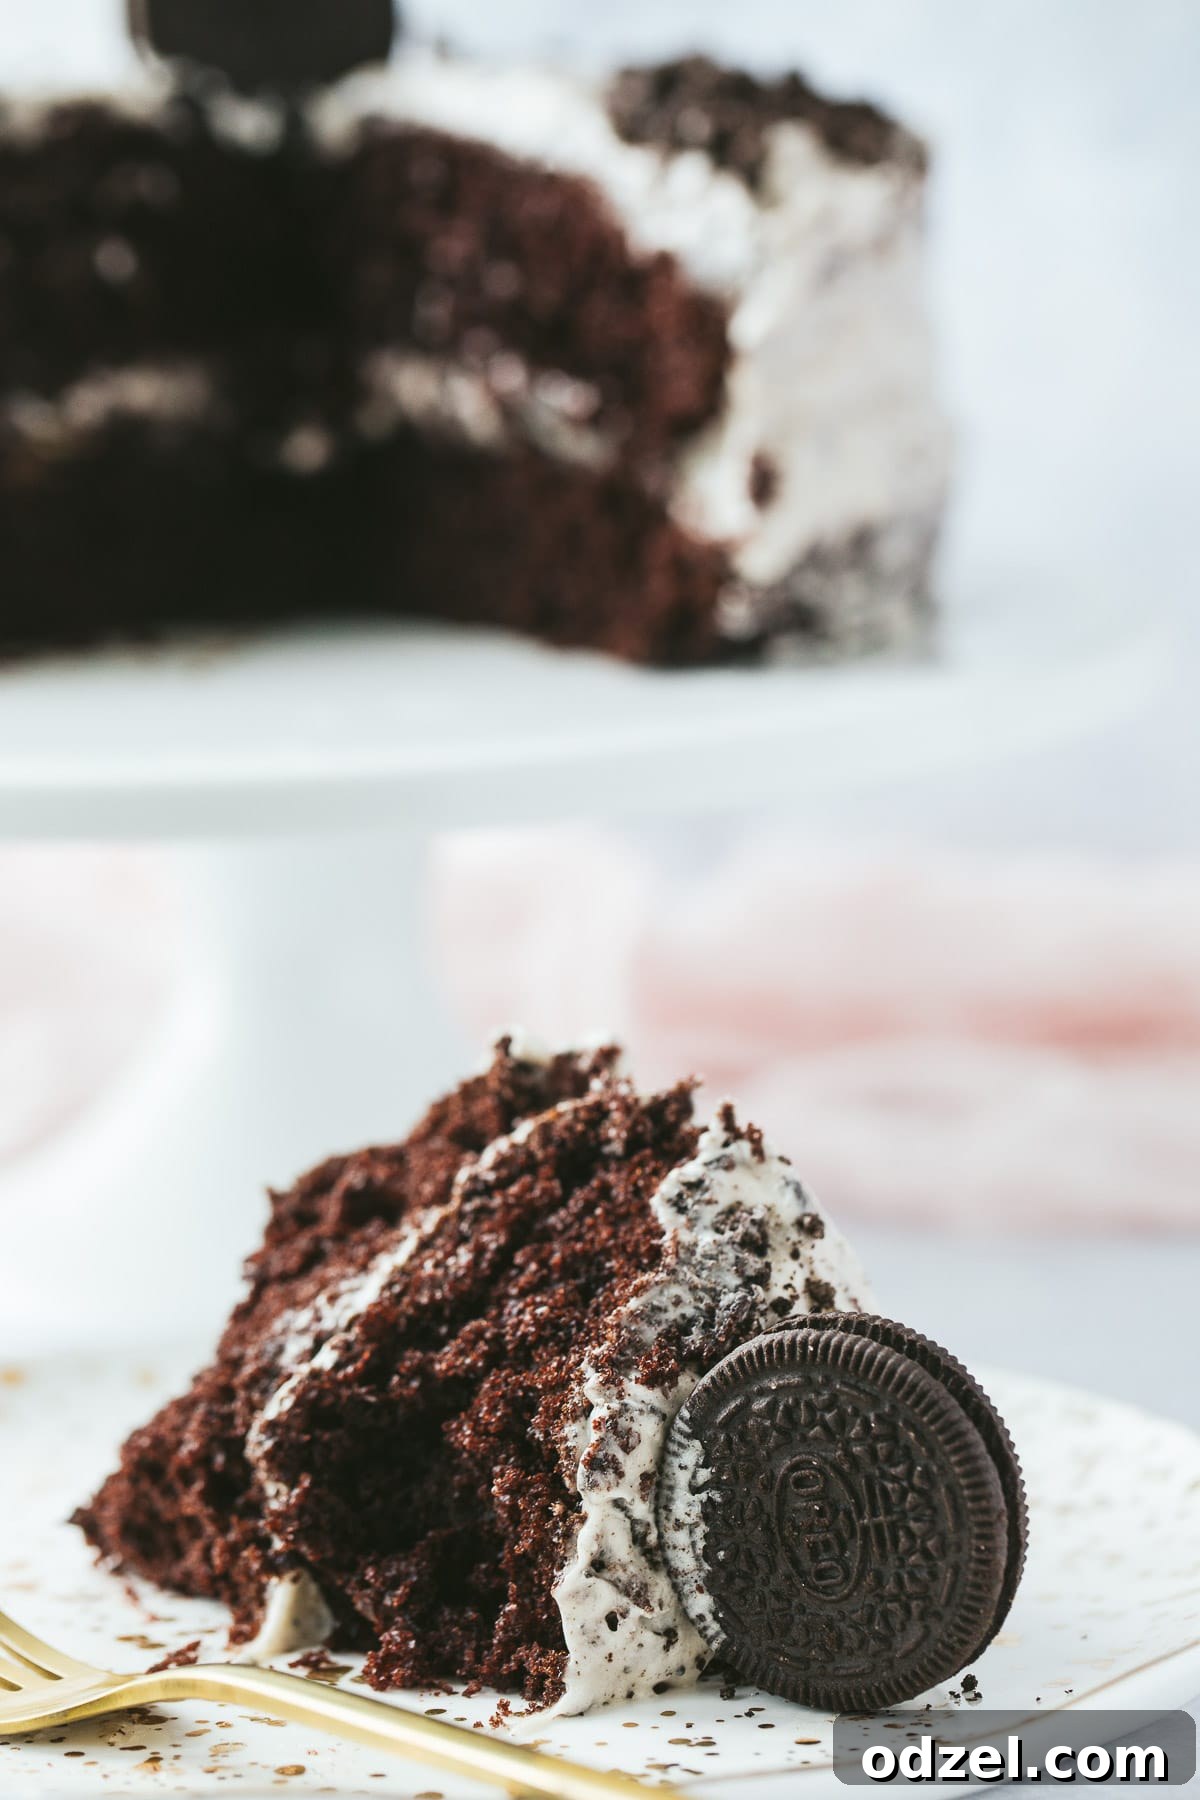
Welcome to the ultimate indulgence for any chocolate and cookie enthusiast: the **Homemade Oreo Cake**. This isn’t just any cake; it’s a symphony of flavors and textures designed to delight from the first bite. Imagine a rich, incredibly moist chocolate cake serving as the foundation, generously crowned with a velvety, irresistible Oreo cream cheese frosting. Every element of this masterpiece is crafted from scratch, ensuring a depth of flavor and freshness that store-bought cakes simply can’t match. Despite its impressive appearance and gourmet taste, this Oreo cake recipe is surprisingly straightforward, making it an accessible and rewarding baking project for any occasion, from birthdays to simple weekend treats.
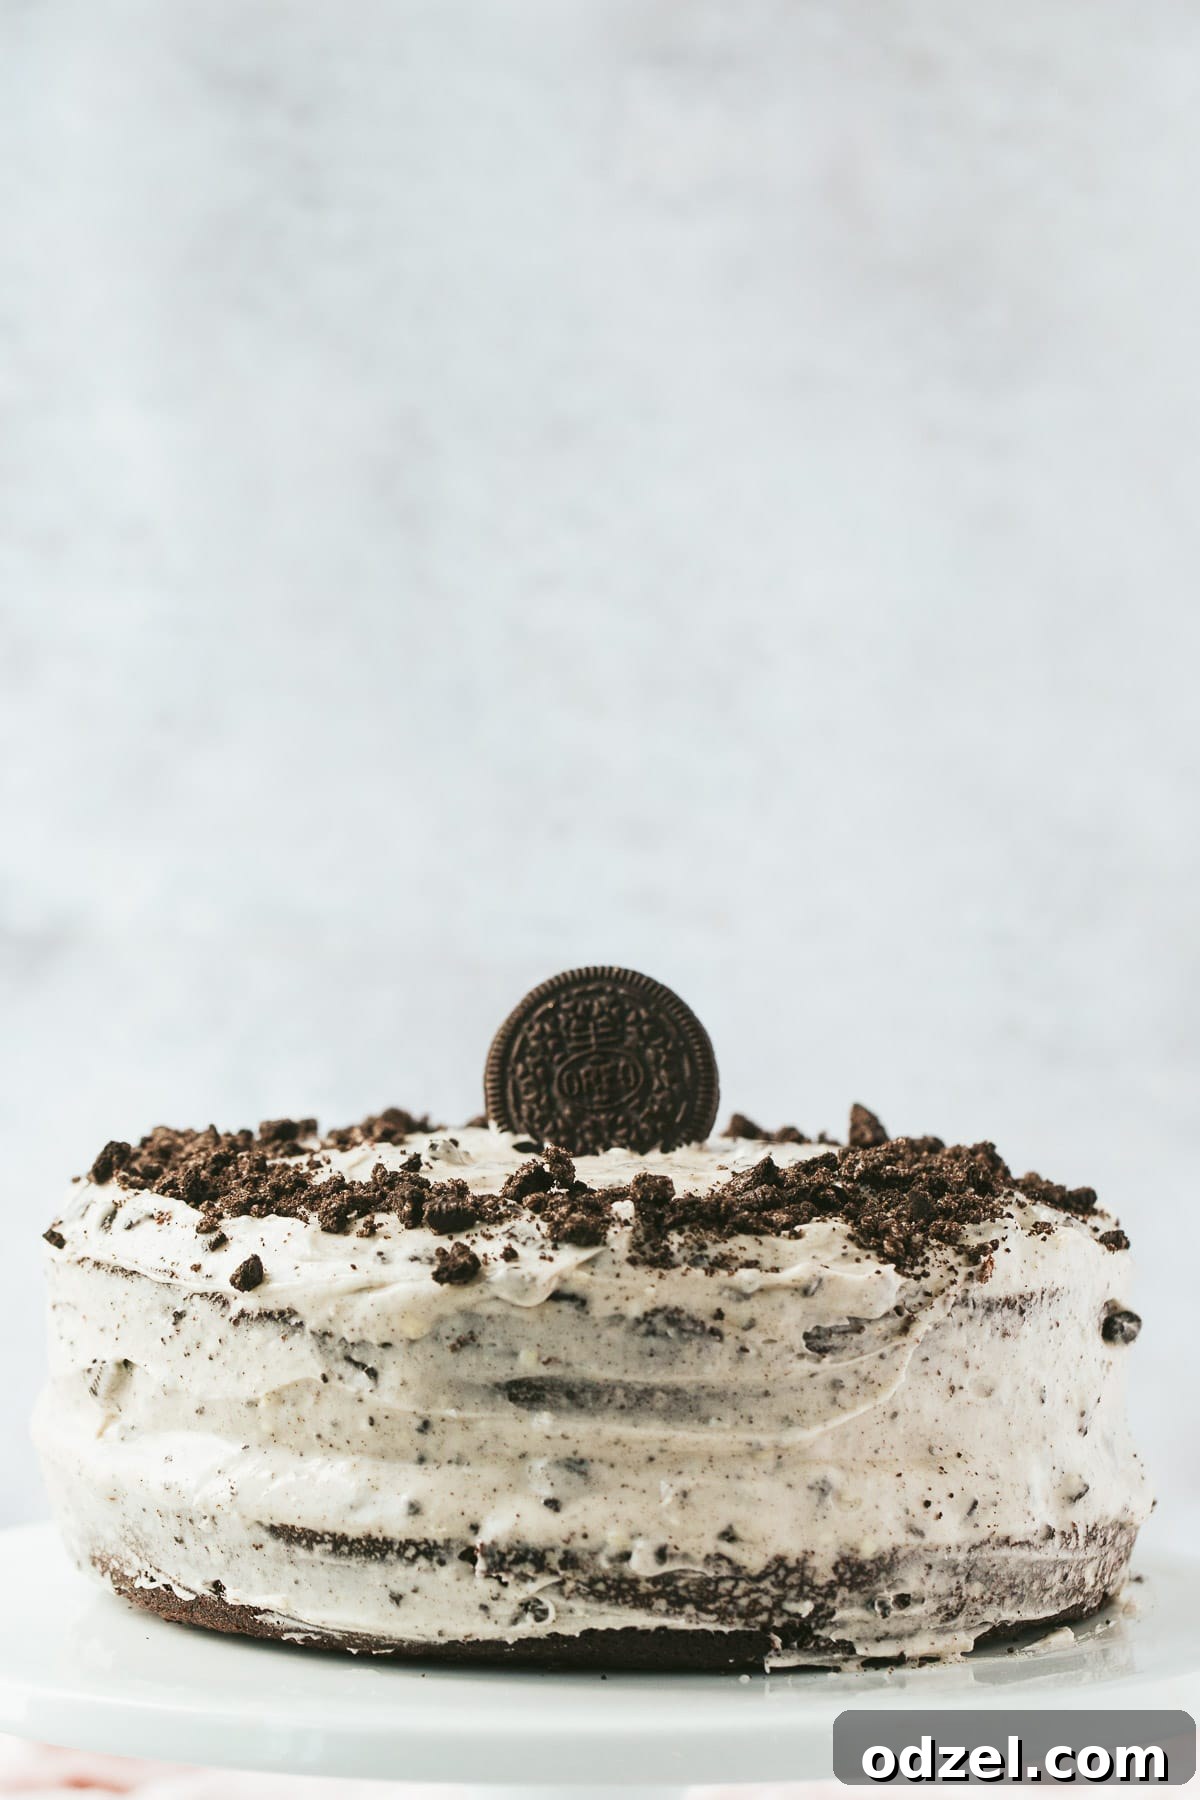
It’s no secret that my affection for Oreos borders on obsession. These iconic cookies are more than just a delightful snack on their own; they are a culinary marvel, transforming ordinary desserts into extraordinary experiences. Their distinctive chocolatey crunch and sweet cream filling add a unique dimension to countless recipes. From crispy Deep Fried Oreos to other creative confections, Oreos prove their versatility time and again. They are, without a doubt, a staple ingredient every baker should have on hand for those moments when inspiration strikes.
My kitchen frequently features an array of Oreo-infused delights. Among my top favorites are the creamy Oreo Cheesecake and the adorable Oreo Cupcakes. But perhaps my deepest love lies not just with Oreos, but with chocolate in general. This particular Oreo cake epitomizes that passion. I genuinely struggle to decide which element I adore more: the tender, deeply chocolatey cake layers or the luscious, decadent cream cheese frosting studded with crunchy Oreo pieces. The truth is, they don’t compete; they complement each other flawlessly, creating a harmonious blend that is nothing short of dessert heaven. The contrast between the rich cake and the sweet, textured frosting makes every bite an unforgettable experience, solidifying this Oreo cake as a true showstopper.
Crafting Your Dream Oreo Cake: A Step-by-Step Guide
Creating this spectacular Oreo cake is a rewarding process. Follow these detailed steps to ensure a perfect, mouth-watering result every time. Each stage is designed to be straightforward, even for novice bakers, ensuring your homemade Oreo cake is a triumph.
-
Prep Work is Key: Setting the Stage for Baking Success
Before you dive into mixing, proper preparation is essential. Preheat your oven to a precise 350 degrees Fahrenheit (175°C). This ensures the oven reaches the correct temperature and maintains it consistently throughout baking, which is crucial for even cooking. Next, prepare two 9-inch round cake pans. Greasing them thoroughly with butter or cooking spray prevents sticking, and dusting them lightly with flour creates a non-stick barrier, ensuring your beautiful cake layers release easily after baking. Tap out any excess flour. Set these prepared pans aside, ready for the batter.
-
Mixing the Rich Chocolate Cake Batter: Achieving Perfect Texture
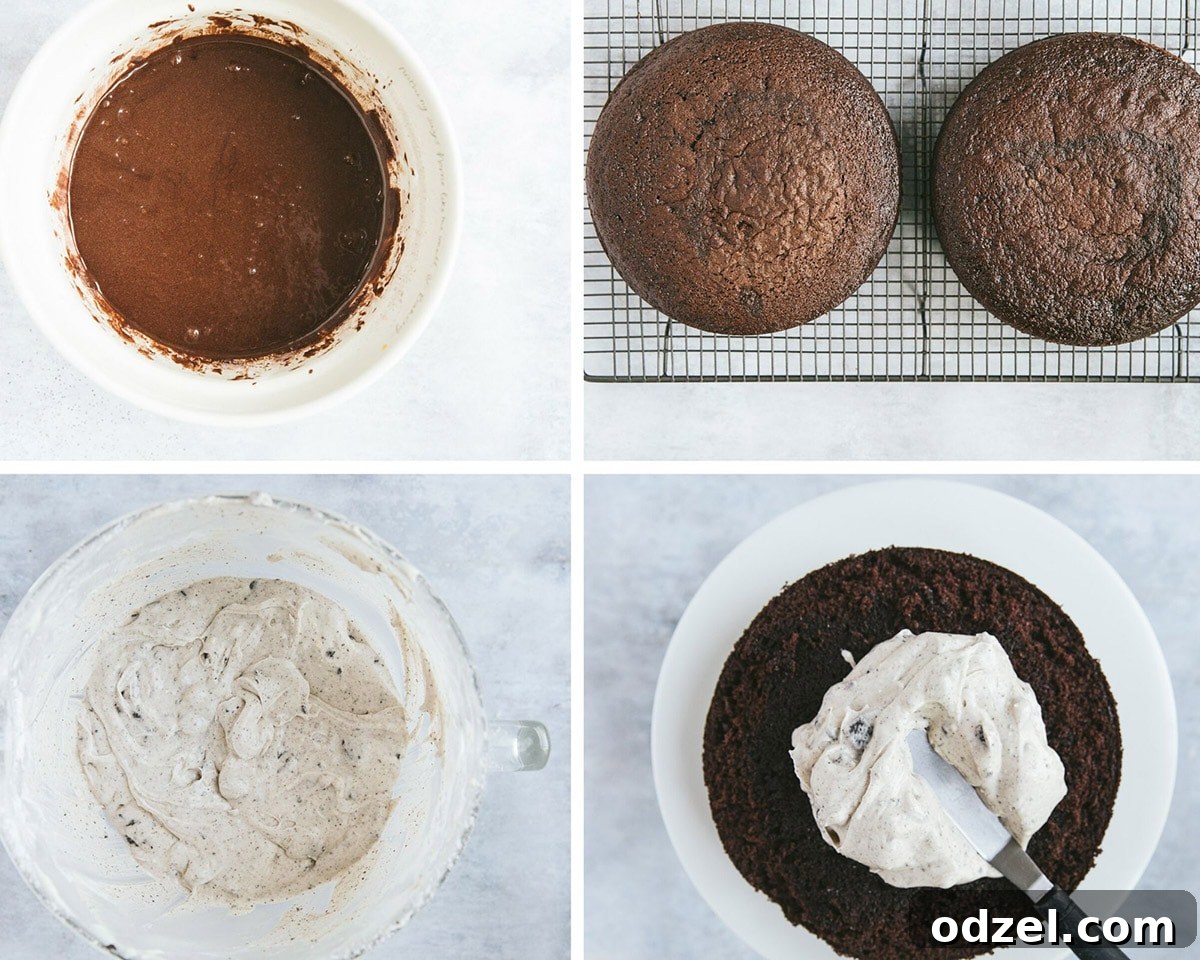
In a large mixing bowl, begin by sifting your dry ingredients together: all-purpose flour, unsweetened cocoa powder, granulated sugar, baking powder, baking soda, and salt. Sifting helps to aerate the flour and remove any lumps, resulting in a lighter, finer cake crumb. In a separate, medium-sized bowl, combine all the wet ingredients for the cake, except for the boiling water. This includes eggs, vegetable oil, milk, and vanilla extract. Whisk these together until they are well combined. Gradually add the wet ingredients into the dry ingredients, mixing thoroughly until just combined. Be careful not to overmix, as this can lead to a tough cake. Finally, slowly pour in the boiling water while continuously stirring. This unique step activates the cocoa powder, enhancing its chocolate flavor and contributing to the cake’s incredibly moist texture.
-
Baking Your Decadent Cake Layers: The Art of Timing
Once your batter is perfectly mixed, divide it evenly between the two prepared 9-inch cake pans. To help release any trapped air bubbles and ensure a flat, even bake, gently tap each pan on your counter a few times. Transfer the pans to the preheated oven and bake for approximately 28-30 minutes, or until a wooden toothpick inserted into the center of a cake comes out clean. This clean toothpick indicates that the cake is fully cooked through. Over-baking can dry out the cake, so keep a close eye on it during the last few minutes.
-
Crafting the Creamy Oreo Frosting and Assembling Your Masterpiece
Allow the chocolate cake layers to cool completely on a wire rack before frosting. This step is critical; frosting a warm cake will cause the frosting to melt and slide off. While the cakes cool, prepare your sensational Oreo cream cheese frosting. In a large bowl, beat the softened cream cheese and unsalted butter together for about 2-3 minutes until the mixture is light, fluffy, and smooth. Gradually add the powdered sugar, milk, vanilla extract, and finely crushed Oreo cookies. Beat for another 2-3 minutes on medium-high speed until the frosting is light, creamy, and spreadable. Once the cakes are completely cool, evenly spread a generous layer of frosting between the two cake layers, then cover the top and sides of the entire cake with the remaining luscious Oreo frosting.
-
Garnish, Slice, and Savor: The Finishing Touches
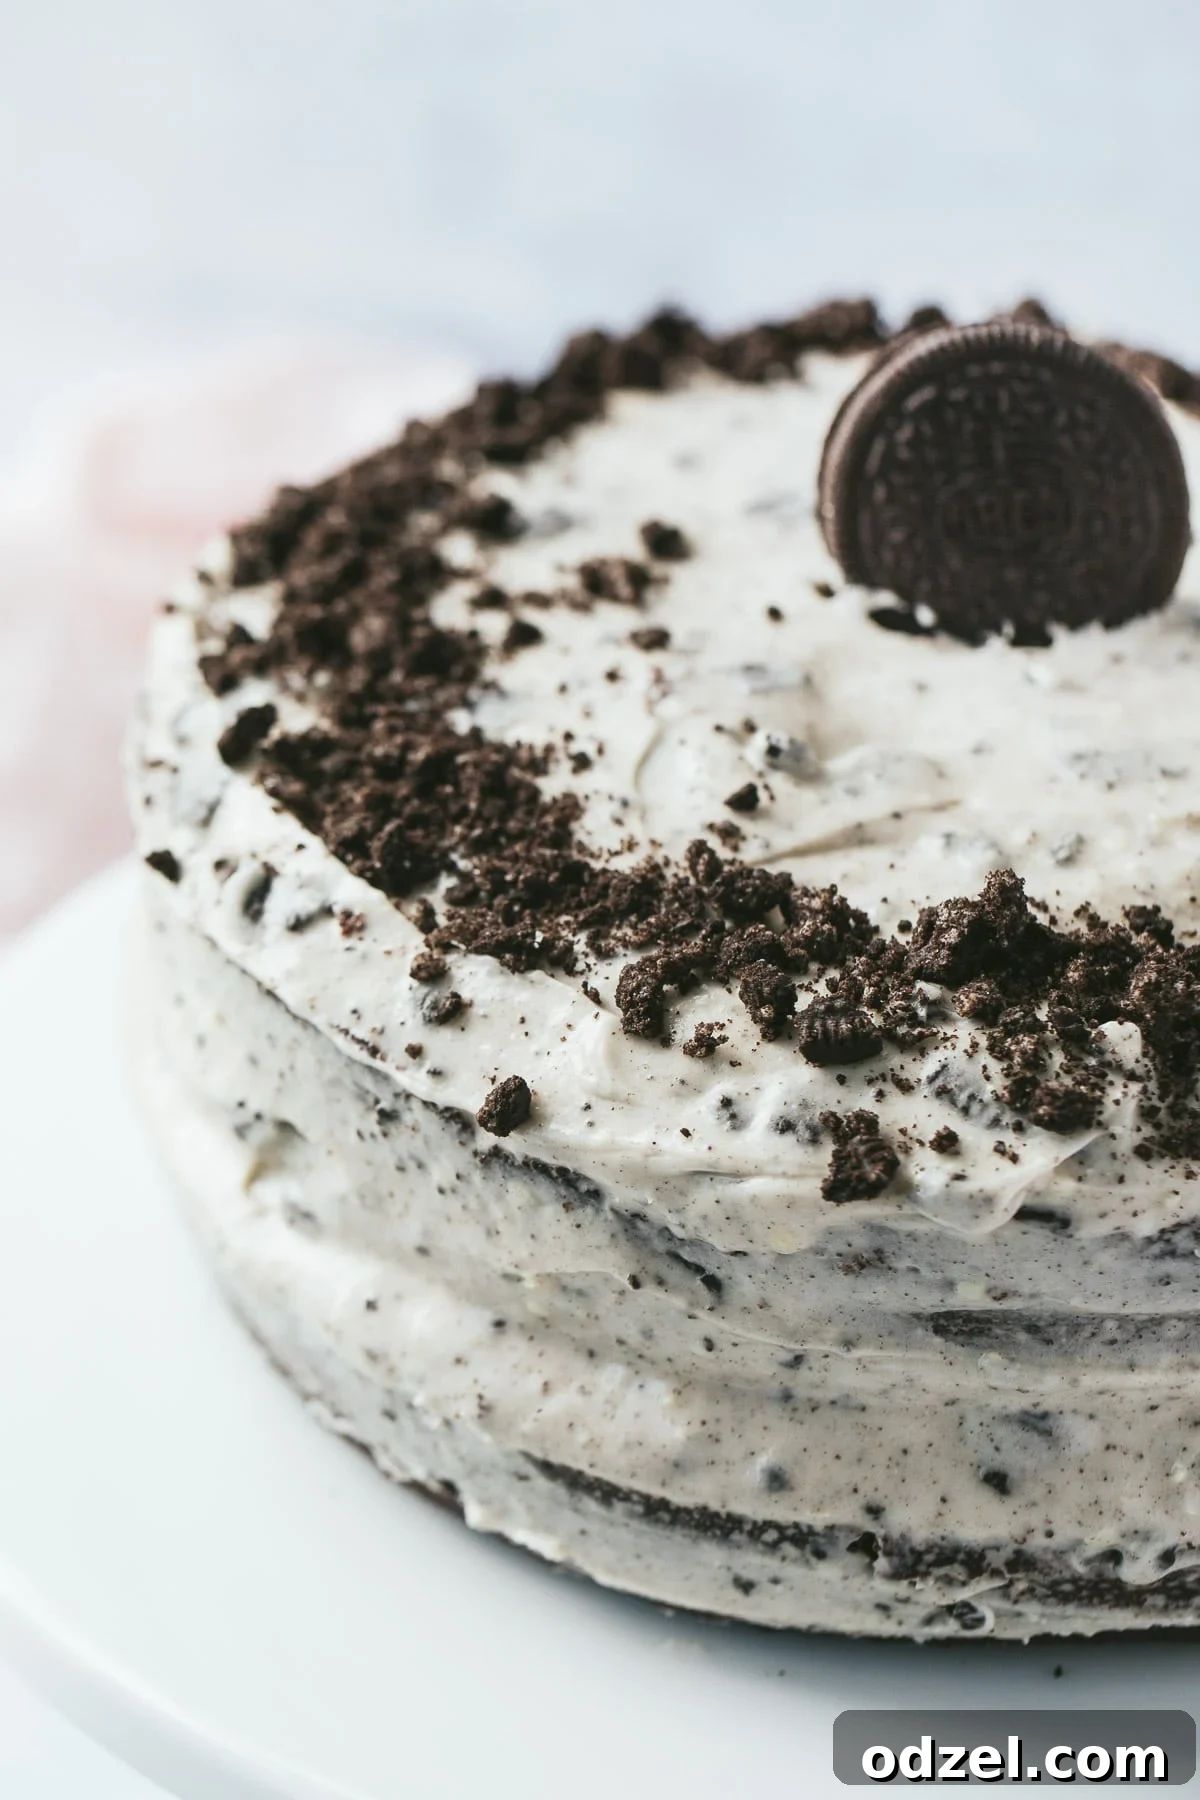
To complete your stunning Oreo cake, add your desired garnish. This is where you can truly personalize your creation. Sprinkle additional crushed Oreos over the top, arrange whole Oreo cookies for a classic look, or even add a mix of both. Feel free to get creative with your presentation! Once garnished, slice the cake and serve immediately to eager guests (or yourself!). Enjoy every heavenly bite of this homemade chocolate Oreo delight.
Expert Tips and Creative Variations for Your Oreo Cake
To ensure your Oreo cake is always a smashing success and to inspire your inner baker, here are some invaluable tips and exciting variations to consider.
-
Optimal Storage for Freshness: Keeping Your Cake Delicious
To maintain the cake’s freshness and flavor, store it in an airtight container. This prevents the cake from drying out and the frosting from absorbing unwanted odors from the fridge. Place it in the refrigerator for up to 5-7 days. If you’ve baked ahead or have leftovers you wish to preserve longer, the Oreo cake freezes beautifully. Wrap individual slices or the entire cake (after it has been fully chilled) tightly in plastic wrap, then place it in a freezer-safe airtight container or heavy-duty freezer bag. It can be kept in the freezer for up to 3 months, ensuring you always have a delightful treat ready to go.
-
Gentle Reheating Instructions: Preserving Frosting Perfection
When retrieving your Oreo cake from the freezer, it’s best to allow it to thaw gradually to room temperature on its own. Simply transfer it from the freezer to the refrigerator a day before you plan to serve it, then let it sit on the counter for an hour or two before enjoying. I strongly advise against heating the cake in the oven or microwave, especially if it’s frosted. The heat will cause the delicate cream cheese and butter-based frosting to melt, resulting in a messy and less appealing presentation. Patience is a virtue when it comes to thawing this cake!
-
Beyond Oreos: Creative Topping Ideas for Added Flair
While crushed Oreos are the quintessential topping for this cake, don’t hesitate to experiment with other delicious adornments to suit your taste or occasion. Consider adding elegant chocolate shavings for a gourmet touch, drizzling rich chocolate ganache or sauce over the top for extra decadence, scattering mini chocolate chips for added texture, or even incorporating chopped nuts like pecans or walnuts for a contrasting crunch. A swirl of caramel sauce could also add a delightful complexity.
-
Incorporating Oreos into the Cake Batter: A Textural Experiment
Many bakers wonder if they can add crushed Oreos directly into the cake batter. While I haven’t personally tested this specific rendition with this recipe, there’s no inherent reason it wouldn’t work. If you choose to try this, I recommend folding in no more than 1 cup of coarsely crushed Oreos into the batter just before dividing it into the pans. Be aware that adding cookies to the batter might slightly alter the cake’s texture, making it a bit denser or adding pockets of cookie crunch. This could be a fantastic variation for those who crave even more Oreo presence within each slice!
-
Exploring Oil Substitutes: Maintaining Moisture and Flavor
The vegetable oil in this recipe contributes significantly to the cake’s moistness. If you prefer not to use vegetable oil, most other neutral-flavored oils will work just as well as a direct substitute. Excellent choices include avocado oil, canola oil, or even a light olive oil (though be mindful that some olive oils can impart a subtle flavor). While the type of oil might introduce a very slight flavor variation, it is usually hardly noticeable, especially with the robust chocolate and Oreo flavors in this cake.
-
Egg Substitutions for Dietary Needs: Baking with Alternatives
For those with dietary restrictions or who simply prefer not to use eggs, unsweetened applesauce makes an excellent egg substitute in many baking recipes. For this Oreo cake, you would use ¼ cup of unsweetened applesauce per egg. Since this recipe calls for two eggs, you would use a total of ½ cup of unsweetened applesauce to achieve a similar binding and moistening effect. Ensure the applesauce is unsweetened to avoid altering the cake’s sugar balance.
Can I Make This Oreo Cake into Three Layers?
Absolutely! Transforming this two-layer cake into a stunning three-layer confection is entirely possible and often makes for an even more impressive presentation. To do so successfully, you’ll need to increase the quantities of both the cake batter and the frosting by about 50%. This will provide enough volume to create three adequately thick layers without them becoming too thin and fragile. You can achieve this by multiplying all ingredient amounts for both the cake and frosting by 1.5. Remember that baking times may also need slight adjustment; three thinner layers might bake a little faster than two thicker ones, so keep a close eye on them with the toothpick test. Using three 8-inch pans is often ideal for a three-layer cake, but if sticking with 9-inch pans, ensure you have sufficient batter.
What Kind of Cocoa Powder Should I Use?
For this recipe, I personally used Hershey’s Unsweetened Cocoa Powder, which is a natural cocoa powder. This type of cocoa powder has a slightly acidic pH, which reacts with the baking soda in the recipe to create lift and contributes to a rich, complex chocolate flavor. However, you are welcome to use the unsweetened cocoa powder of your choosing. Different brands can offer subtle variations in flavor and color intensity.
It’s important to note the distinction between natural cocoa powder and Dutch-processed cocoa powder. Natural cocoa powder (like Hershey’s unsweetened) is lighter in color and more acidic. Dutch-processed cocoa powder, on the other hand, has been treated with an alkali to neutralize its acidity, resulting in a darker color and a milder, less bitter flavor. If you opt for Dutch-processed cocoa, you might notice a slight difference in the cake’s lift and taste, as it doesn’t react as strongly with baking soda. For the best results and intended flavor profile of this recipe, I recommend sticking with a high-quality natural unsweetened cocoa powder, as it truly enhances the deep chocolate notes in this cake. My preference for Hershey’s comes from its consistent quality and the specific flavor profile it imparts, which I find perfectly complements this decadent dessert.
I genuinely hope you embark on the delightful journey of baking this Oreo Cake! If you do, I would absolutely love to hear about your experience. Did you add any unique twists? Did your family rave about it? Share your thoughts, tips, and any creative renditions you attempted in the comments below. Your feedback and baking adventures are always an inspiration!
More Irresistible Cake Recipes You’re Sure to Adore:
If you’ve enjoyed baking this Oreo Cake, you’re in for a treat with these other fantastic cake recipes from my collection:
- Lemon Blueberry Cream Cheese Coffee Cake
- Classic Carrot Sheet Cake with Cream Cheese Frosting
- Decadent Salted Caramel Apple Cake
- Bright Lemon Cake with Cream Cheese Buttercream
- Light and Fluffy Japanese Cotton Cheesecake
For more delicious recipes, cooking tips, and engaging tutorial videos, be sure to visit my channels on Youtube and Facebook. Happy baking!
Ultimate Oreo Cake
Julie Maestre
10 mins
30 mins
40 mins
10 servings
Rate Recipe
Print Recipe
Ingredients
- 2 cups all-purpose flour
- 3/4 cup unsweetened cocoa powder
- 2 cups sugar
- 2 tsp baking powder
- 1 1/2 tsp baking soda
- 1 tsp salt
- 2 eggs
- 1/2 cup vegetable oil
- 1 cup milk
- 1 cup boiling water
- 2 tsp vanilla extract
Oreo Cream Cheese Frosting
- 1/2 cup unsalted butter, softened
- 12 ounces cream cheese, softened
- 3 cups powdered sugar
- 1 tsp vanilla extract
- 10-15 Oreo cookies, crushed
Instructions
- Preheat oven to 350 degrees F (175°C).
- Butter and flour two 9-inch cake pans; set aside.
- Sift together the unsweetened cocoa powder, all-purpose flour, baking soda, baking powder, and salt into a large bowl.
- In a separate bowl, combine the eggs, vegetable oil, milk, sugar, and vanilla extract. Whisk until well combined.
- Gradually add the wet mixture to the dry ingredients, mixing until just incorporated. Slowly pour in the boiling water while continuously stirring until the batter is smooth.
- Divide the batter evenly between the prepared pans. Tap pans gently on the counter to release any air bubbles.
- Bake for about 28-30 minutes, or until a wooden toothpick inserted into the center comes out clean.
- Allow the cakes to cool completely on a wire rack before frosting.
- To make the frosting: In a large bowl, beat the softened cream cheese and butter for about 2 minutes until light and fluffy.
- Gradually add the powdered sugar, milk (if needed for consistency), crushed Oreo cookies, and vanilla extract. Beat for about 3 minutes on high speed until the frosting is smooth and creamy.
- Once cakes are cool, spread frosting between layers and then over the top and sides of the cake. Garnish with additional crushed or whole Oreos if desired. Slice and serve!
Video
Notes
- Wait until the cake completely cools before frosting to prevent melting.
Nutrition
Calories: 780kcal | Carbohydrates: 110g | Protein: 8g | Fat: 36g | Saturated Fat: 23g | Cholesterol: 97mg | Sodium: 615mg | Potassium: 343mg | Fiber: 3g | Sugar: 82g | Vitamin A: 830IU | Calcium: 127mg | Iron: 3.5mg
Nutrition information is automatically calculated, so should only be used as an approximation.
Additional Info
Julie Maestre
10 minutes
30 minutes
40 minutes
Dessert
American
10 servings
780
Chocolate Cake with Oreo Frosting, Oreo Cake, Oreo Cream Cheese Frosting, Homemade Oreo Cake Recipe
Like this recipe? Leave a comment below!