
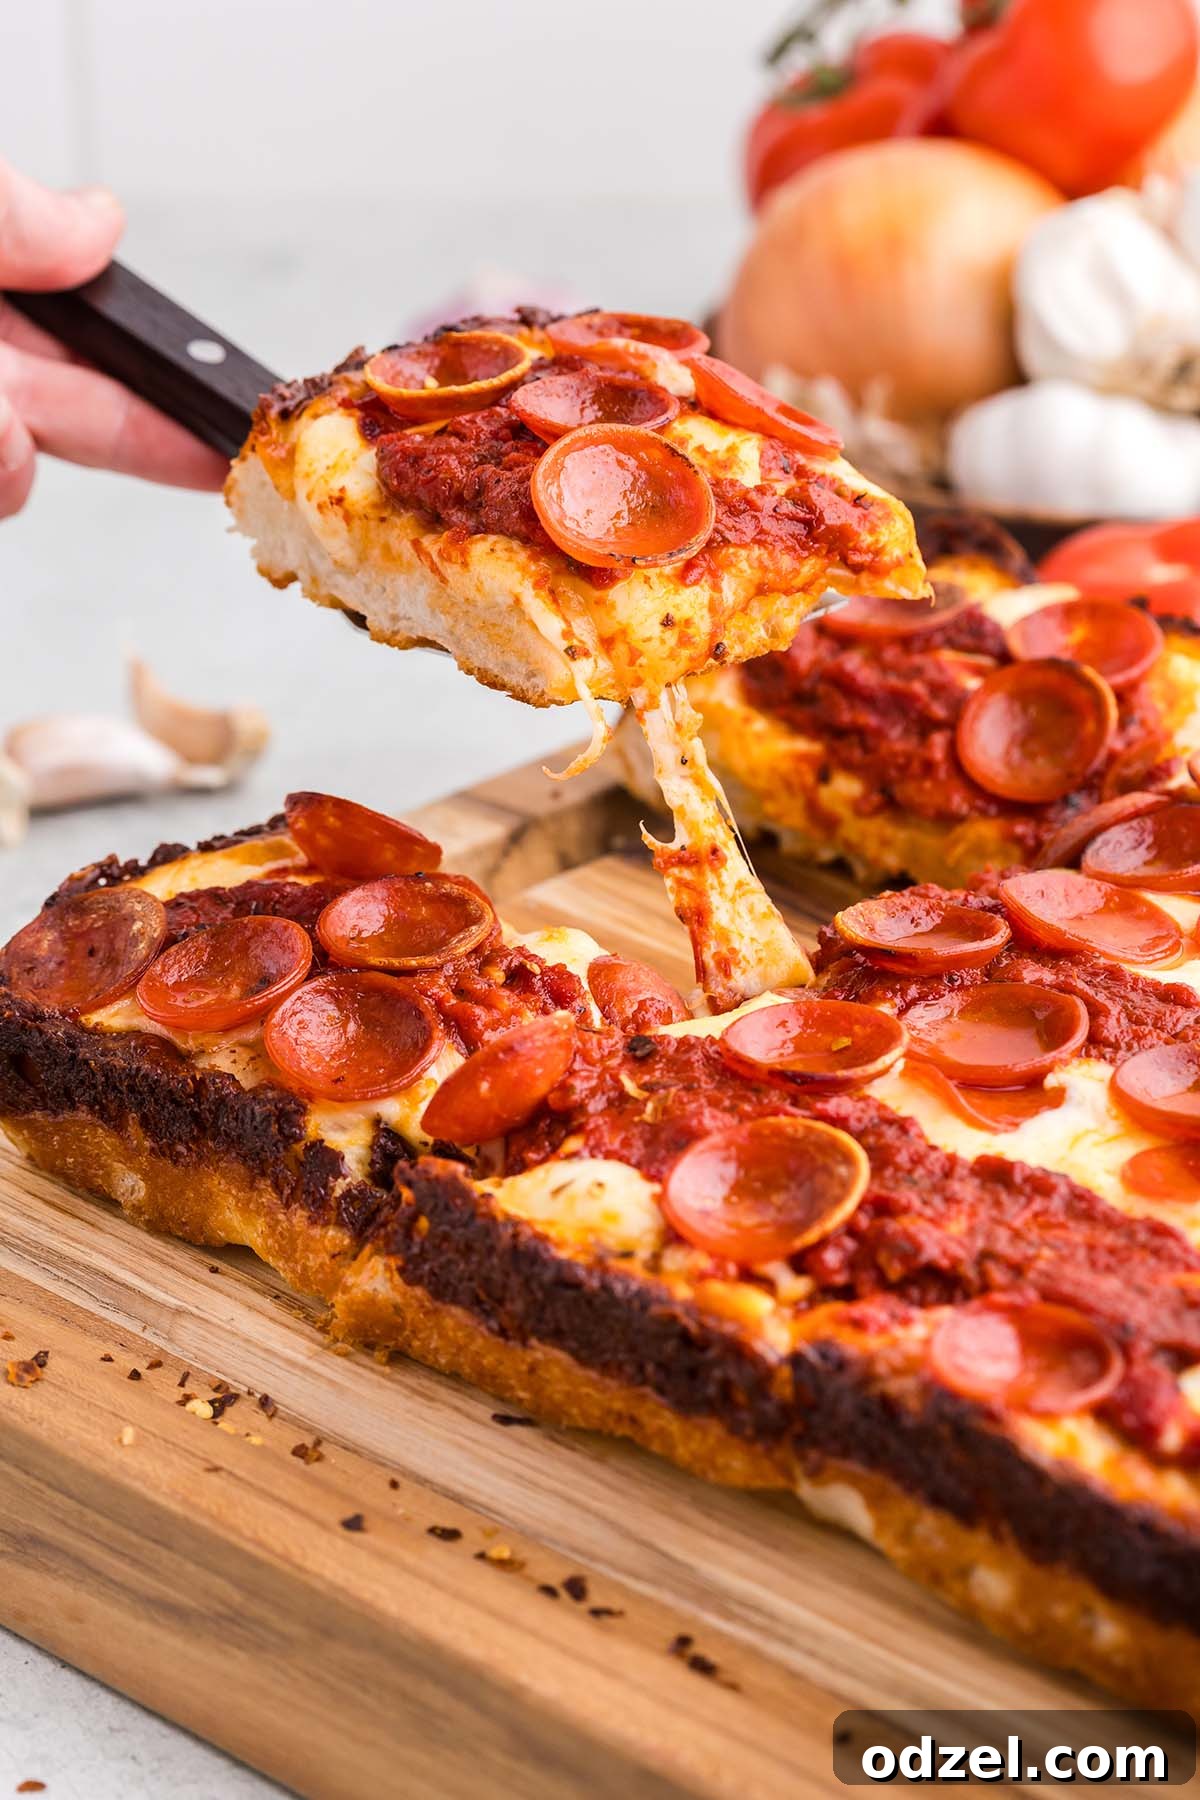
Mastering Authentic Detroit-Style Pan Pizza at Home: Your Ultimate Guide
Dive into the delightful world of Detroit-style pan pizza, renowned for its incredibly fluffy, airy dough, distinctively crispy bottom, and luscious layer of sauce and cheese that extends right to the buttery, caramelized edges. This iconic pizza style is a personal favorite, and the best part? You don’t need a trip to Michigan to savor its unique charm. Creating this culinary masterpiece in your own kitchen is surprisingly straightforward and incredibly rewarding!
Imagine serving up a piping hot, perfectly square slice of this golden-crusted goodness, perhaps alongside a fresh, vibrant salad and some zesty baked buffalo wings for a truly unforgettable meal. This recipe promises an authentic experience, bringing the heart of Detroit’s pizza scene straight to your dining table.
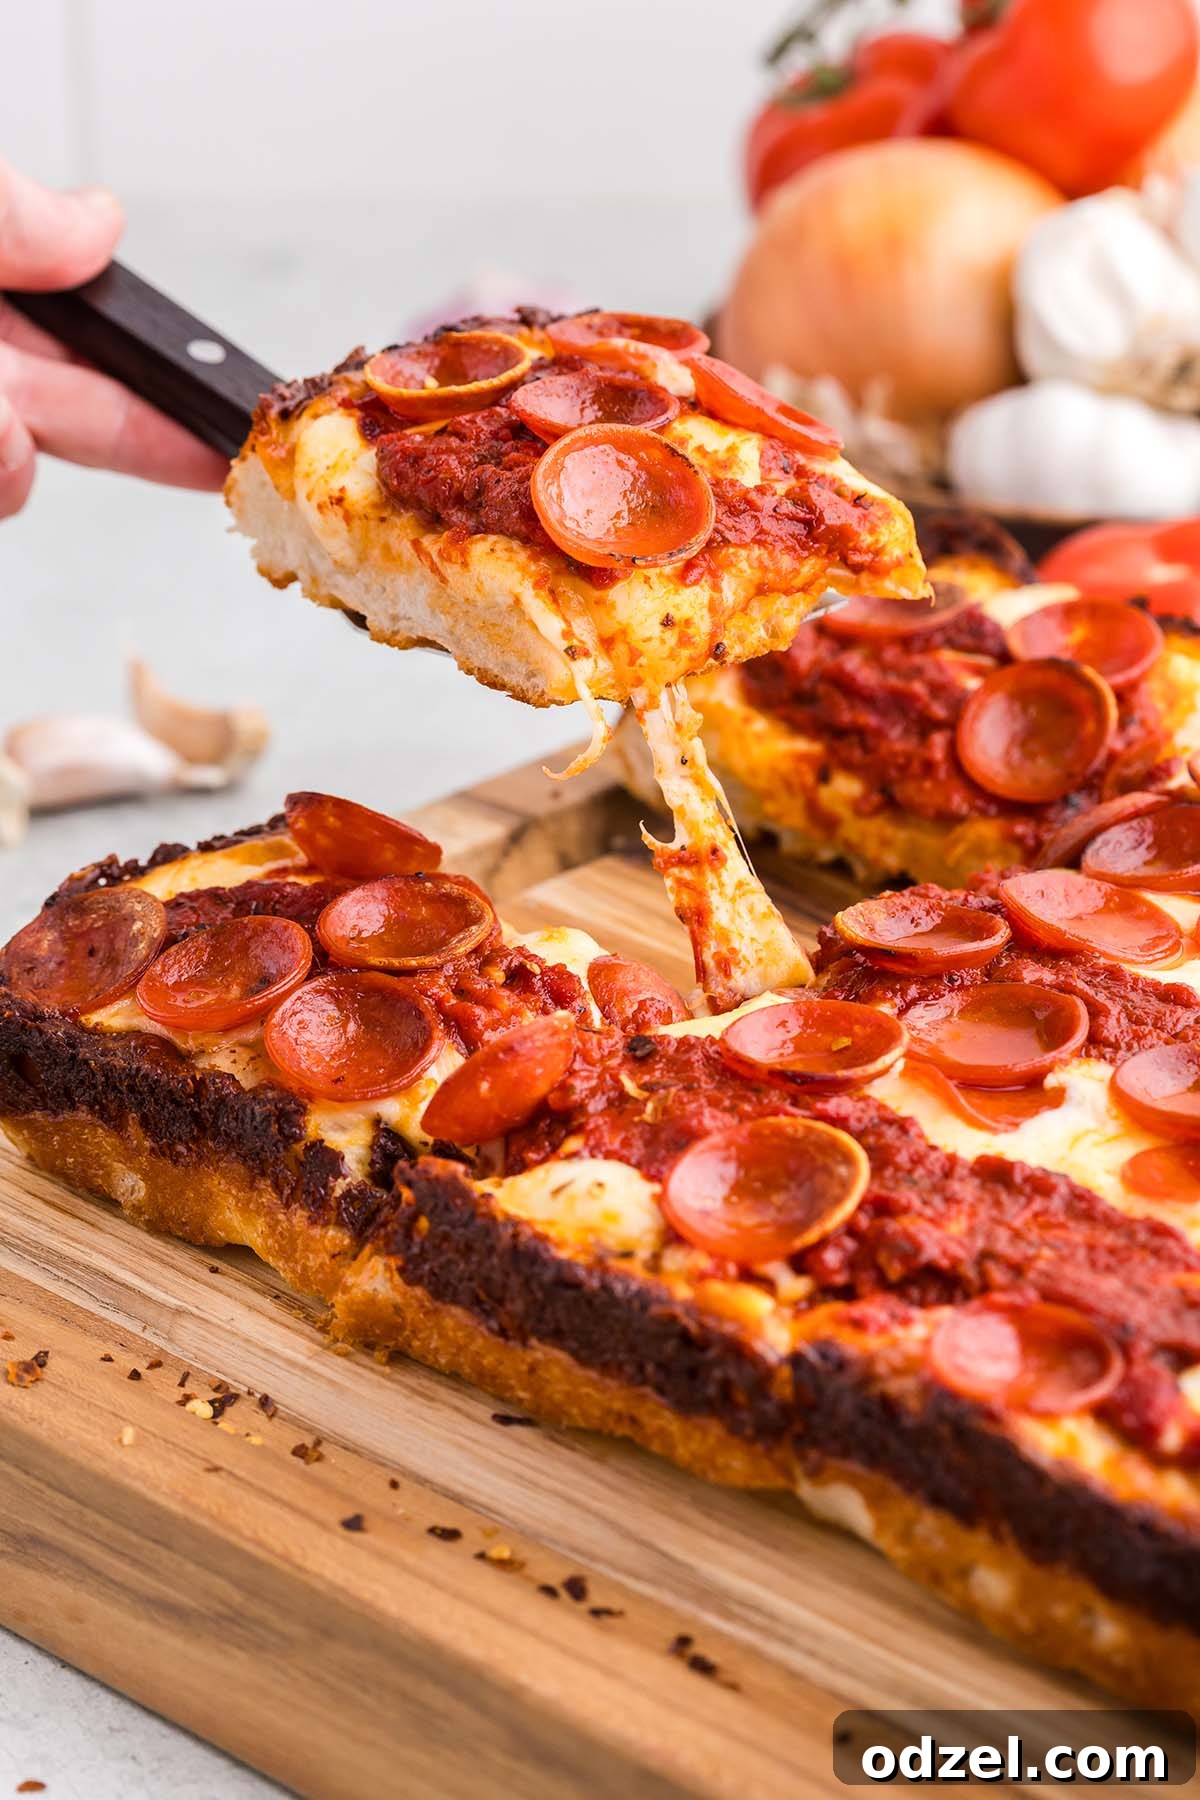
What makes this particular recipe stand out is its simplicity and accessibility. Forget about needing specialized equipment like a pizza stone or a dedicated pizza oven. All the magic happens in a standard 9×13 inch baking dish, making it an ideal choice for home cooks eager to explore the world of gourmet pizza without a hefty investment. With just a few staple ingredients and some simple techniques, you’ll be on your way to crafting a pan pizza that rivals any pizzeria.
Table of Contents
- The Essence of Detroit Pizza
- Essential Ingredients for Authentic Detroit Pizza
- Top Tips for Detroit-Style Pan Pizza Perfection
- Exploring Topping Variations for Your Detroit Pizza
- Make-Ahead & Storage Tips for Leftover Pizza
- Freezing Your Detroit Pizza for Later Enjoyment
- Detroit Style Pan Pizza Recipe
- Troubleshooting Common Detroit Pizza Issues
The Essence of Detroit Pizza: A Culinary Journey
The history of Detroit-style pizza dates back to the 1940s, originating from Buddy’s Rendezvous, a bar in Detroit. It was initially baked in square steel pans borrowed from local automotive factories, originally used for holding small parts. These unique pans, seasoned over time, contribute significantly to the pizza’s signature crispy, dark, and almost fried crust, often referred to as “frico” or “cheese crust” around the edges. Unlike other deep-dish pizzas, Detroit-style is characterized by its rectangular shape, light and airy dough, inverse layering of toppings (cheese first, then sauce), and the essential brick cheese.
This method of preparation creates a truly unique texture – a thick, tender, and chewy interior that remains remarkably light, contrasting beautifully with a deeply caramelized, savory crust. The generous application of cheese that melts right up to the pan’s edges forms a delightful, crispy perimeter that is arguably the most coveted part of any slice. Understanding these foundational elements is key to appreciating and successfully replicating this legendary pizza at home.
Essential Ingredients for Authentic Detroit Pizza
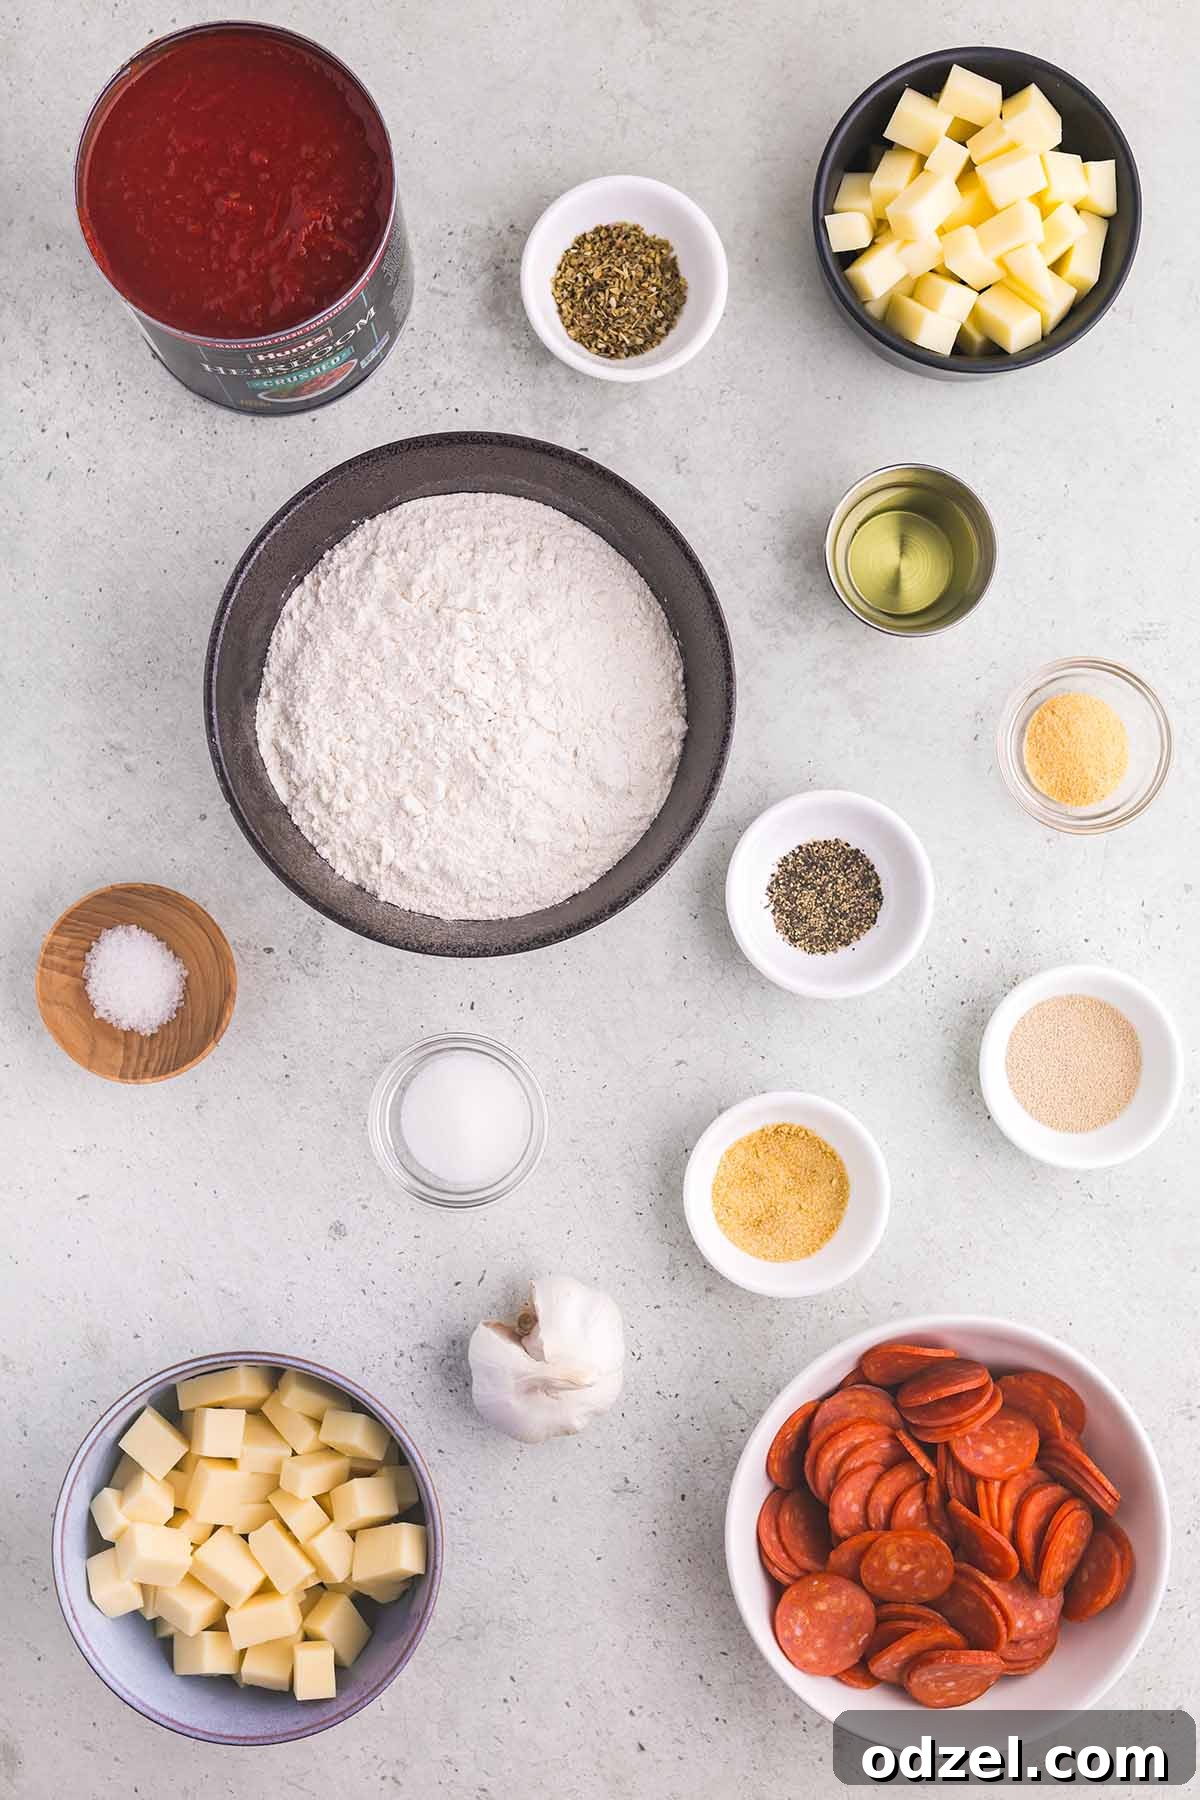
Before you embark on your pizza-making adventure, let’s take a closer look at the key ingredients. Exact quantities are listed in the full recipe card below.
- Flour: The Foundation of Flavor and Texture
For the absolute best results, I highly recommend using bread flour. Its higher protein content leads to stronger gluten development, which is crucial for achieving that characteristic chewy interior and incredibly crispy crust. While all-purpose flour can certainly be substituted, and will still yield a delicious pizza, bread flour truly elevates the texture, giving you a crispier, more satisfying bite that defines authentic Detroit-style pizza. - Sauce: The Tangy Heart of Your Pizza
Whether you opt for a high-quality store-bought pizza sauce or prefer to whip up a batch from scratch, the choice is yours. The key is a flavorful sauce that isn’t too watery. You could even experiment with a rich and creamy vodka sauce for a gourmet twist. Remember, a reduced sauce prevents a soggy crust, ensuring every bite is a textural delight. - Cheese: The Golden Crown
Traditionally, Detroit-style pizza shines with Wisconsin Brick cheese, known for its mild, tangy flavor and exceptional melting properties, which contribute to the iconic caramelized edges. However, Wisconsin Brick can be a rare find outside of the Midwest. Fear not! A blend of low-moisture mozzarella and provolone makes an excellent and widely available substitute. If you only have mozzarella, that will work beautifully too. For those seeking an alternative to provolone, fontina cheese offers a similar creamy texture and nutty flavor profile. Don’t be shy about cubing your cheese; this helps it melt evenly and creates those irresistible crispy cheese edges.
Top Tips for Detroit-Style Pan Pizza Perfection
Achieving that coveted fluffy, crispy, and utterly delicious Detroit-style pizza involves a few crucial techniques. Heed these tips to ensure your homemade version is nothing short of spectacular:
- Mastering Your Sauce Consistency: Reducing the pizza sauce before spreading it on your pizza is a critical step. Excess water content in the sauce can lead to a dreaded soggy crust, undermining all your efforts for crispiness. Simmering the sauce uncovered allows moisture to evaporate, concentrating flavors and ensuring a thicker consistency. Alternatively, for a unique presentation and ultimate crispness, you can ladle warm sauce over the pizza immediately after it comes out of the oven, maintaining a perfectly dry crust.
- The Art of Layering: Cheese Before Sauce: Unlike many traditional pizzas, Detroit-style embraces an “upside-down” layering technique. Begin by adding your cheese directly onto the dough, especially along the edges. This strategic placement creates a protective barrier, preventing the dough from becoming wet and soggy when the sauce is applied. More importantly, it allows the cheese to fry and caramelize against the hot pan, forming that distinctive, irresistible crispy edge known as “frico.”
- Generous Olive Oil for That Signature Crisp: Don’t be timid with the olive oil! A generous amount in the bottom of your baking pan is essential. This oil isn’t just for preventing sticking; it’s a key player in developing the incredibly crispy, almost fried texture of the bottom crust. Furthermore, pushing extra cheese right up to the oiled edges of the pan as it bakes ensures those edges transform into wonderfully buttery, golden, and crunchy morsels. It’s this beautiful interaction of hot oil and cheese that gives Detroit-style pizza its iconic character.
- Choosing the Right Baking Vessel: The pan you use makes a significant difference. While a standard 9×13 metal cake pan works well, a dedicated Detroit pizza pan or any dark metal pan will yield superior results. Darker pans absorb and transfer heat more efficiently, promoting a darker, crispier, and more evenly cooked bottom crust and perfectly caramelized edges. This superior heat transfer is fundamental to achieving the authentic Detroit experience.
Exploring Topping Variations for Your Detroit Pizza
While classic pepperoni remains the quintessential Detroit-style topping, the beauty of homemade pizza lies in its endless customization. Let your culinary imagination run wild and allow your tastebuds to guide you toward your perfect pie. Here are some ideas to inspire your next creation:
- The Classic Reimagined: If pepperoni is your go-to, try using different types! “Cup and char” pepperoni crisps up beautifully, forming little flavorful cups that hold a tiny pool of grease – a hallmark of a great Detroit slice.
- Meat Lover’s Dream: Beyond pepperoni, crumbled Italian sausage (sweet or spicy), crispy bacon bits, or even thinly sliced ham can elevate your pizza. Combine them for a robust flavor profile.
- Vegetarian Delights: Fresh vegetables add color, texture, and flavor. Consider adding thinly sliced bell peppers, mushrooms, black olives, or even tender sweet caramelized onions. Roasted red peppers or sun-dried tomatoes can also provide a wonderful depth of flavor.
- Gourmet Additions: For a more sophisticated touch, experiment with fresh basil leaves (added after baking for brightness), a drizzle of balsamic glaze, dollops of ricotta cheese, or a sprinkle of Parmesan.
- Spice It Up: A dash of red pepper flakes, either incorporated into the sauce or sprinkled on top after baking, can provide a pleasant kick.
My personal favorites often include a generous amount of extra cheese, those divine caramelized onions, savory sausage, and a scattering of fresh basil to brighten everything up. Don’t hesitate to mix and match; the best topping combination is always the one you enjoy the most!
Make-Ahead & Storage Tips for Leftover Pizza
One of the many joys of making Detroit-style pizza at home is the potential for delicious leftovers. Proper storage and reheating ensure that every subsequent slice is just as satisfying as the first. Don’t let your efforts go to waste!
- Refrigerating Leftovers: Any uneaten pizza can be stored in an airtight container or tightly wrapped in aluminum foil in the refrigerator for up to 4 days. While it won’t be quite as fresh as straight out of the oven, it will still retain much of its flavor and some of its structural integrity.
- Optimal Reheating Methods:
- Air Fryer (Highly Recommended): For reviving that sought-after crispness, an air fryer is your best friend. Place slices in a single layer and reheat at 370°F (185°C) for approximately 4 minutes, or until the cheese is wonderfully melty and the crust is crisp.
- Oven: Preheat your oven to 370°F (185°C). Place pizza slices directly on a baking sheet or on a wire rack for best results. Bake for about 6-8 minutes, or until heated through and the crust regains some crunch.
- Microwave (Last Resort): While convenient, the microwave will inevitably lead to a softer, potentially soggy crust. It’s acceptable for a quick warm-up if you prioritize speed over texture, usually taking about 45 seconds to 1 minute per slice.
Freezing Your Detroit Pizza for Later Enjoyment
Detroit-style pizza freezes remarkably well, making it an excellent candidate for meal prepping or simply having a quick, delicious dinner on standby. Here’s how to properly freeze your homemade masterpiece:
- Prepare for Freezing: Once your pizza has completely cooled, cut it into individual squares or your preferred serving sizes. This makes reheating much easier later on.
- Flash Freeze: Arrange the cut pizza squares in a single layer on a baking sheet lined with parchment paper. Place the baking sheet in the freezer for 1-2 hours, or until the pieces are solid. This “flash freezing” step prevents the slices from sticking together when stored in a bag.
- Long-Term Storage: Once frozen solid, transfer the pizza squares into a heavy-duty freezer bag or an airtight freezer-safe container. Remove as much air as possible to prevent freezer burn. Label the bag with the date. Your frozen pizza will maintain its quality for up to three months.
- Reheating from Frozen: For best results, it’s advisable to let the frozen pizza pieces thaw in the refrigerator for a few hours or overnight before reheating. Once thawed, follow the air fryer or oven reheating instructions above. If reheating directly from frozen, you may need to increase the cooking time slightly, keeping an eye on it until it’s heated through and crispy.
We hope you thoroughly enjoy this Detroit-style pan pizza recipe! Your feedback helps us grow. Please consider leaving a star ⭐️⭐️⭐️⭐️⭐️ rating in the recipe card below and/or a review in the comments section further down the page. And for more delicious recipes and cooking inspiration, follow me on Facebook or Pinterest!

Detroit Style Pan Pizza
Julie Maestre
1 hour
15 minutes
1 hour
2 hours 15 minutes
12
Print Recipe
Equipment
-
9×13 baking pan
Ingredients
Pizza Dough
- 2 ¼ cups bread flour
- 1 ½ teaspoons instant yeast
- 1 teaspoon kosher salt
- 1 cup warm water, not hotter than 115F (46°C)
- Olive oil to grease pan and bowl
Pizza Sauce
- 1 tablespoon olive oil (30ml)
- 3 cloves garlic, finely minced
- 2 teaspoons Italian Seasoning
- 28 oz can crushed tomatoes, Crushed tomatoes are preferred for texture, but canned whole tomatoes pureed with a hand blender also work.
- 1 teaspoon garlic powder
- 1 teaspoon onion powder
- ¼ teaspoon sugar, or to taste
- Salt and pepper to taste
Pizza Toppings
- 7 oz Cup and char pepperoni, divided for layering
- 10 oz mozzarella cheese (preferably low-moisture, shredded or cubed)
- 3 oz provolone (shredded or cubed)
- Fresh basil and red pepper flakes, optional, for garnish
Instructions
How to make the dough:
-
In the mixing bowl of a stand mixer, combine the bread flour, instant yeast, and kosher salt. Stir these dry ingredients together with a spoon. Next, pour in the warm water and continue mixing with the spoon until a shaggy, somewhat sticky dough forms (about 30 seconds). Attach the dough hook to your mixer and knead on medium speed (around level 4 on a KitchenAid) for 5 minutes. The result should be a smooth, elastic, and moist dough. Gently remove the dough hook, and transfer the dough to a clean bowl that has been lightly greased with olive oil. (Hint: lightly moisten your hands with water or olive oil to prevent the sticky dough from adhering to them.)
-
Allow the dough to rise in a warm place until it has doubled in size. This typically takes about 30 minutes in a warm environment. If you don’t have specialized proofing equipment, simply cover your bowl of dough tightly with plastic wrap and place it in a warm, draft-free spot. The rising time may be longer than 30 minutes, depending on the ambient temperature.
-
Once the dough has successfully doubled, add a generous amount (approximately 3 tablespoons) of olive oil to the bottom of your chosen dark metal 9×13 inch cake pan or Detroit pizza pan. Ensure the oil coats the entire bottom surface and slightly up the sides.
-
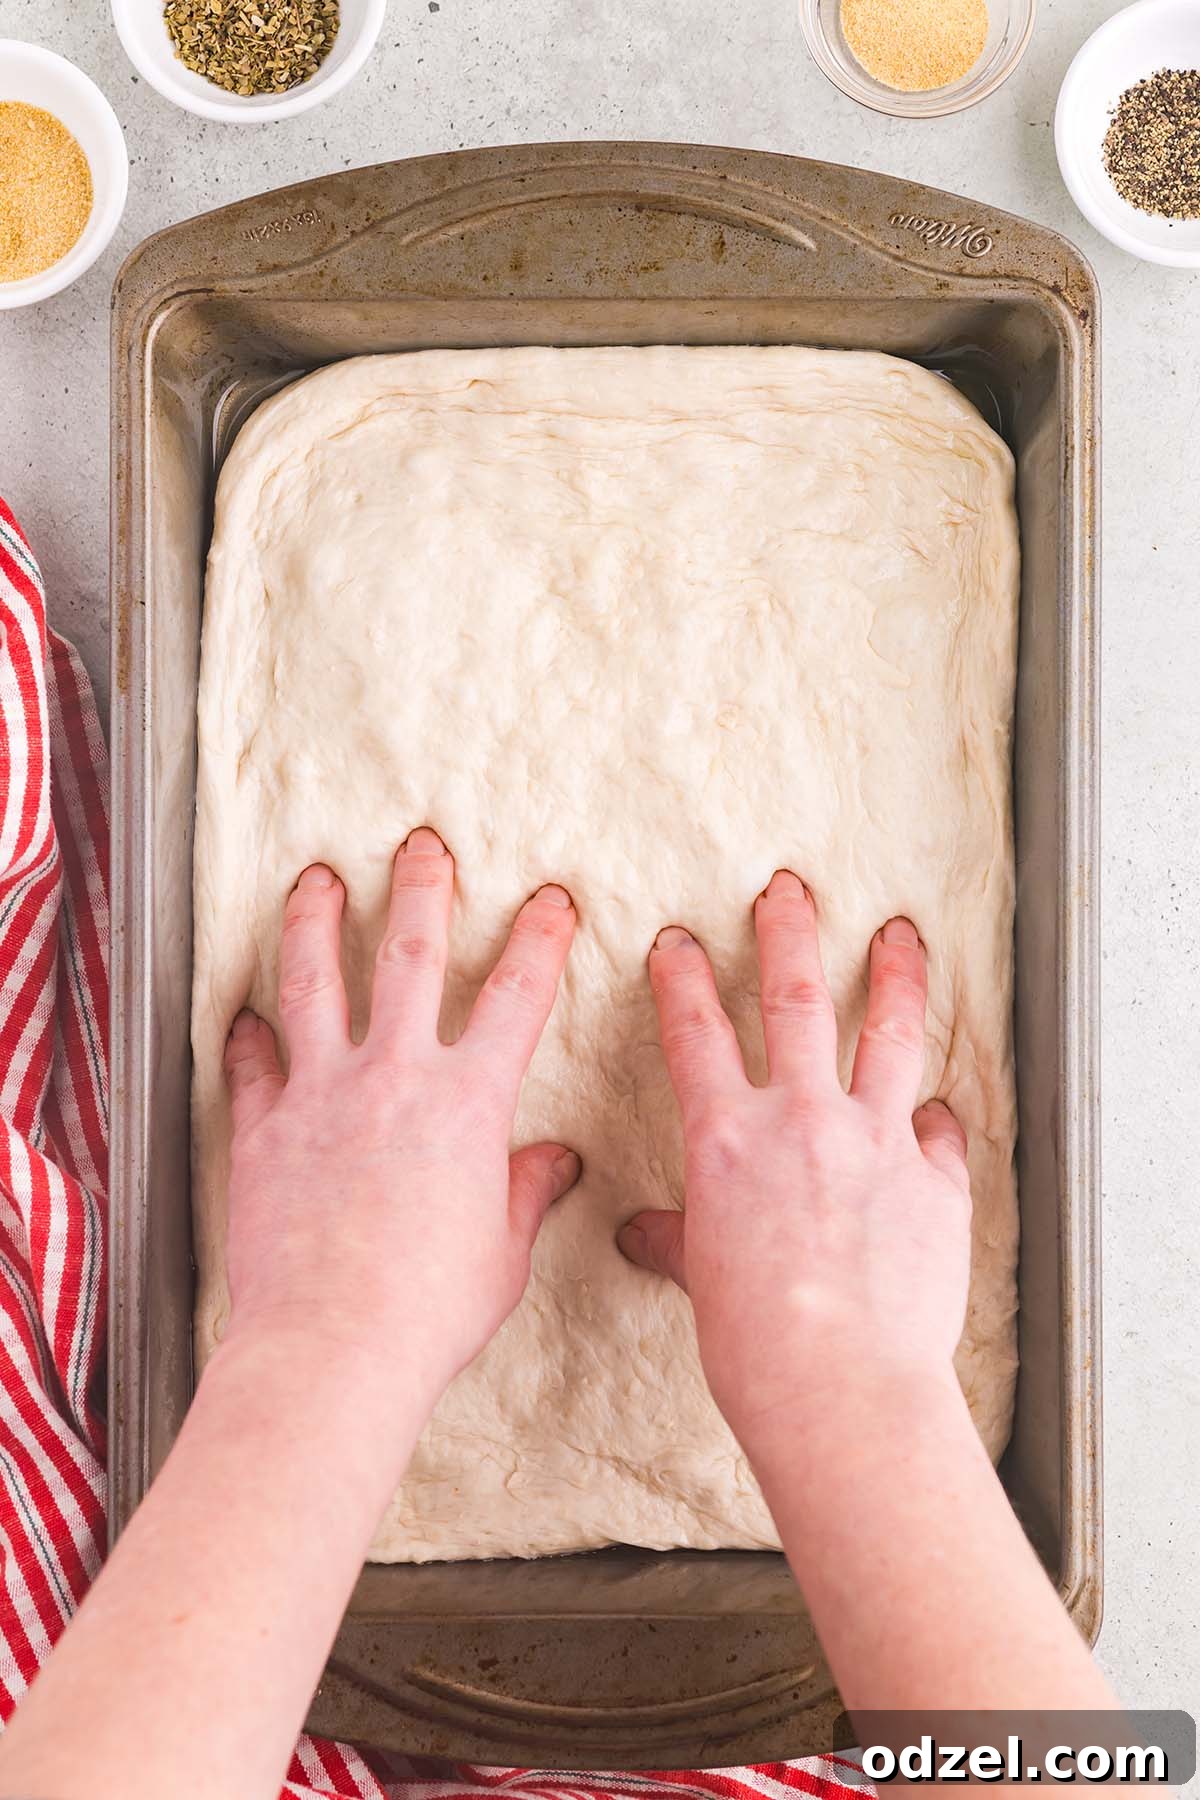
Carefully transfer the risen dough into the prepared pan. Using your fingertips, gently dimple and stretch the dough outward towards the edges of the pan. It’s perfectly normal if the dough doesn’t reach the edges on the first attempt; avoid forcing it to prevent tearing. Cover the pan loosely with plastic wrap and let the dough rest for about 15 minutes. This resting period allows the gluten strands to relax, making the dough much easier to stretch further.
-
After the initial 15-minute rest, gently stretch the dough again, working it closer to the pan’s edges. For most doughs, this one rest will be sufficient. However, if your dough is still resisting, cover it once more and allow it another 15-minute rest before attempting a final stretch. Once the dough completely fills the pan, cover it again with plastic wrap for one last short rest while you prepare your flavorful pizza sauce.
How to make the sauce:
-
Heat a medium to large saucepan over medium-high heat on your stovetop. Once the pan is hot, add the olive oil, then quickly follow with the finely minced fresh garlic and Italian seasoning. Sauté for about 30 seconds, stirring continuously, until the aromatics become fragrant and your kitchen fills with a delightful scent. Be careful not to burn the garlic.
-
Add the crushed tomatoes, sugar, garlic powder, and onion powder to the saucepan. Stir all the ingredients well to combine. Bring the sauce to a gentle simmer, then reduce the heat slightly and allow it to continue simmering uncovered for approximately 15 minutes, stirring occasionally. This simmering process is crucial for reducing the sauce’s water content and concentrating its flavors, preventing a soggy pizza crust. While the sauce is simmering, preheat your oven to a scorching 500°F (260°C) and ensure an oven rack is placed at the lowest level. If you own a pizza stone, now is the time to place it on the bottom rack to preheat thoroughly, which will help achieve an even crispier crust.
Assembling the pizza (use approximately ½ of the sauce made in this recipe)
-
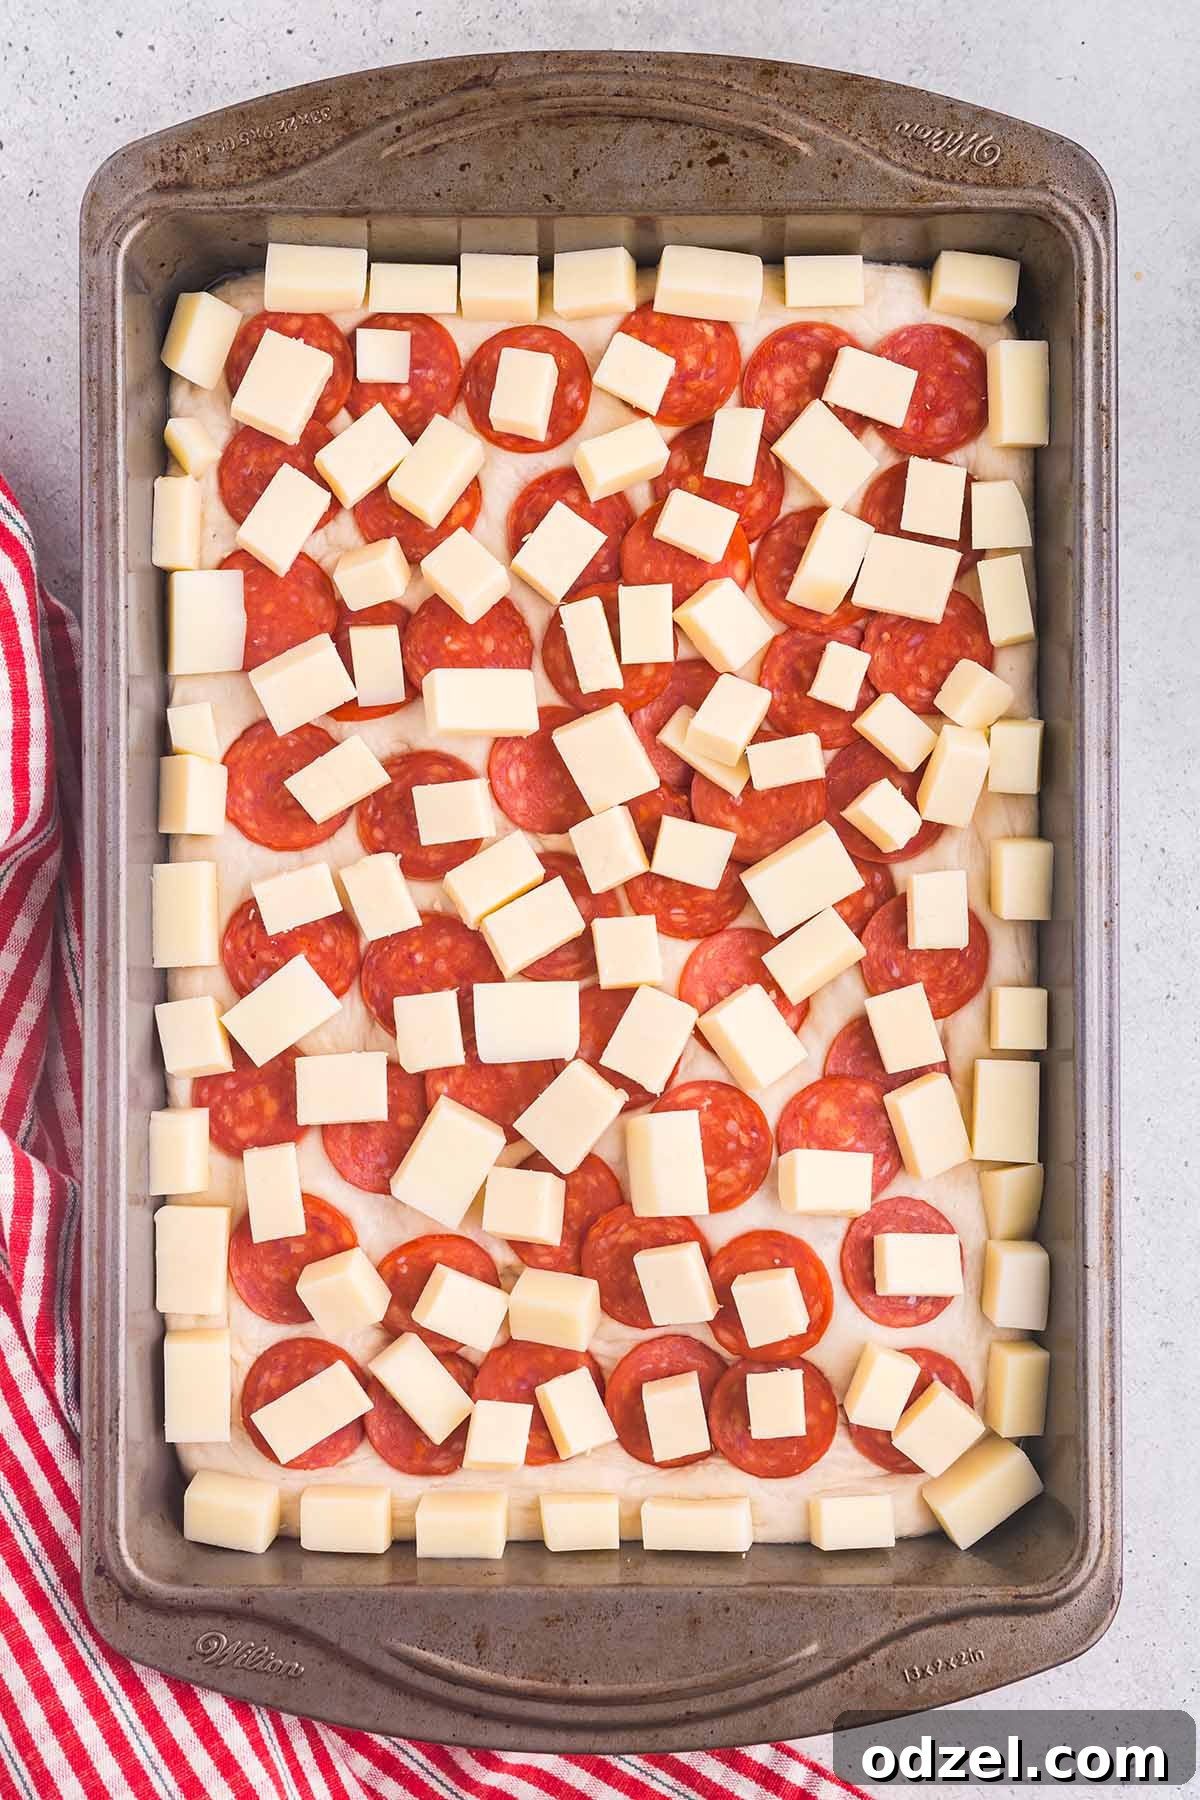
Begin assembly by strategically placing some of your cubed cheese (mozzarella and provolone) around the entire perimeter of the dough, ensuring the cheese touches the edges of the pan. This is key for creating that iconic crispy, caramelized cheese crust.
-
Evenly distribute about half of your cup and char pepperoni directly over the dough. This first layer of pepperoni will crisp up underneath the cheese, adding depth of flavor.
-
Now, add the remaining cheese cubes, scattering them evenly across the entire surface of the pizza. Ensure good coverage for a consistently gooey, melty top.
-
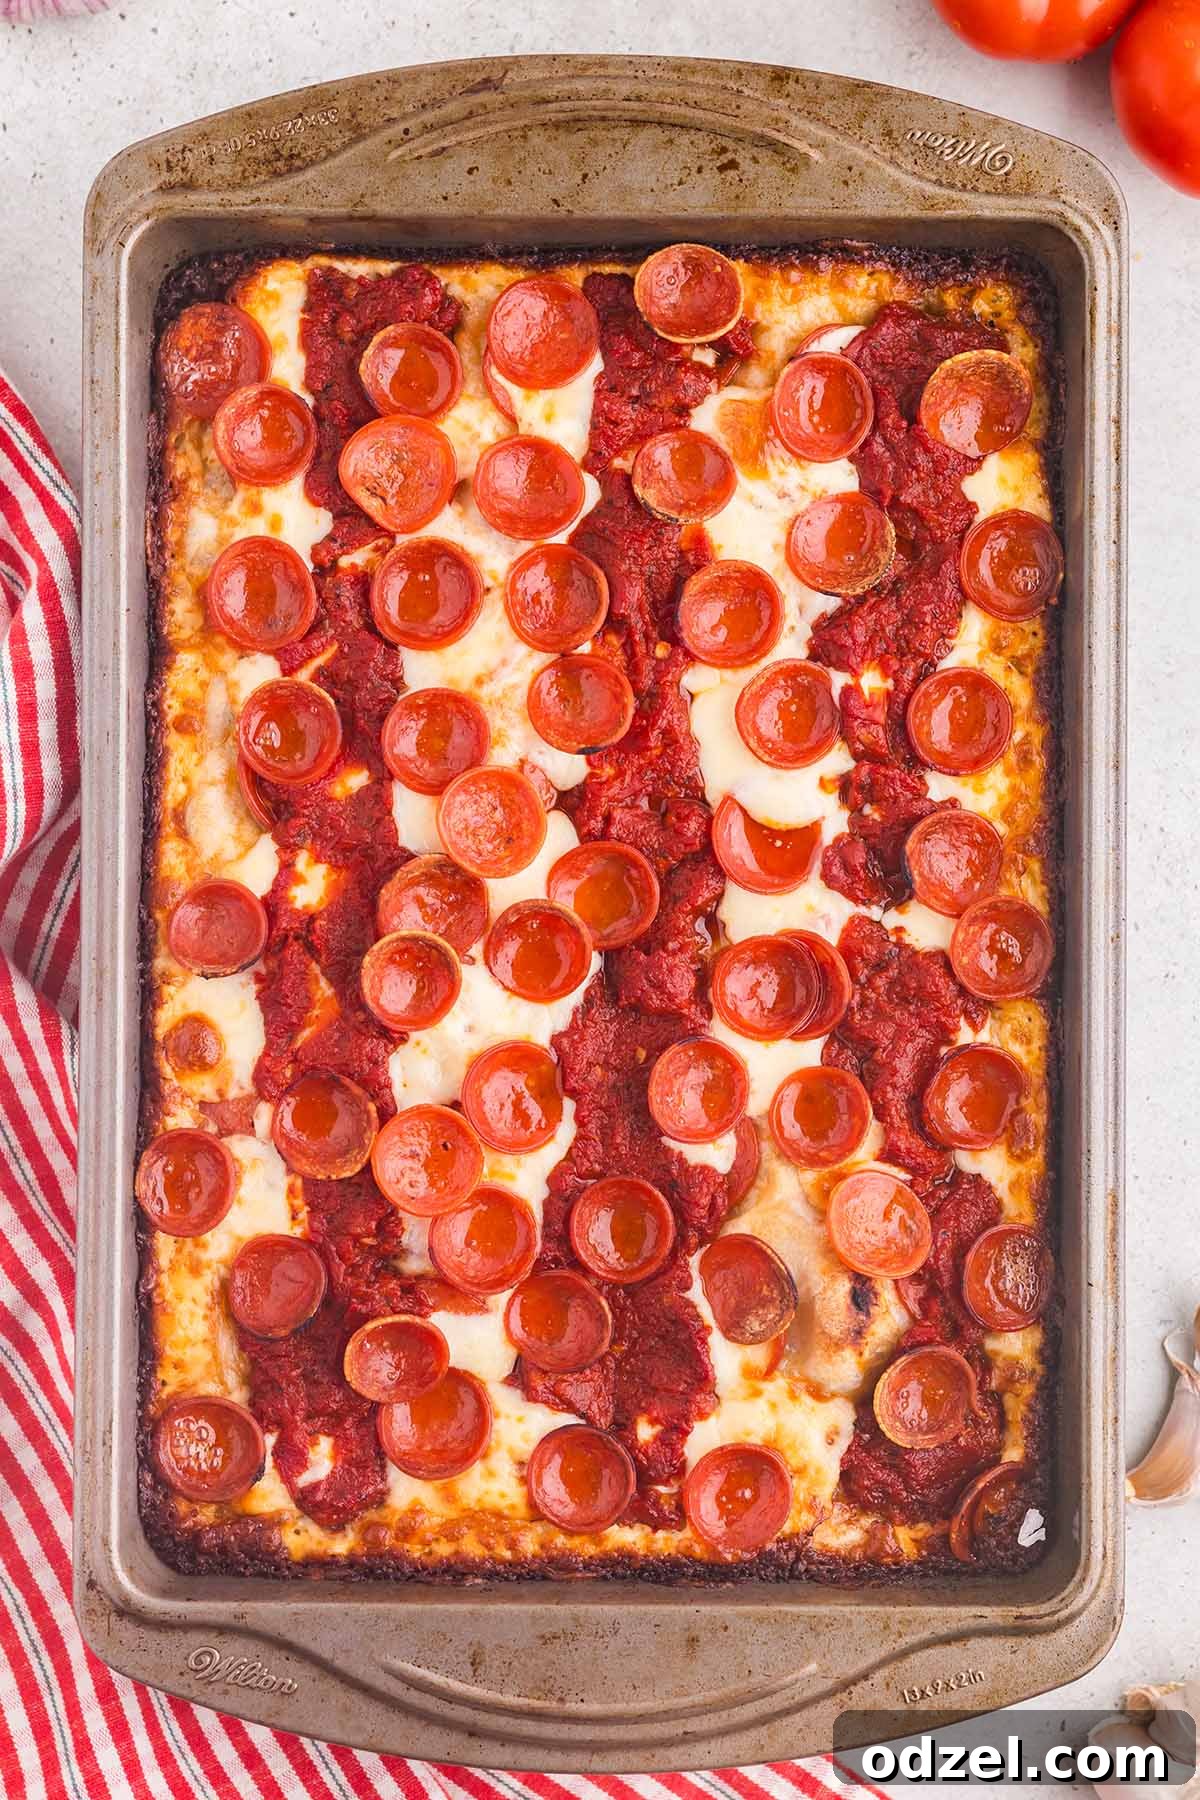
Using a large spoon, artfully spread the pizza sauce in three distinct, evenly spaced strips along the length of the pizza. One strip should run down the middle, with another strip on each side. This method ensures adequate sauce distribution without overwhelming the cheese layer.
-
Finally, scatter the rest of the pepperoni over the top of the pizza. These will get beautifully crispy and cup up during baking.
-
Carefully place the assembled pizza pan onto the lowest rack in your preheated 500°F (260°C) oven. Bake for 12-15 minutes. You’ll know it’s ready when the edges are gloriously dark and crispy, the cheese in the middle is perfectly melted and bubbly, and the pepperoni has deliciously cupped.
-
Once baked to perfection, remove the pan from the oven. Allow the pizza to rest for a minute or two before carefully lifting it out of the pan, slicing into squares, and serving immediately. Enjoy your homemade Detroit-style pan pizza!
Notes
- Reducing the pizza sauce before use is important. This process removes excess water content, which is crucial for preventing a soggy pizza crust. A thicker sauce adheres better and contributes to a crispier texture. Alternatively, you can ladle the warm sauce over the pizza once it comes out of the oven for a very crispy base.
- Always add the cheese directly onto the dough before the sauce. This layering technique helps to create a barrier that prevents the dough from becoming wet and soggy, ultimately contributing to a much crispier crust and the formation of those delectable, caramelized cheese edges.
- Don’t skimp on the olive oil in the pan! A generous amount is essential for achieving the deeply crispy, almost fried bottom crust characteristic of Detroit-style pizza. Furthermore, ensure you push extra cheese right up against the pan’s edges; this cheese will melt into the oil, creating a rich, buttery, and incredibly crispy “frico” crust.
- The type of pan used significantly impacts the final crust. A dark 9×13 inch metal cake pan or a dedicated Detroit pizza pan is ideal. Darker pans promote better heat transfer, resulting in a crispier and darker bottom and edges, which are hallmarks of an authentic Detroit-style pizza.
Troubleshooting Common Detroit Pizza Issues
Even the most experienced bakers can encounter minor hiccups. Here are solutions to common Detroit-style pizza challenges:
- Soggy Crust: This is usually due to too much moisture. Ensure your sauce is well-reduced and thick. Also, make sure you’re using enough olive oil in the pan and layering the cheese first to create a moisture barrier. Baking at a high temperature (500°F) on the lowest rack is also key to a crisp bottom.
- Dough Not Rising: Check your yeast’s freshness and ensure your warm water isn’t too hot (above 115°F/46°C kills yeast) or too cold (won’t activate it). Your rising environment should be warm and free of drafts. Give the dough enough time to double, even if it takes longer than expected.
- Cheese Not Crispy on Edges (No “Frico”): This often happens if not enough cheese is pushed to the edges of the pan, or if not enough olive oil is used. Be generous with both! The interaction of the cheese melting into the hot oil is what creates those desirable crispy, caramelized edges. A dark metal pan also helps immensely with heat transfer for better browning.
- Dough Hard to Stretch: If the dough springs back too much, it means the gluten needs more time to relax. Cover the pan with plastic wrap and let it rest for another 15-20 minutes before gently trying to stretch it again. Repeat if necessary; patience is key here.
- Pizza Sticking to the Pan: This is a sign you didn’t use enough olive oil. Ensure the bottom and sides of the pan are thoroughly coated. A well-seasoned Detroit-style pan can also make a difference.
Nutrition
Nutrition information is automatically calculated, so should only be used as an approximation.
Additional Info
Julie Maestre
1 hour
15 minutes
1 hour
2 hours 15 minutes
Entree
American
12
210
Detroit Pizza
Like this recipe? Leave a comment below!