
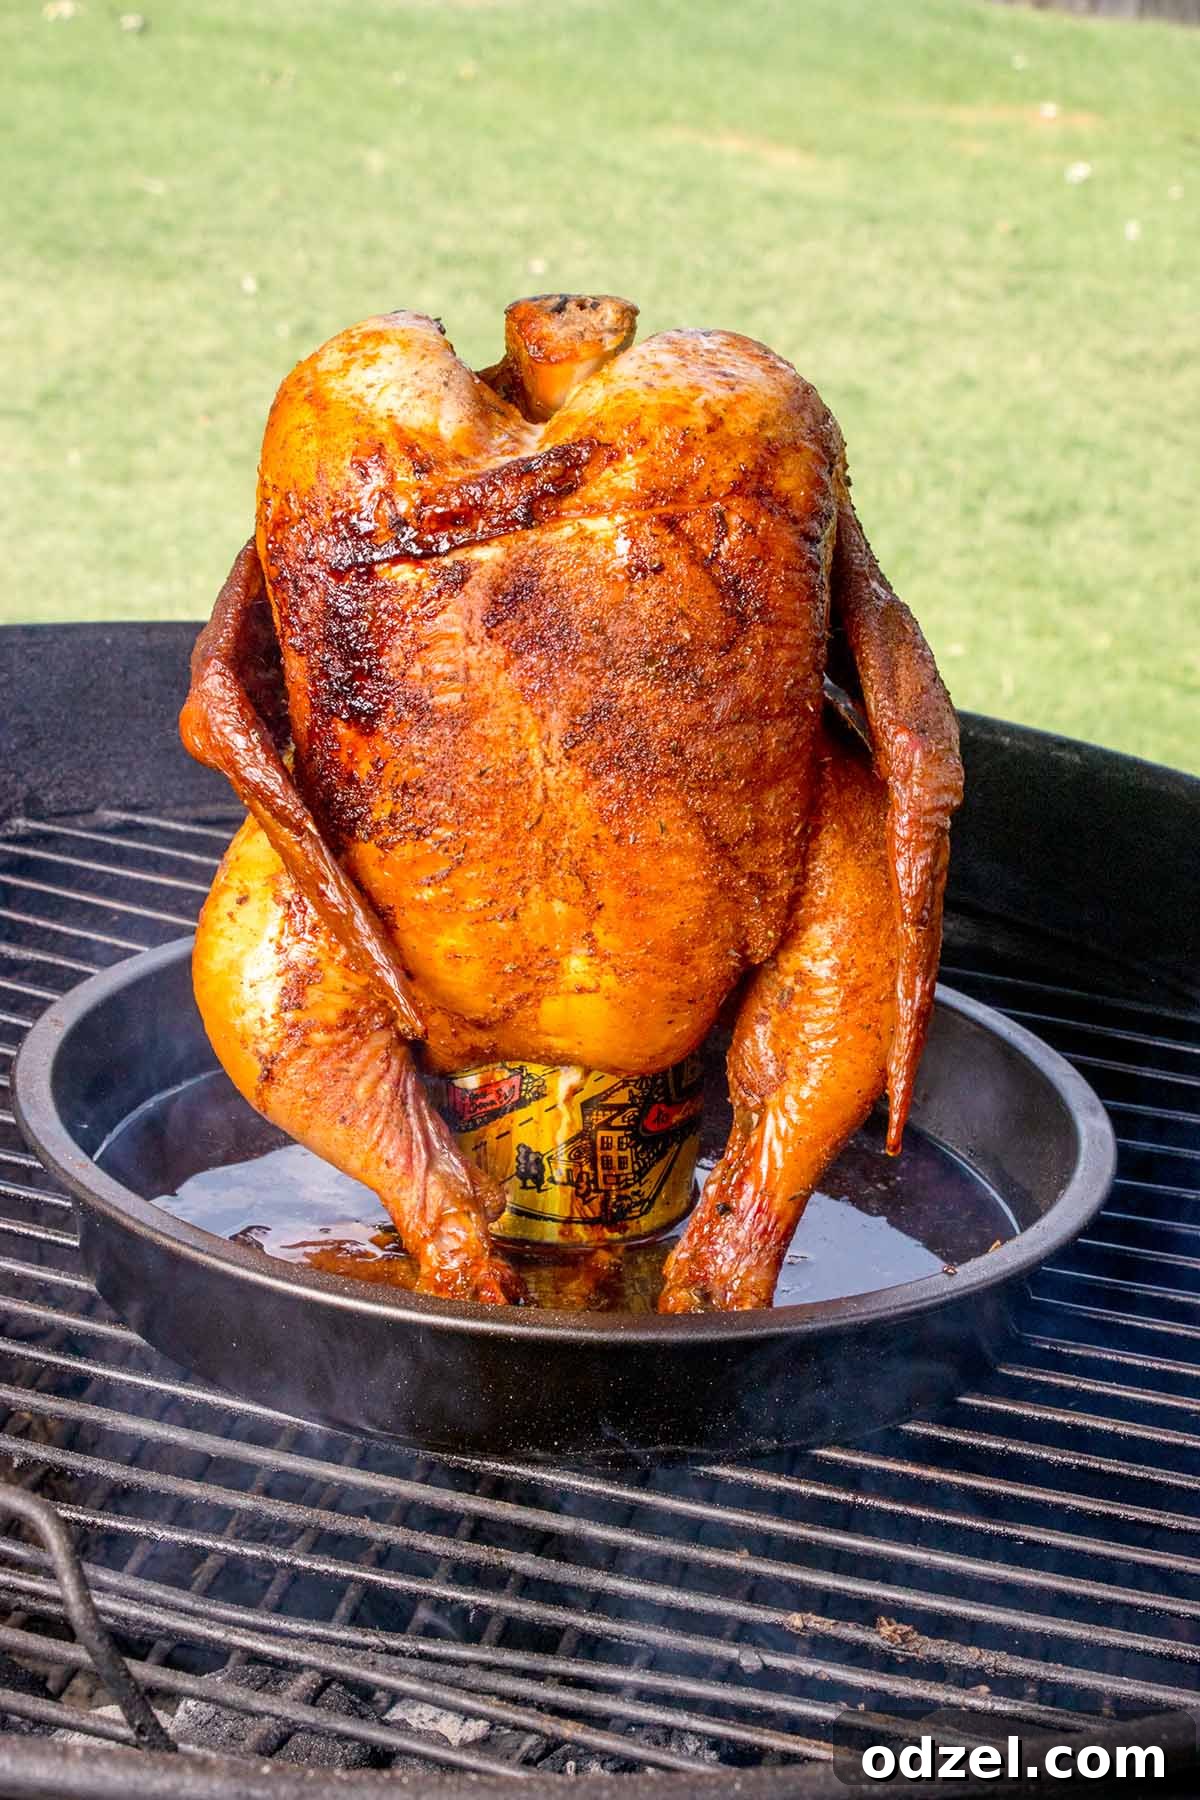
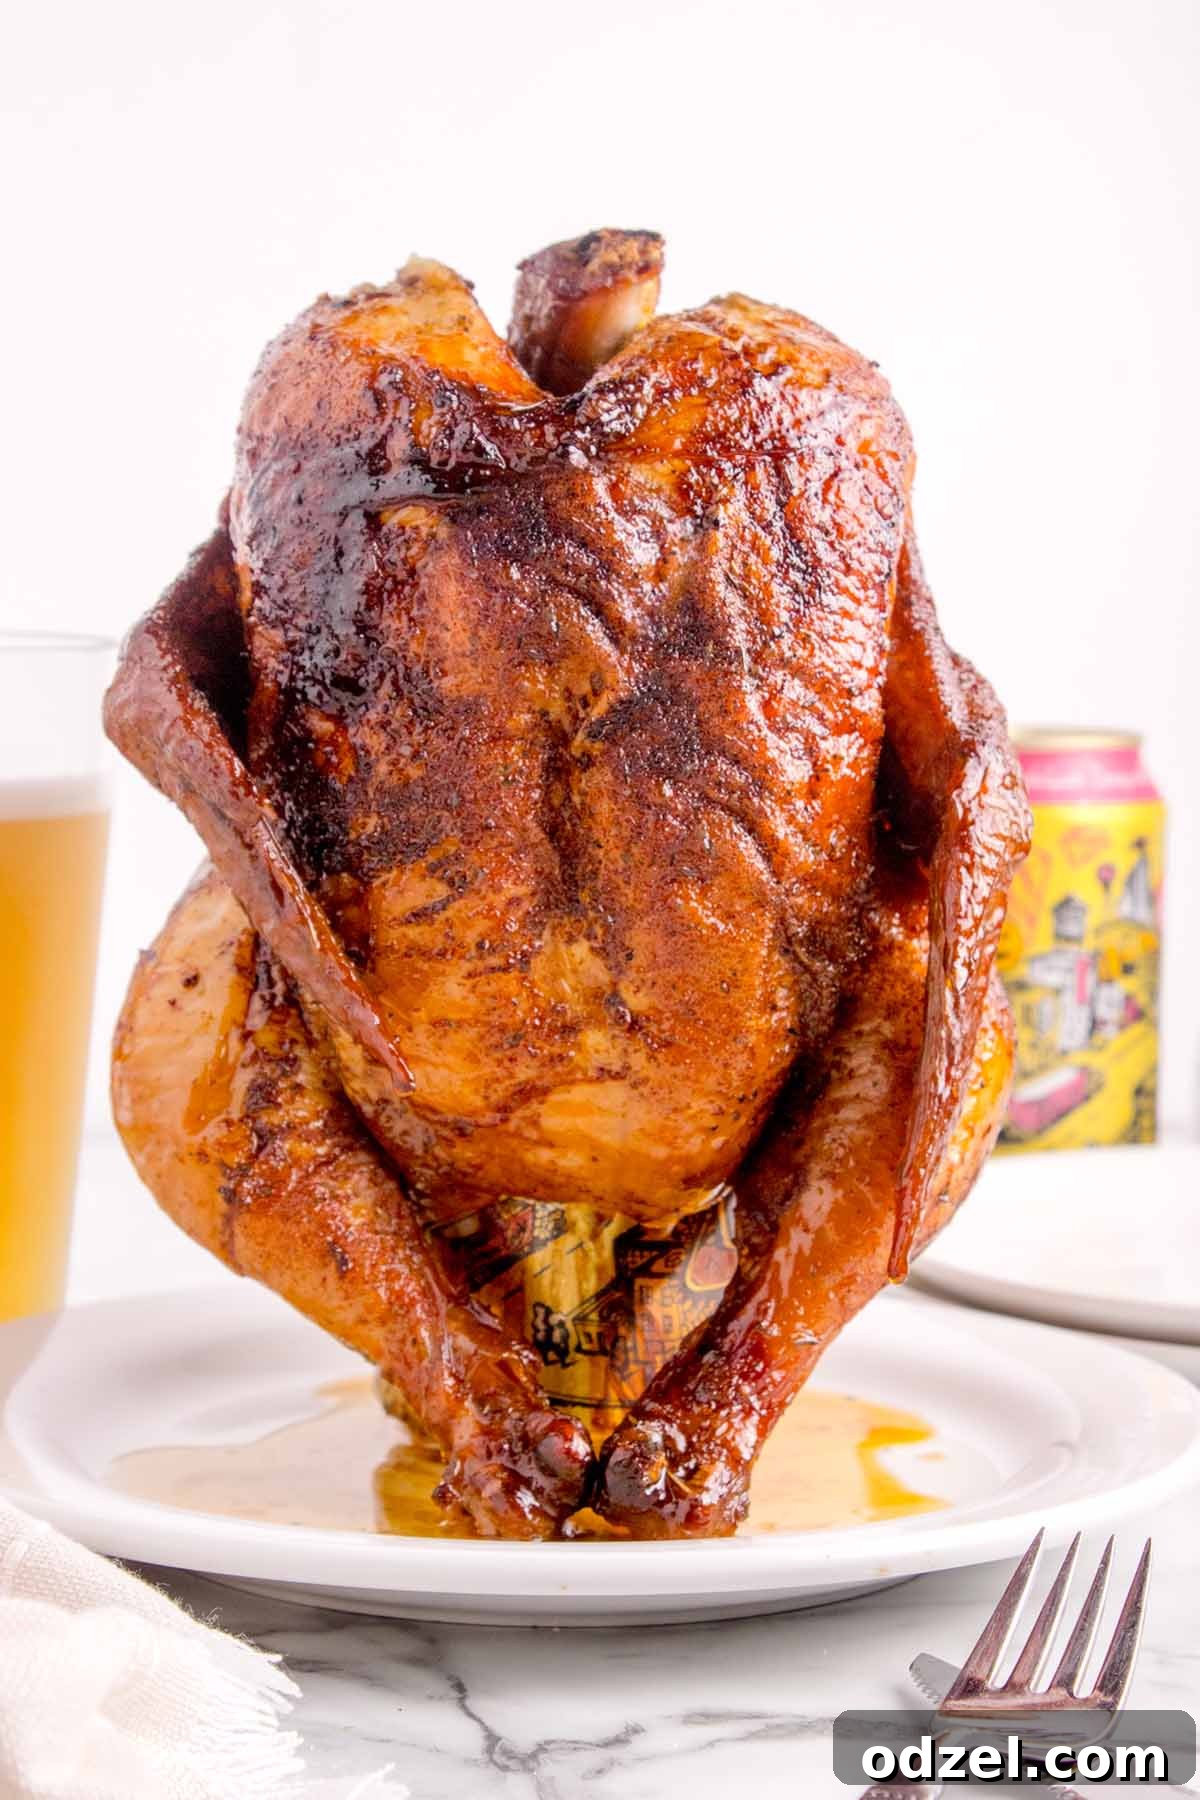
Get ready to impress your family and friends with the ultimate Smoked Beer Can Chicken! This incredibly easy and foolproof method consistently delivers a whole chicken that’s bursting with flavor, unbelievably juicy on the inside, and boasting that irresistible, perfectly crispy skin on the outside. It’s a true game-changer for any BBQ enthusiast, transforming a simple chicken into a show-stopping centerpiece that will have everyone asking for your secret.
I love serving this flavorful smoked chicken alongside classic macaroni salad and fresh, grilled asparagus for a complete meal. However, this versatile dish pairs beautifully with a wide array of sides, so feel free to get creative and choose your family’s favorites!
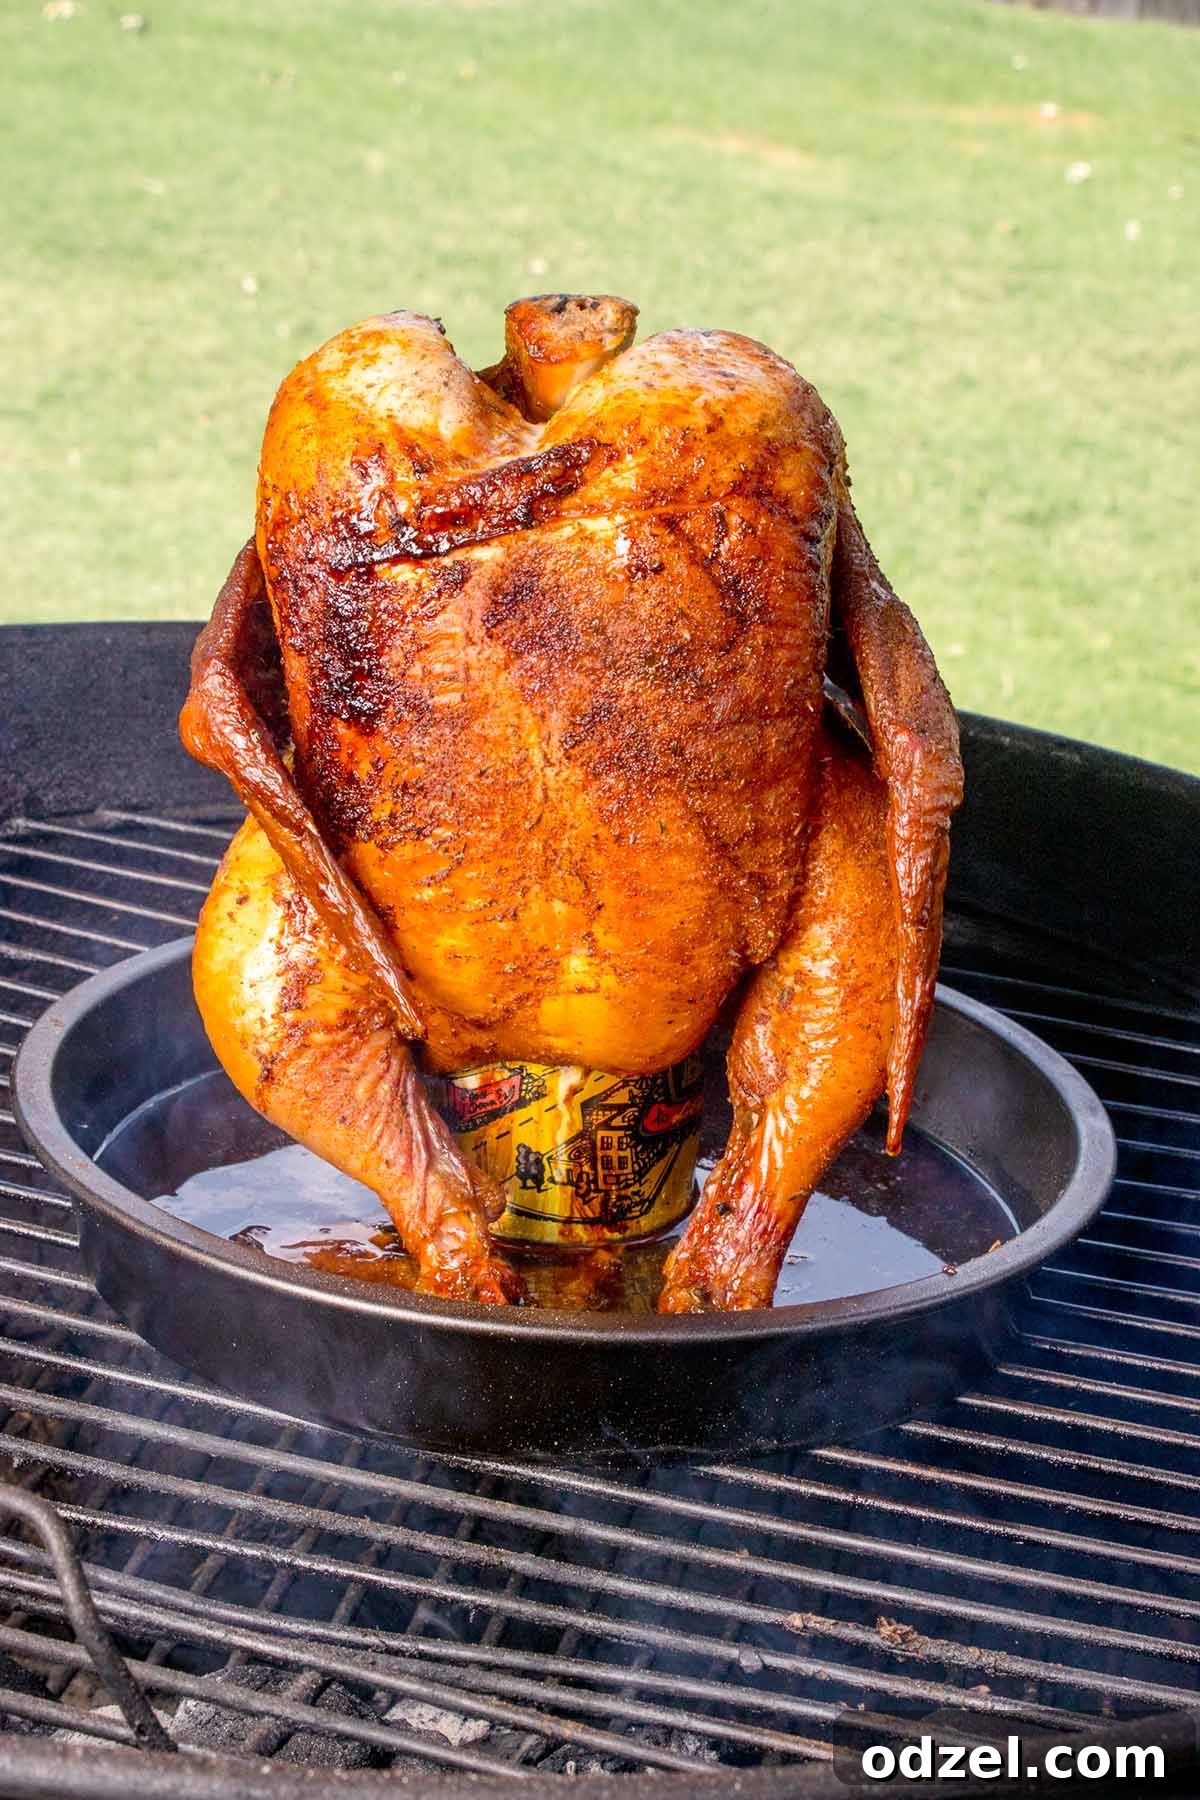
Table of Contents
- Why Smoked Beer Can Chicken is The Best
- Essential Ingredients and Substitutions
- Pro Tips for Perfect Smoked Chicken
- Smoked Beer Can Chicken Recipe
- Storage and Reheating Tips
Why Smoked Beer Can Chicken is The Best
Smoked beer can chicken isn’t just a recipe; it’s an experience. This method excels at delivering unparalleled juiciness and flavor due to a few key principles:
- Internal Steaming: The beer in the can steams the chicken from the inside out, ensuring every part of the meat remains incredibly moist and tender. This prevents the chicken from drying out, a common challenge with whole bird cooking.
- Even Cooking: Standing the chicken upright allows heat to circulate evenly around the entire bird, leading to consistent cooking without dry spots or undercooked areas. This vertical position also helps fat drip away, contributing to crispier skin.
- Enhanced Flavor: The beer infuses a subtle, aromatic flavor into the chicken, complementing the rich, smoky notes from your grill. When combined with a robust spice rub, the chicken develops a complex and utterly delicious profile.
- Crispy Skin Perfection: The indirect heat and upright cooking method encourage rendering of the fat, resulting in wonderfully crispy skin that forms a delectable contrast to the tender meat beneath.
- Effortless Preparation: Despite its impressive results, the preparation for beer can chicken is surprisingly straightforward, making it perfect for both seasoned grill masters and beginners.
Essential Ingredients and Substitutions
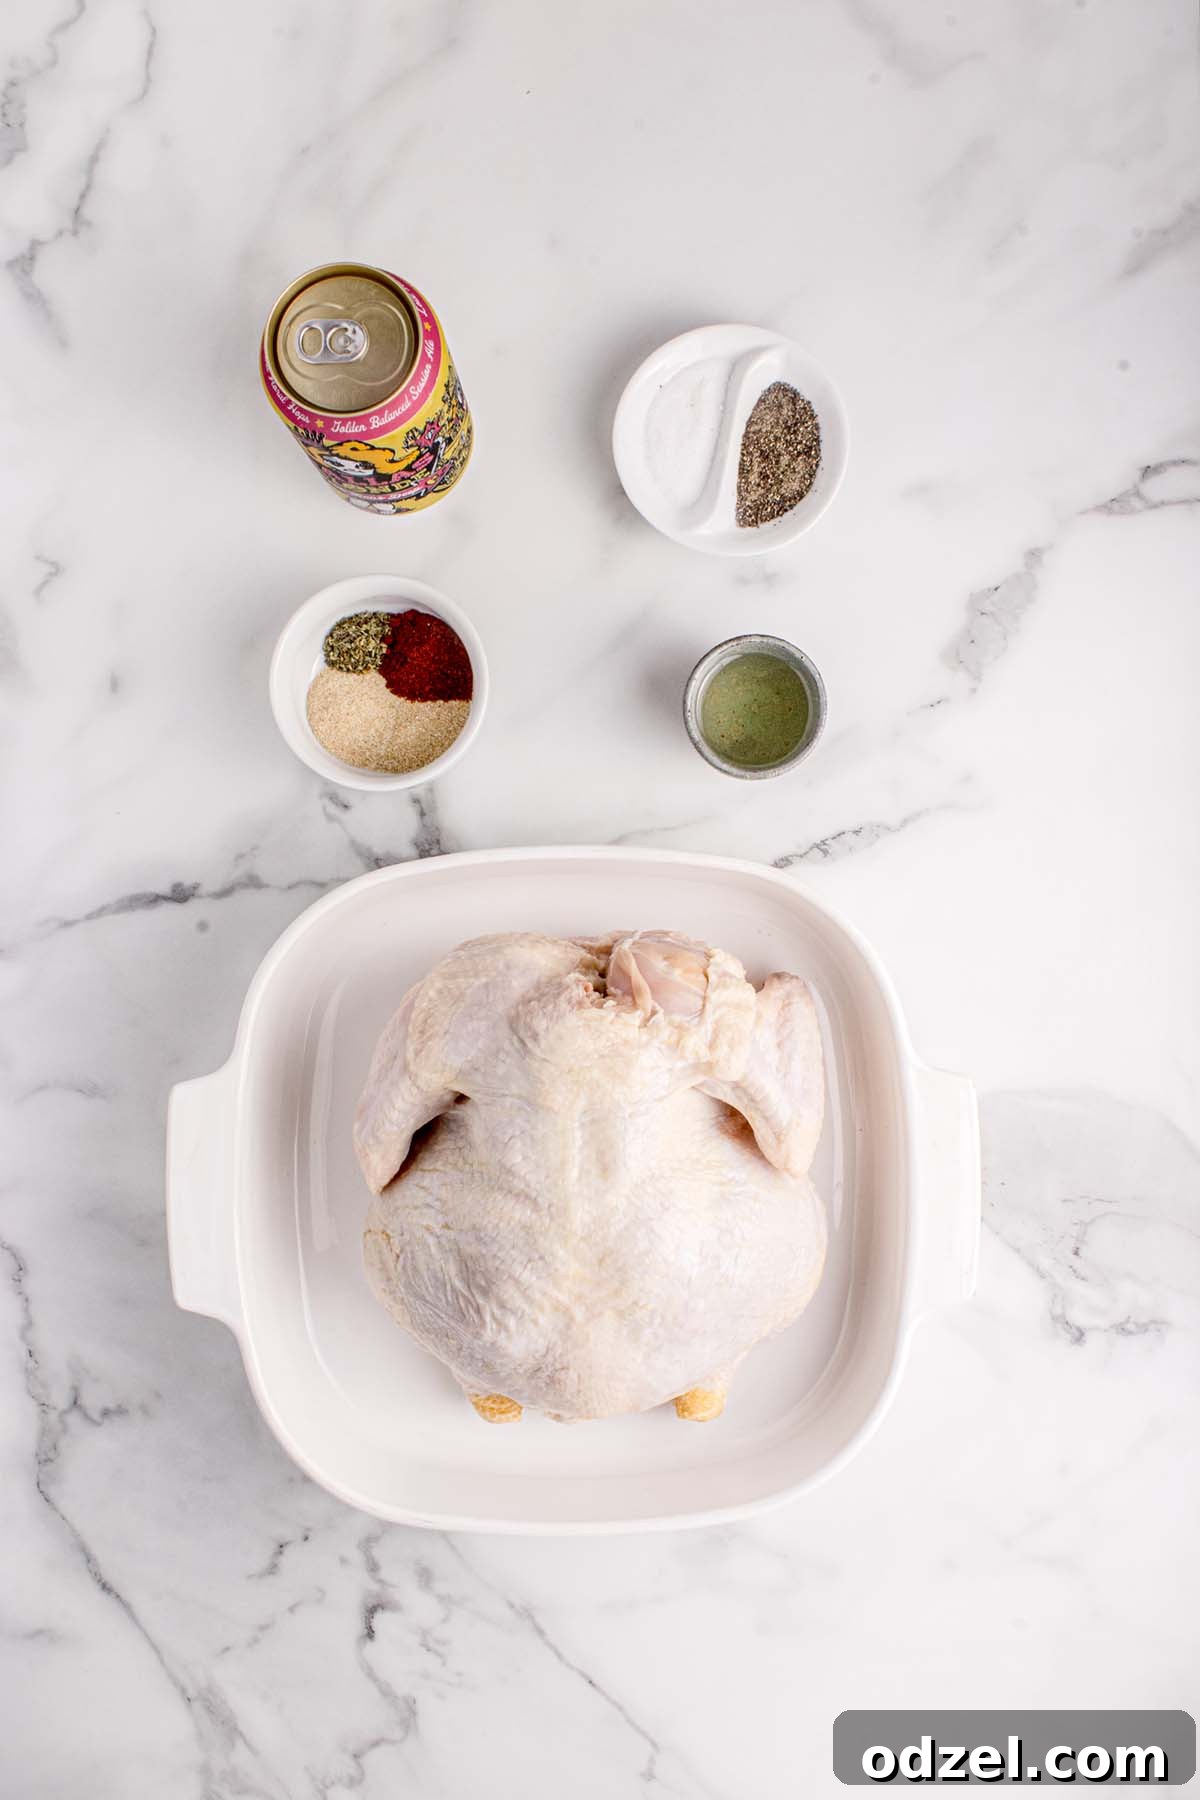
Crafting the perfect smoked beer can chicken starts with quality ingredients. Here’s what you’ll need and some flexible options to suit your taste:
- Whole Chicken: I highly recommend using a fresh 4-5 lb whole chicken. This size is ideal for fitting comfortably on a standard beer can and cooks thoroughly within the specified time. Look for a plump bird with healthy, unblemished skin.
- Beer (12 oz can): The star of the show! A light lager or ale works wonderfully, providing a delicate steaming effect without overpowering the chicken’s natural flavor. However, feel free to experiment with your favorite beer. For non-alcoholic alternatives, consider using a non-alcoholic beer, soda (like Dr. Pepper or Coke for a sweeter touch, or even root beer for a unique twist), chicken broth for savory depth, or apple juice for a hint of fruity sweetness. The key is to use a standard 12 oz aluminum can – **glass bottles are not suitable** for this method due to safety and heat distribution concerns.
- Olive Oil (2 tbsp): Used to coat the entire chicken before applying the spice rub. This helps the rub adhere to the skin, promotes even browning, and contributes to that desirable crispy texture.
- Spices for the Rub: A simple yet powerful blend creates an incredible crust. My go-to rub includes:
- Paprika (1 tsp): Adds a beautiful color and a mild, sweet peppery flavor. You can use sweet or smoked paprika for an extra layer of smoky goodness.
- Garlic Powder (2 tsp): Essential for savory depth, providing a warm and pungent aroma.
- Onion Powder (2 tsp): Complements the garlic, adding another layer of aromatic sweetness.
- Salt and Pepper: Season generously to taste. Don’t be shy with these! They are crucial for enhancing all the other flavors and ensuring the chicken is seasoned throughout.
Custom Rub Ideas: Feel free to customize your rub! Consider adding a pinch of cayenne pepper for heat, dried herbs like thyme or rosemary, brown sugar for a sweet and savory crust, or even a pre-made BBQ rub for convenience.
Pro Tips for Perfect Smoked Chicken
Achieving consistently delicious results with smoked beer can chicken is easy with these expert tips:
- Pat the Chicken Dry: This step is non-negotiable for crispy skin. Excess moisture on the chicken’s surface will steam rather than crisp, preventing that golden, crunchy texture we all love. Use paper towels generously.
- Use Room-Temperature Beer: A cold beer will significantly lower the internal temperature of your chicken initially and slow down the cooking process. Using beer that’s at room temperature (or even slightly warmed) allows for better, more consistent steaming, contributing to a juicier bird and more efficient cooking.
- Don’t Over-Season the Rub: While a generous rub is important for flavor, applying an excessively thick layer can lead to the spices burning during the long smoking process, resulting in an acrid taste. Aim for a light, even coat all over the chicken for the best flavor and crust.
- Avoid Peeking Too Often: “If you’re looking, it’s not cooking!” Each time you lift the grill lid, precious heat and smoke escape. This causes temperature fluctuations that can extend your cooking time and reduce the efficiency of the smoking process. Resist the urge to peek frequently; rely on a reliable grill thermometer.
- Enhance Smoke Flavor with Wood Chips: To infuse your chicken with a deeper, more authentic smoky flavor, add pre-soaked wood chips (like hickory, apple, or cherry) to your charcoal or in a smoker box on a gas grill. The subtle aromatics from the wood chips will elevate your smoked chicken to the next level.
- Allow Chicken to Rest Before Smoking: Letting the chicken sit out at room temperature for 20-30 minutes before placing it on the grill helps it cook more evenly. This prevents the exterior from cooking too quickly while the interior is still cold, leading to a perfectly cooked bird from edge to center.
- Invest in a Meat Thermometer: The only true way to know if your chicken is safely and perfectly cooked is with a reliable meat thermometer. Target 165°F (74°C) in the thickest part of the breast and 175°F (79°C) in the thighs.
- Rest the Chicken After Cooking: Just like any roasted or grilled meat, resting the beer can chicken for 10-15 minutes after it comes off the grill is crucial. This allows the juices to redistribute throughout the meat, ensuring maximum tenderness and flavor.
Smoked Beer Can Chicken Recipe
Smoked Beer Can Chicken
Julie Maestre
This smoked beer can chicken recipe is incredibly easy to make and guaranteed to be a family favorite! This foolproof method consistently delivers juicy, tender meat with irresistibly crispy skin every single time. A definite must-try for all BBQ lovers!
10 minutes
3 hours
4
Rate Recipe
Print Recipe
Equipment
-
Grill (gas or charcoal)
Ingredients
- 1 whole chicken, 4–5 lbs
- 1 12 oz can of beer, your choice (light lager or ale recommended)
- 2 tbsp olive oil, for coating the entire chicken
- 1 tsp paprika
- 2 tsp garlic powder
- 2 tsp onion powder
- Salt and pepper to taste (season generously)
Instructions
-
Step 1: Set Up Your Grill for Indirect Smoking
For a Weber Kettle Charcoal Grill: Arrange unlit charcoal briquettes in a “C-shaped” line along one side of your grill, known as the lazy snake method. Light approximately 10 briquettes in a chimney starter. Once they are fully ashed over, place them at the beginning of your charcoal snake. Close the lid, positioning the vent over the unlit side of the grill. Allow the kettle to preheat and stabilize at a temperature between 250–275°F (120-135°C).
For a Gas Grill: Turn on only one burner (or burners on one side) to medium-low heat. Close the lid and preheat your grill until it reaches a stable temperature of 250-275°F (120-135°C). The goal is to establish indirect heat, keeping the lit side heated to the target temperature while the unlit side remains cool for smoking.
-
Step 2: Prepare the Chicken for Smoking
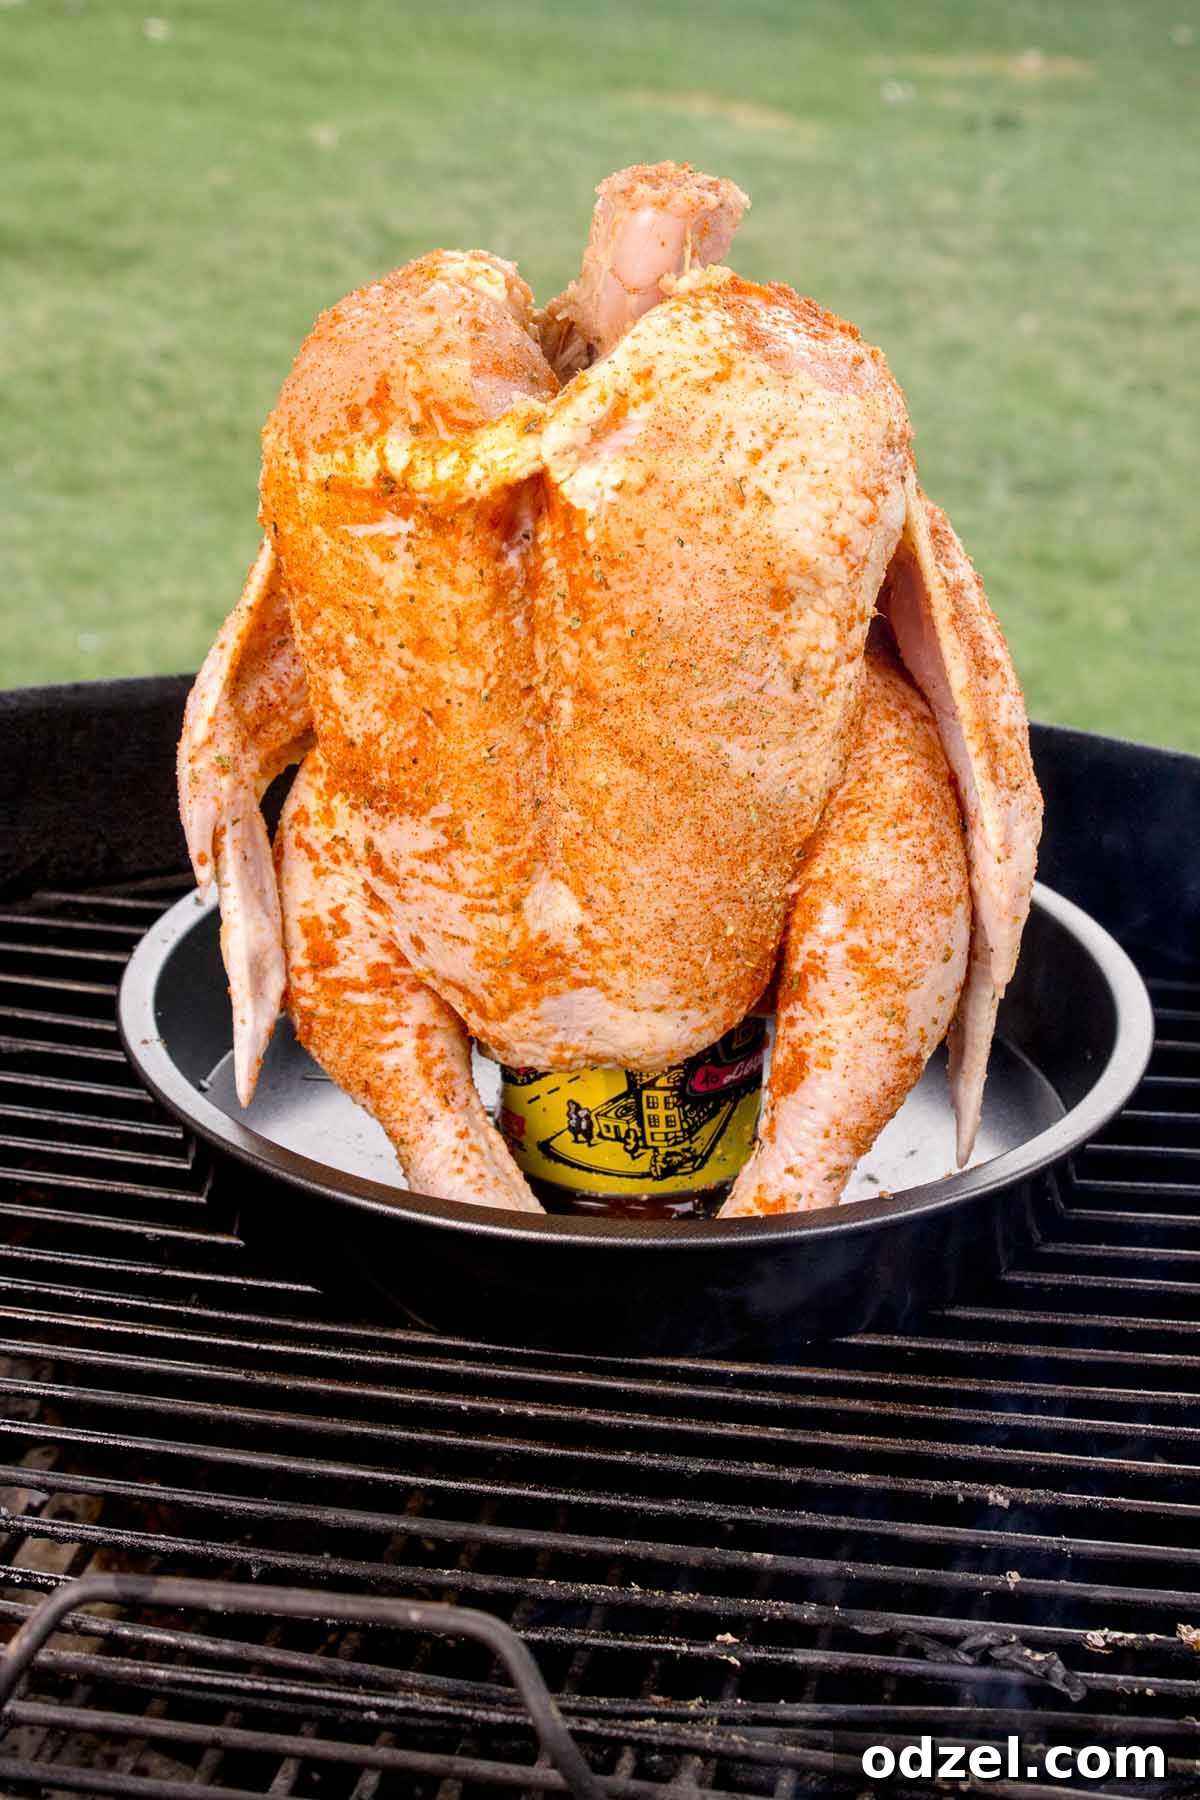
Remove the chicken from the refrigerator and let it sit at room temperature for 20–30 minutes before cooking. This helps the chicken cook more evenly. Thoroughly pat the entire chicken dry with paper towels; this is crucial for achieving crispy skin. Brush 2 tablespoons of olive oil all over the outside of the chicken’s skin. In a small bowl, mix together the paprika, garlic powder, onion powder, salt, and pepper to create your dry rub. Generously season the bird with this rub, ensuring to get some under the wings and thighs for maximum flavor. Be mindful not to apply too thick a layer of seasoning, as this can cause the spices to burn during the long smoking process.
-
Step 3: Prepare the Beer Can Setup
Carefully open your 12 oz can of beer. Drink or pour out about half of the beer. Remember, using room-temperature beer is best for optimal steaming. Place the partially filled beer can in the center of a sturdy baking pan, cast-iron skillet, small baking sheet, or an aluminum foil pan. This pan will catch any drippings and make cleanup easier. Carefully lower the prepared whole chicken over the top of the can, ensuring it stands upright with the can securely inserted into the chicken’s cavity.
-
Step 4: Smoke the Chicken to Perfection
Gently transfer the chicken (still on its pan) to the cool side of your grill (opposite the lit coals or burner). Close the grill lid and maintain a consistent cooking temperature between 250–275°F (120-135°C). Smoke the chicken for approximately 2.5 to 3 hours. It’s important to check the grill temperature occasionally but try to avoid opening the lid too often, as this releases heat and smoke, extending the cooking time. If using a charcoal grill and temperatures begin to drop, you may need to add a few more unlit coals to the end of your snake to maintain the heat.
-
Step 5: Check for Doneness
The chicken is done when it reaches the safe internal temperatures. Use a reliable meat thermometer to check:
- 165°F (74°C) in the thickest part of the breast.
- 175°F (79°C) in the thickest part of the thighs.
Once the chicken has reached these temperatures, use sturdy tongs and a towel or heat-proof gloves to carefully remove it from the grill. Be cautious as the beer can will be hot!
-
Step 6: Rest and Serve
Allow the smoked chicken to rest for at least 10-15 minutes before carving. This critical step allows the juices to redistribute throughout the meat, ensuring a more tender and flavorful result. After resting, carefully remove the beer can, carve the chicken, and serve your incredibly juicy, smoky beer can chicken! Enjoy the compliments!
Chef’s Notes for Success
For the absolute best smoked beer can chicken, keep these crucial tips in mind:
- Dry Skin is Key: Always pat your chicken thoroughly dry with paper towels before applying oil and seasoning. This ensures a crispier skin texture.
- Temperature Matters: Use room-temperature beer for better steaming results and more consistent cooking. Avoid opening the grill lid unnecessarily to maintain steady temperatures and smoke.
- Season Smartly: Apply a light, even coat of your spice rub. Over-seasoning can lead to burnt spices and a bitter taste on the skin.
- Wood for Flavor: Experiment with different types of wood chips (hickory, apple, cherry) to customize the smoky flavor profile of your chicken.
- Resting is Essential: Don’t skip the resting period after cooking. It allows the juices to settle, making your chicken incredibly tender and moist.
Nutrition Information (per serving)
Carbohydrates: 5g |
Protein: 36g |
Fat: 36g |
Saturated Fat: 9g |
Polyunsaturated Fat: 7g |
Monounsaturated Fat: 17g |
Trans Fat: 0.2g |
Cholesterol: 143mg |
Sodium: 139mg |
Potassium: 424mg |
Fiber: 0.5g |
Sugar: 0.2g |
Vitamin A: 513IU |
Vitamin C: 3mg |
Calcium: 31mg |
Iron: 2mg
Nutrition information is automatically calculated and should be used as an approximation. Actual values may vary based on ingredients and preparation.
Additional Recipe Details
Julie Maestre
10 minutes
3 hours
Entree
American, BBQ
4 servings
521
beer can chicken, smoked chicken, grilled whole chicken, BBQ
Storage and Reheating Tips
Enjoying your delicious smoked beer can chicken doesn’t have to stop after the first meal. Here’s how to store and reheat your leftovers to maintain their fantastic flavor and texture:
Storage
Once your smoked chicken has cooled completely, carve the meat off the bone. Store the carved chicken pieces in an airtight container in the refrigerator for up to 3–4 days. This keeps the meat fresh and prevents it from drying out.
Freezing
For longer storage, place the cooled, carved chicken pieces into a freezer-safe bag or an airtight container. Remove as much air as possible to prevent freezer burn. You can freeze the chicken for up to 3 months. Thaw overnight in the refrigerator before reheating.
Reheating Methods
To bring your smoked chicken back to life while preserving its moisture and flavor:
- Oven (Best Method for Moisture): This is the preferred method for reheating whole pieces of chicken. Wrap the chicken tightly in aluminum foil to lock in moisture. Place it in a preheated oven at 325°F (160°C) for 15–20 minutes, or until thoroughly warmed through. The foil helps create a steamy environment, preventing dryness.
- Grill (for a smoky refresh): If you want to add a touch more smokiness or grill marks, place the chicken pieces over indirect heat on your grill. Close the lid and warm until the chicken is heated through, turning occasionally to ensure even heating. Be careful not to overcook, as this can dry out the meat.
- Microwave (Quick Fix): For a rapid reheat, the microwave can be used, but proceed with caution to avoid drying out the chicken. Place chicken pieces on a microwave-safe plate, cover loosely with a damp paper towel, and microwave at 50% power in short bursts (30-60 seconds at a time). Stir or flip pieces between bursts until warmed.
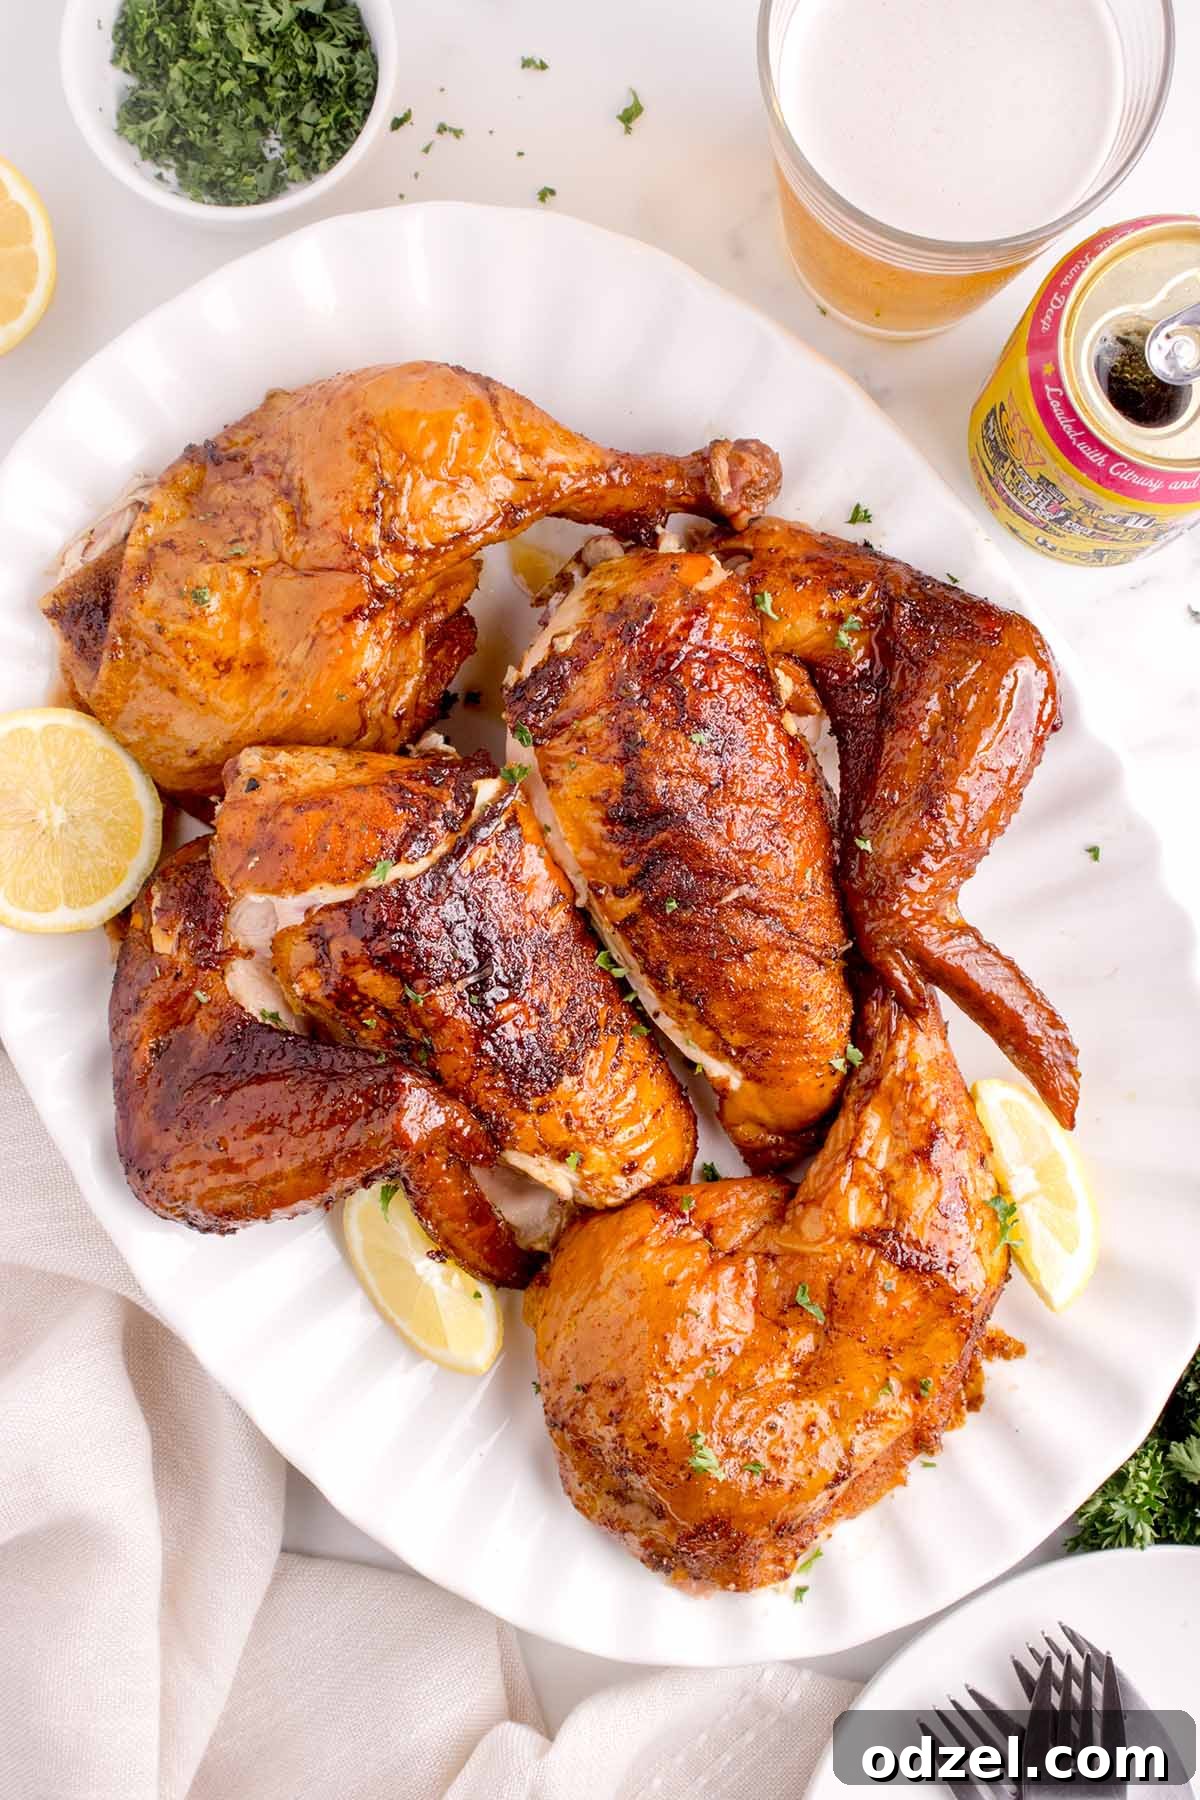
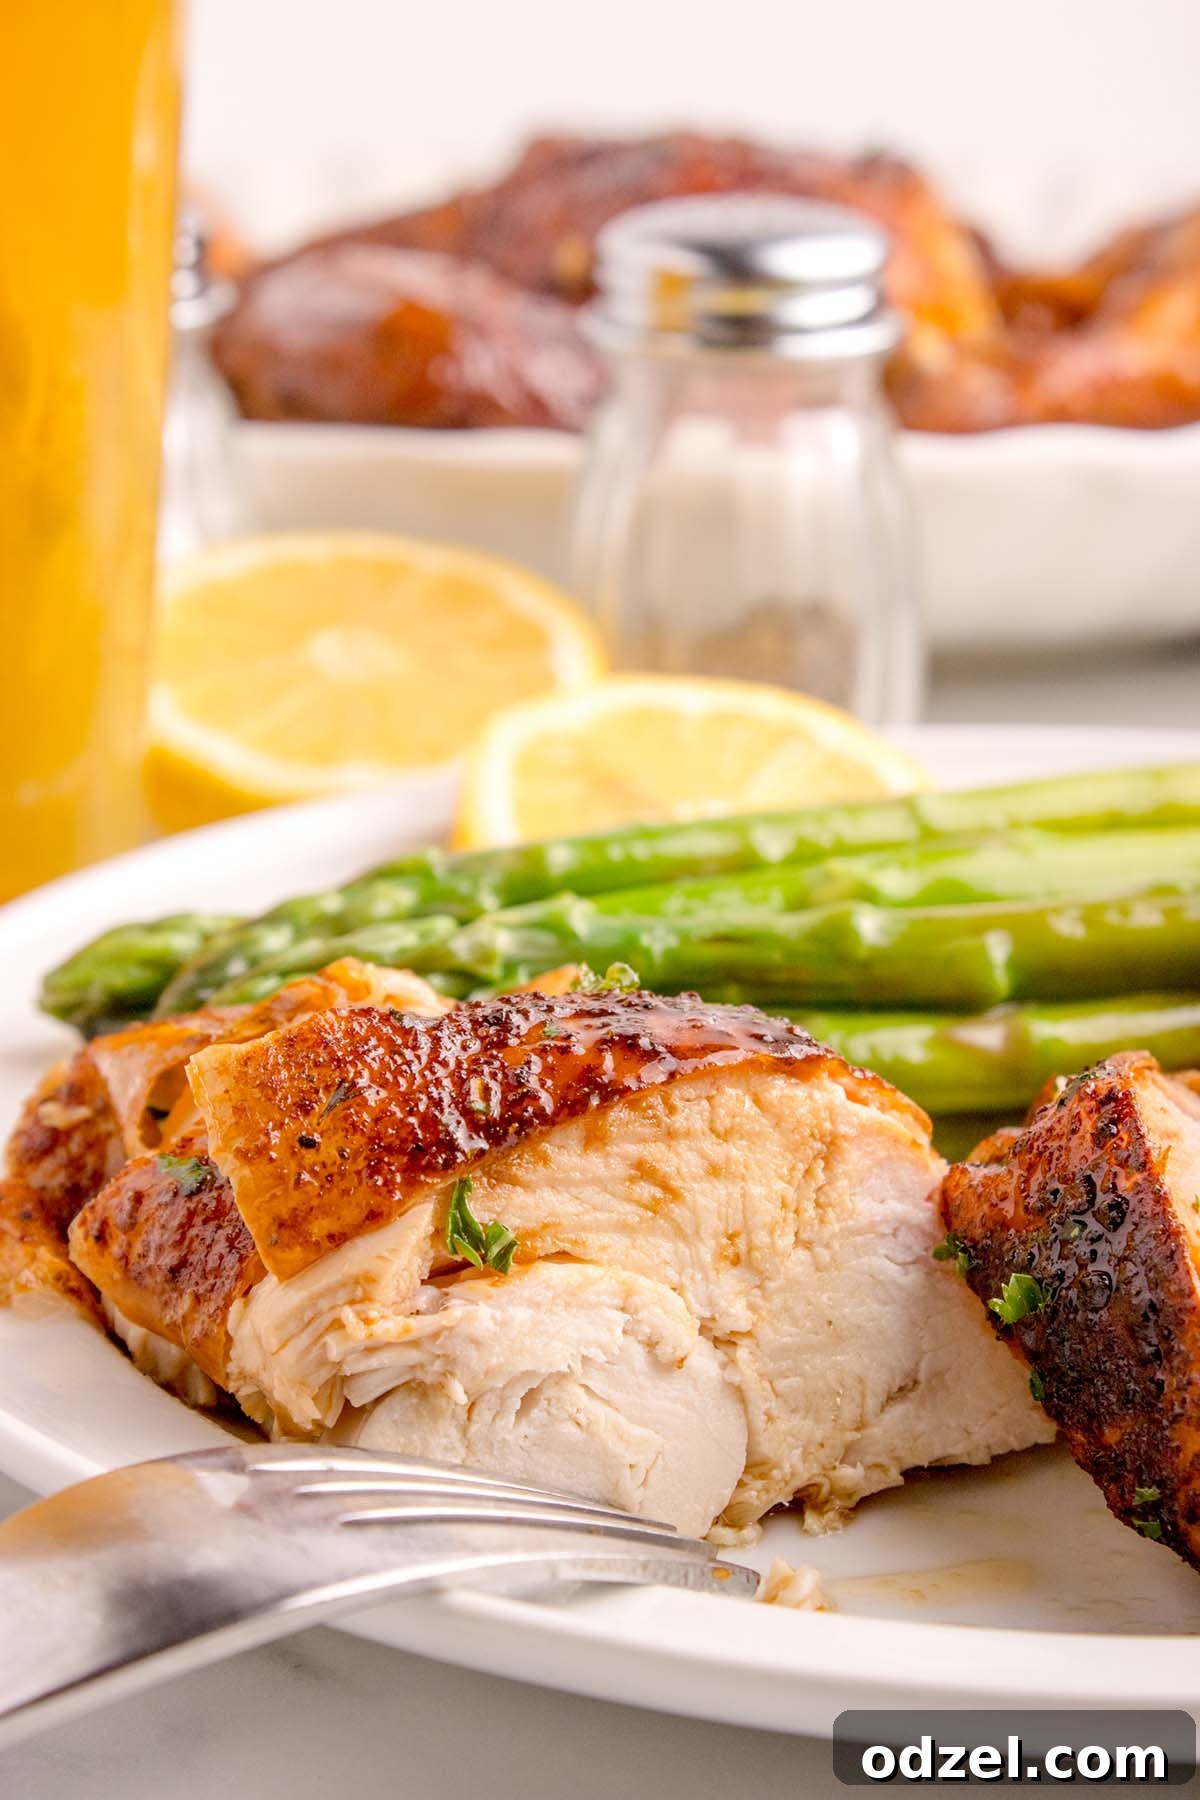
We hope you love this incredible Smoked Beer Can Chicken recipe as much as we do! It’s truly a fantastic way to enjoy a whole chicken with minimal effort and maximum flavor. Don’t hesitate to experiment with different rubs and wood chips to make it your own. Happy grilling!
Tried this recipe? We’d love to hear your thoughts! Please leave a review and share your feedback below. Your comments are greatly appreciated and help other home cooks like you discover amazing new dishes! ❤️