
The Ultimate Homemade Apple Crisp: A Cozy Fall Favorite
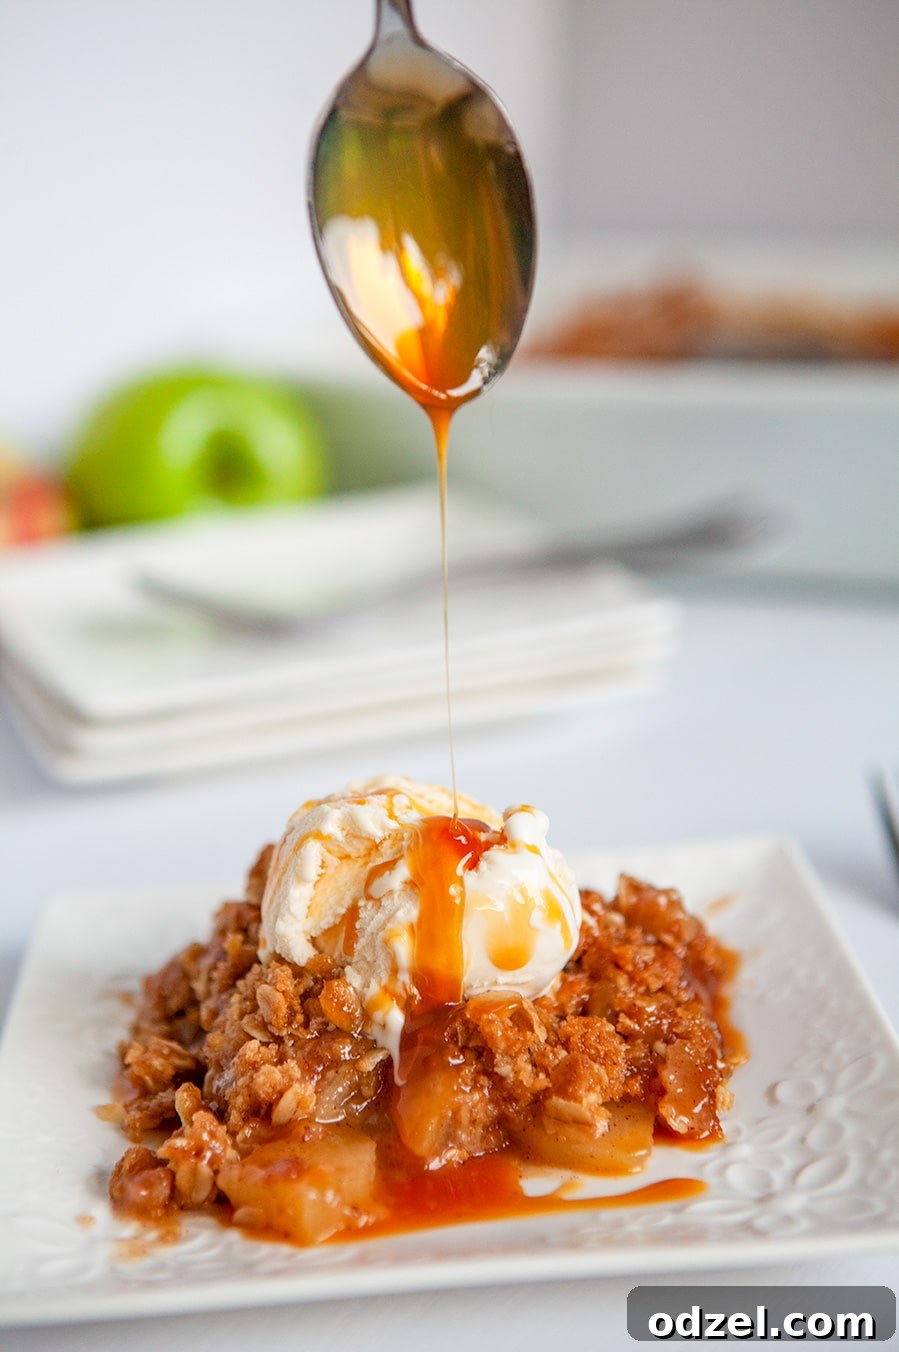
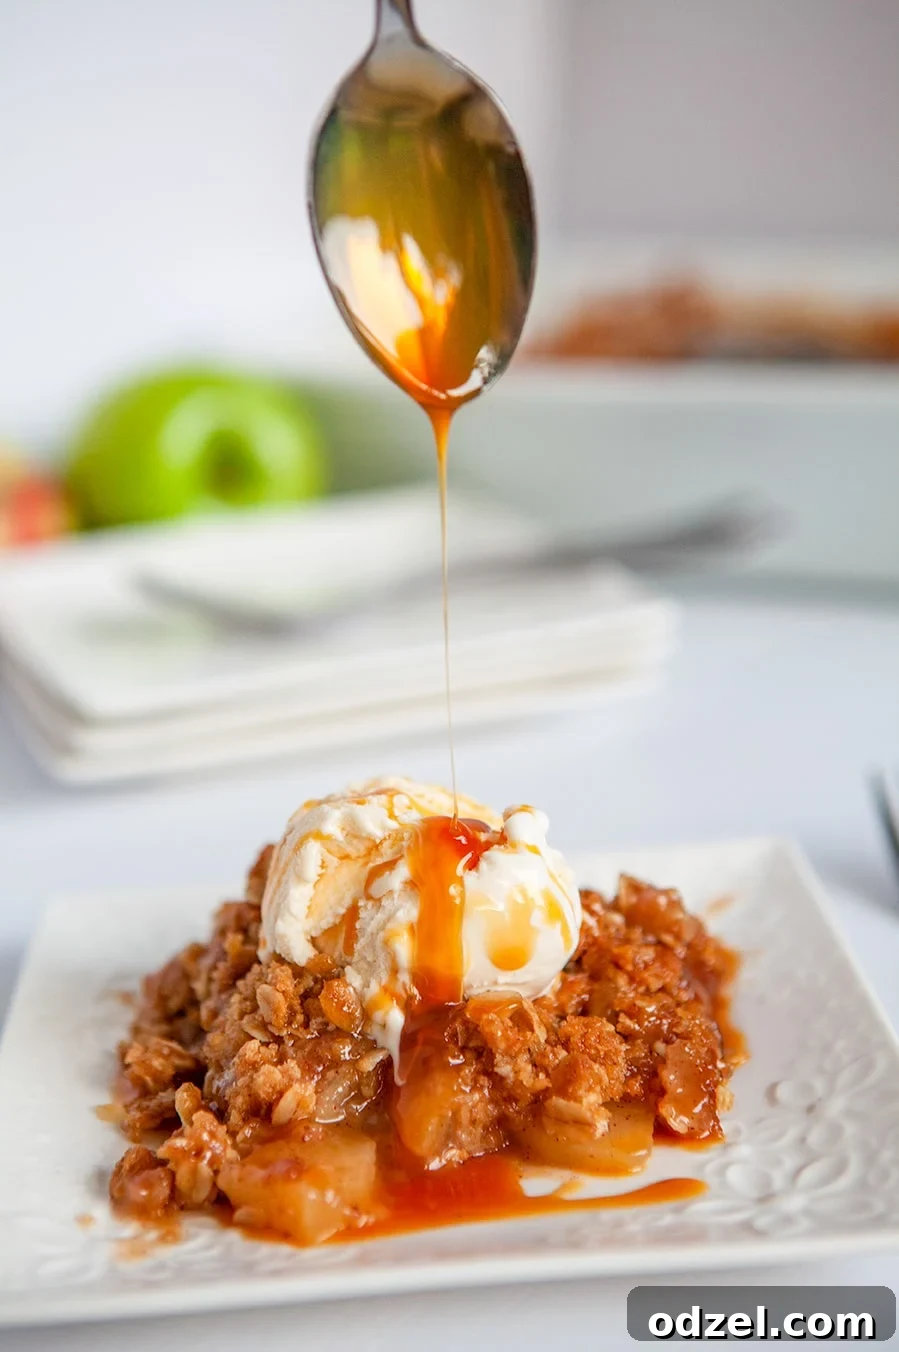
As the leaves begin to turn and the crisp autumn air fills the atmosphere, there’s nothing quite as comforting and inviting as a warm, homemade apple crisp. This isn’t just any apple crisp; it’s a celebration of fall flavors, a symphony of tender, sweet-tart apples nestled under a gloriously golden, buttery, and utterly irresistible oat topping. Imagine taking that first bite: a perfect crunch from the topping, followed by the soft, gooey warmth of spiced apples, all melting together. Serve it with a generous scoop of vanilla ice cream, and perhaps a drizzle of homemade caramel sauce, to create a dessert experience that truly captures the essence of the season.
While many fall and holiday recipes vie for attention, this crispy, delicious apple crisp consistently stands out. Its simple elegance and heartwarming flavors make it a perennial favorite. For me, only a few other classic comfort recipes, like my Cinnamon Rolls or Caramel Sticky Buns, come close to delivering that same profound sense of cozy indulgence. No matter what your favorite autumn treat might be, I’m confident that this apple crisp recipe will earn a special place in your heart and on your table.
Why This Apple Crisp Recipe is a Must-Try
There are countless apple crisp recipes out there, but this one is designed for both flavor and ease, making it perfect for novice bakers and seasoned pros alike. Here’s what makes it truly exceptional:
- Perfectly Balanced Flavors: The combination of sweet and tart apples with warm cinnamon and brown sugar creates a filling that is rich without being overly sweet.
- Irresistibly Crispy Topping: Our oat topping achieves that ideal crunch, providing a delightful textural contrast to the soft apples. It holds its crispness beautifully.
- Simple Ingredients: You’ll likely have most of these ingredients in your pantry already, making this a convenient last-minute dessert option.
- Versatility: Easy to customize with different apple varieties, spices, or even a mix of fruits.
- Crowd-Pleaser: This classic dessert is a guaranteed hit at any family gathering, holiday meal, or cozy night in.
How to Make the Best Homemade Apple Crisp
Crafting this incredible apple crisp is simpler than you might think. Follow these straightforward steps to achieve a dessert that looks and tastes absolutely divine.
- Step 1: Prep Your Workspace – Begin by preheating your oven to 350 degrees Fahrenheit (175 degrees Celsius). Take an 8×8 inch baking dish and generously coat it with nonstick spray or softened butter. This ensures easy cleanup and prevents sticking.
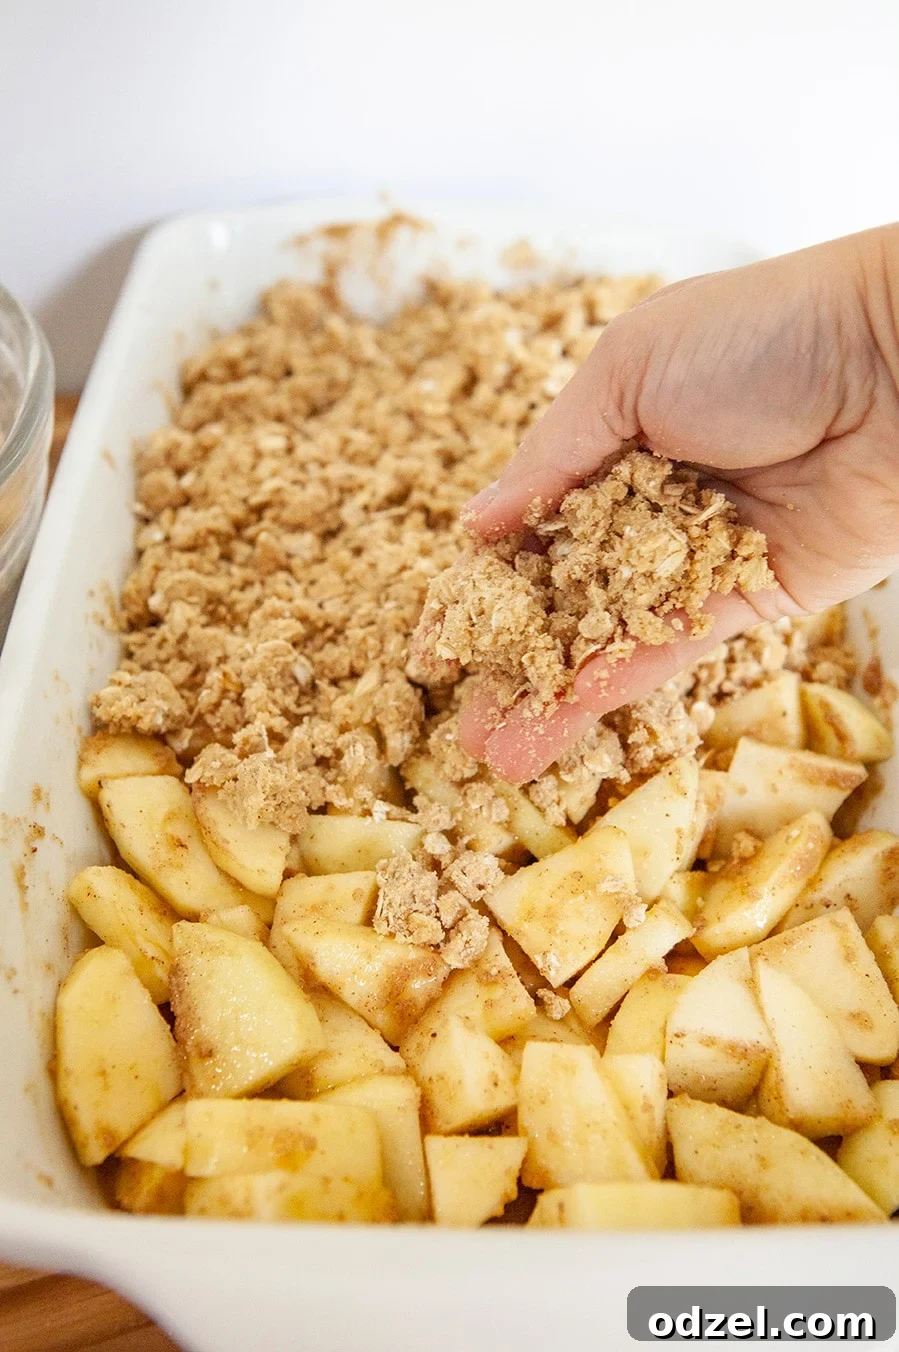
- Step 2: Create the Perfect Topping – In a medium-sized mixing bowl, combine all the dry ingredients for your crumb topping: old-fashioned rolled oats, all-purpose flour, ground cinnamon, a pinch of salt, and brown sugar. Mix these thoroughly until well combined. Next, add the cubed cold unsalted butter. Using your hands or a pastry cutter, work the butter into the dry mixture until it forms delightful, pea-sized crumbs. This textured topping is key to its crispiness.
- Step 3: Prepare the Flavorful Apple Filling – In a separate large bowl, combine your thinly sliced apples with the brown sugar, ground cinnamon, salt, melted unsalted butter, and a touch of all-purpose flour. The flour helps to slightly thicken the juices released by the apples during baking, preventing a watery filling. Toss all the ingredients together until the apples are evenly coated with the spiced, buttery mixture. Pour the prepared apples into your greased baking dish, spreading them out evenly.
- Step 4: Assemble and Bake to Golden Perfection – Generously sprinkle the crumb mixture evenly over the apples in the baking dish, ensuring they are well covered. Place the dish in your preheated oven and bake for 35-40 minutes, or until the topping is beautifully golden brown and the apples are fork-tender and bubbling. The aroma filling your kitchen will be irresistible!
- Step 5: Rest and Serve with Style – Once baked, remove the apple crisp from the oven and let it rest for at least 10 minutes. This allows the filling to set slightly and the flavors to deepen. Serve warm, topped with a luscious scoop of vanilla ice cream that melts into the warm apples, and for an extra touch of decadence, drizzle with homemade caramel sauce. Enjoy every blissful bite!
Top Tips for The Perfect Apple Crisp Every Time
Achieving a truly outstanding apple crisp involves a few key details. These tips will help you elevate your dessert from good to absolutely unforgettable.
- Mixing Your Apples: The Bowl vs. The Pan – While you can certainly combine your apple filling ingredients directly in the baking dish, for a more even coating and less mess, I highly recommend tossing the apples, sugars, spices, and butter in a separate large bowl first. This ensures every slice of apple is beautifully seasoned before it goes into the pan, guaranteeing a consistent flavor throughout your crisp.
- Choosing the Best Apples for Apple Crisp – The type of apple you select dramatically impacts the final flavor and texture of your crisp.
- For a Sweeter Crisp: Opt for varieties like Fuji, Honeycrisp, Gala, or Golden Delicious. These apples break down beautifully and offer a naturally sweet flavor profile.
- For a More Tart Taste: Granny Smith apples are your go-to! Their bright acidity provides a wonderful contrast to the sweet topping. Braeburn or Jonagold also work well for a balance of sweet and tart.
- Mixing Varieties: My personal favorite approach is to use a combination of apples – for example, half Granny Smith and half Honeycrisp. This gives you the best of both worlds: a complex flavor profile with varied textures. The apple choice is more pronounced in recipes like this apple crisp and my Apple Slab Pie, where the apple flavor is front and center, but less critical in recipes like my Salted Caramel Apple Cake or Apple Fritters, where other strong flavors dominate.
- Addressing a Watery Apple Filling – Sometimes, apples can release more juice than anticipated, leading to a thinner filling. If you encounter this, a simple solution for next time is to add 1-2 tablespoons of cornstarch (or arrowroot powder) to your apple mixture along with the flour before baking. This will help absorb excess moisture and create a thicker, luscious filling. When serving, you can also use a slotted spoon to leave any residual liquid in the baking dish, ensuring a perfectly textured crisp on your plate.
- Can Apple Crisp Be Left Out Overnight? – Absolutely! Freshly baked apple crisp can safely sit at room temperature for at least a couple of days, especially if covered loosely. However, for extended freshness and optimal taste, it’s always best to store it in the refrigerator. Just be mindful that the topping may soften slightly over time when exposed to air.
How Do You Keep Apple Crisp from Getting Soggy?
A soggy apple crisp topping is a common complaint, but it’s entirely preventable with a few smart strategies. The key is managing moisture and ensuring proper baking.
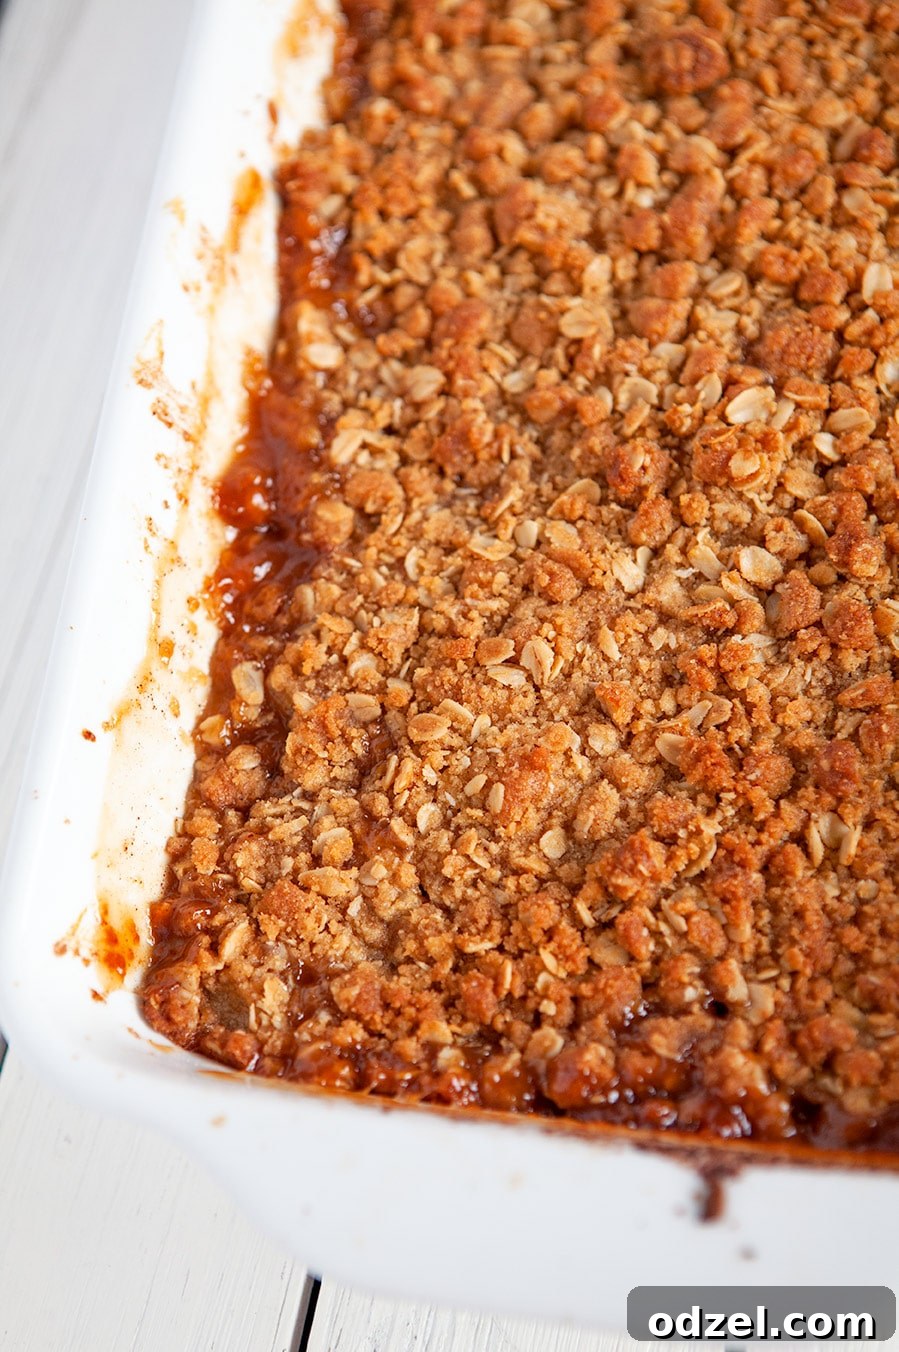
First, ensure your crisp is cooked thoroughly. Bake until the topping is a deep golden brown and the apple filling is visibly bubbling around the edges, indicating the starches have gelatinized and thickened. An undercooked topping will remain soft and gooey, rather than crispy.
Second, and crucially, protect your apple crisp from excess moisture after it’s cooked. Allow the crisp to cool completely at room temperature before covering it. Covering a warm or hot crisp will trap steam, leading to condensation that drips back onto the topping, making it soggy. Once completely cool, you can place it in an airtight container or cover it tightly with plastic wrap.
Additionally, pay attention to your topping ingredient ratios. Too much butter or not enough flour/oats can result in a gummy rather than crumbly topping. Stick to the recipe’s measurements to ensure the perfect texture.
Storage and Reheating Tips for Apple Crisp
Whether you’ve got leftovers or are planning ahead, knowing how to properly store and reheat your apple crisp ensures you can enjoy its deliciousness for days to come.
- Pantry Storage (Room Temperature) – For short-term storage, cover your apple crisp loosely with plastic wrap or foil, or place it in a cake keeper-style dish. It will remain delicious at room temperature for up to 2-3 days. While the topping might lose a bit of its initial crispness, the flavors will remain excellent.
- Refrigerator Storage – To extend its freshness, store your apple crisp, covered, in the refrigerator for up to 5 days. Make sure it’s completely cooled before refrigerating to prevent condensation.
- Freezer Storage – Apple crisp freezes exceptionally well! Once completely cooled, wrap it tightly in plastic wrap and then in aluminum foil, or transfer it to an airtight freezer-safe container. It can be stored in the freezer for up to 2 months. Thaw overnight in the refrigerator before reheating.
- Reheating Methods –
- Oven: This is the best method for reviving crispiness. Preheat your oven to 350°F (175°C). Place the crisp (covered with foil if frozen or very cold to prevent over-browning) in the oven for 15-25 minutes, or until warmed through and the topping is crisp again. Remove the foil for the last 5-10 minutes if needed.
- Microwave: For a quick reheat, individual servings can be microwaved for 30-60 seconds, or until warm. Be aware that the topping will likely soften in the microwave, but the filling will be wonderfully gooey.

Perfect Fall Apple Crisp Recipe
By Julie Maestre
Let every comforting feeling of fall wash over you when you take the first bite of this irresistible apple crisp. Featuring a decadent, crumbly oat topping over tender, gooey slices of perfectly spiced apples, it’s the quintessential autumn dessert. Serve warm with a generous scoop of vanilla ice cream for an unforgettable treat.
Prep Time: 15 mins
Cook Time: 40 mins
Total Time: 55 mins
Yields: 8 servings
Leave a Comment / Rate Recipe
Print Recipe
Ingredients
For the Crispy Topping:
- 1 cup old-fashioned rolled oats
- 1/2 cup all-purpose flour
- 1 tsp ground cinnamon
- 1/8 tsp salt
- 3/4 cup packed brown sugar
- 1/2 cup (1 stick) unsalted butter, cut into small cubes and kept cold
For the Apple Filling:
- 5 medium apples (preferably a mix of sweet and tart, like Honeycrisp and Granny Smith), thinly sliced
- 1/4 cup packed brown sugar
- 1/2 tsp ground cinnamon
- 1/8 tsp salt
- 4 tbsp (1/4 cup) unsalted butter, melted
- 2 tbsp all-purpose flour
Instructions
-
Prepare Oven and Dish: Preheat your oven to 350°F (175°C). Lightly butter or spray an 8×8 inch (20×20 cm) baking dish with nonstick spray. Set aside.
-
Make the Crispy Topping: In a medium mixing bowl, combine the rolled oats, 1/2 cup all-purpose flour, 1 tsp ground cinnamon, 1/8 tsp salt, and 3/4 cup brown sugar. Mix these dry ingredients thoroughly until they are well integrated.
-
Incorporate Butter for Topping: Add the cold, cubed butter to the oat mixture. Using a pastry cutter, your fingertips, or even a fork, cut the butter into the dry ingredients. Continue mixing until the mixture resembles coarse crumbs, with some pea-sized pieces of butter remaining. This texture is vital for a truly crispy topping.
-
Prepare the Apple Filling: In a separate large bowl, combine the thinly sliced apples, 1/4 cup brown sugar, 1/2 tsp ground cinnamon, 1/8 tsp salt, 4 tbsp melted butter, and 2 tbsp all-purpose flour. Toss gently but thoroughly until all apple slices are evenly coated. The flour will help thicken the apple juices during baking.
-
Assemble and Bake: Pour the apple mixture evenly into your prepared baking dish. Spread it out to form a relatively flat layer. Then, generously sprinkle the prepared oat crumb topping evenly over the entire surface of the apples, ensuring good coverage. Bake for 40 minutes, or until the topping is a beautiful golden brown and the apples are tender when pierced with a fork (check by gently poking through the topping). The apple filling should also be visibly bubbling.
-
Cool and Serve: Remove the baked apple crisp from the oven and let it cool for at least 10-15 minutes before serving. This allows the filling to set and prevents it from being too runny. Serve warm, ideally with a scoop of vanilla ice cream, and optionally a drizzle of caramel sauce, for the ultimate comforting dessert experience.
Nutrition Information (Approximate Per Serving)
Calories: 391 kcal | Carbohydrates: 57g | Protein: 3g | Fat: 18g | Saturated Fat: 11g | Cholesterol: 46mg | Sodium: 85mg | Potassium: 203mg | Fiber: 4g | Sugar: 39g | Vitamin A: 593IU | Vitamin C: 5mg | Calcium: 45mg | Iron: 1mg
Nutrition information is automatically calculated and should only be used as an approximation. Actual values may vary based on ingredients and preparation methods.
Additional Recipe Information
Author: Julie Maestre
Prep Time: 15 minutes
Cook Time: 40 minutes
Total Time: 55 minutes
Course: Dessert
Cuisine: American
Servings: 8
Calories: 391 kcal
Keywords: apple crisp recipe, easy apple crisp, old fashioned apple crisp, homemade apple crisp, fall dessert
We hope you thoroughly enjoy this ultimate homemade apple crisp recipe! It’s truly a labor of love that brings warmth and joy to any occasion. If you made this recipe, we’d love to hear from you. Leave a comment below and share your experience!
Explore More Delicious Dessert Options
If you savored every bite of this delightful apple crisp, then you will certainly find joy in exploring these other sweet options, perfect for any time of year:
- Berry Cobbler
- Pumpkin Cheesecake Muffins
- Strawberry Cobbler
- Pumpkin Cake