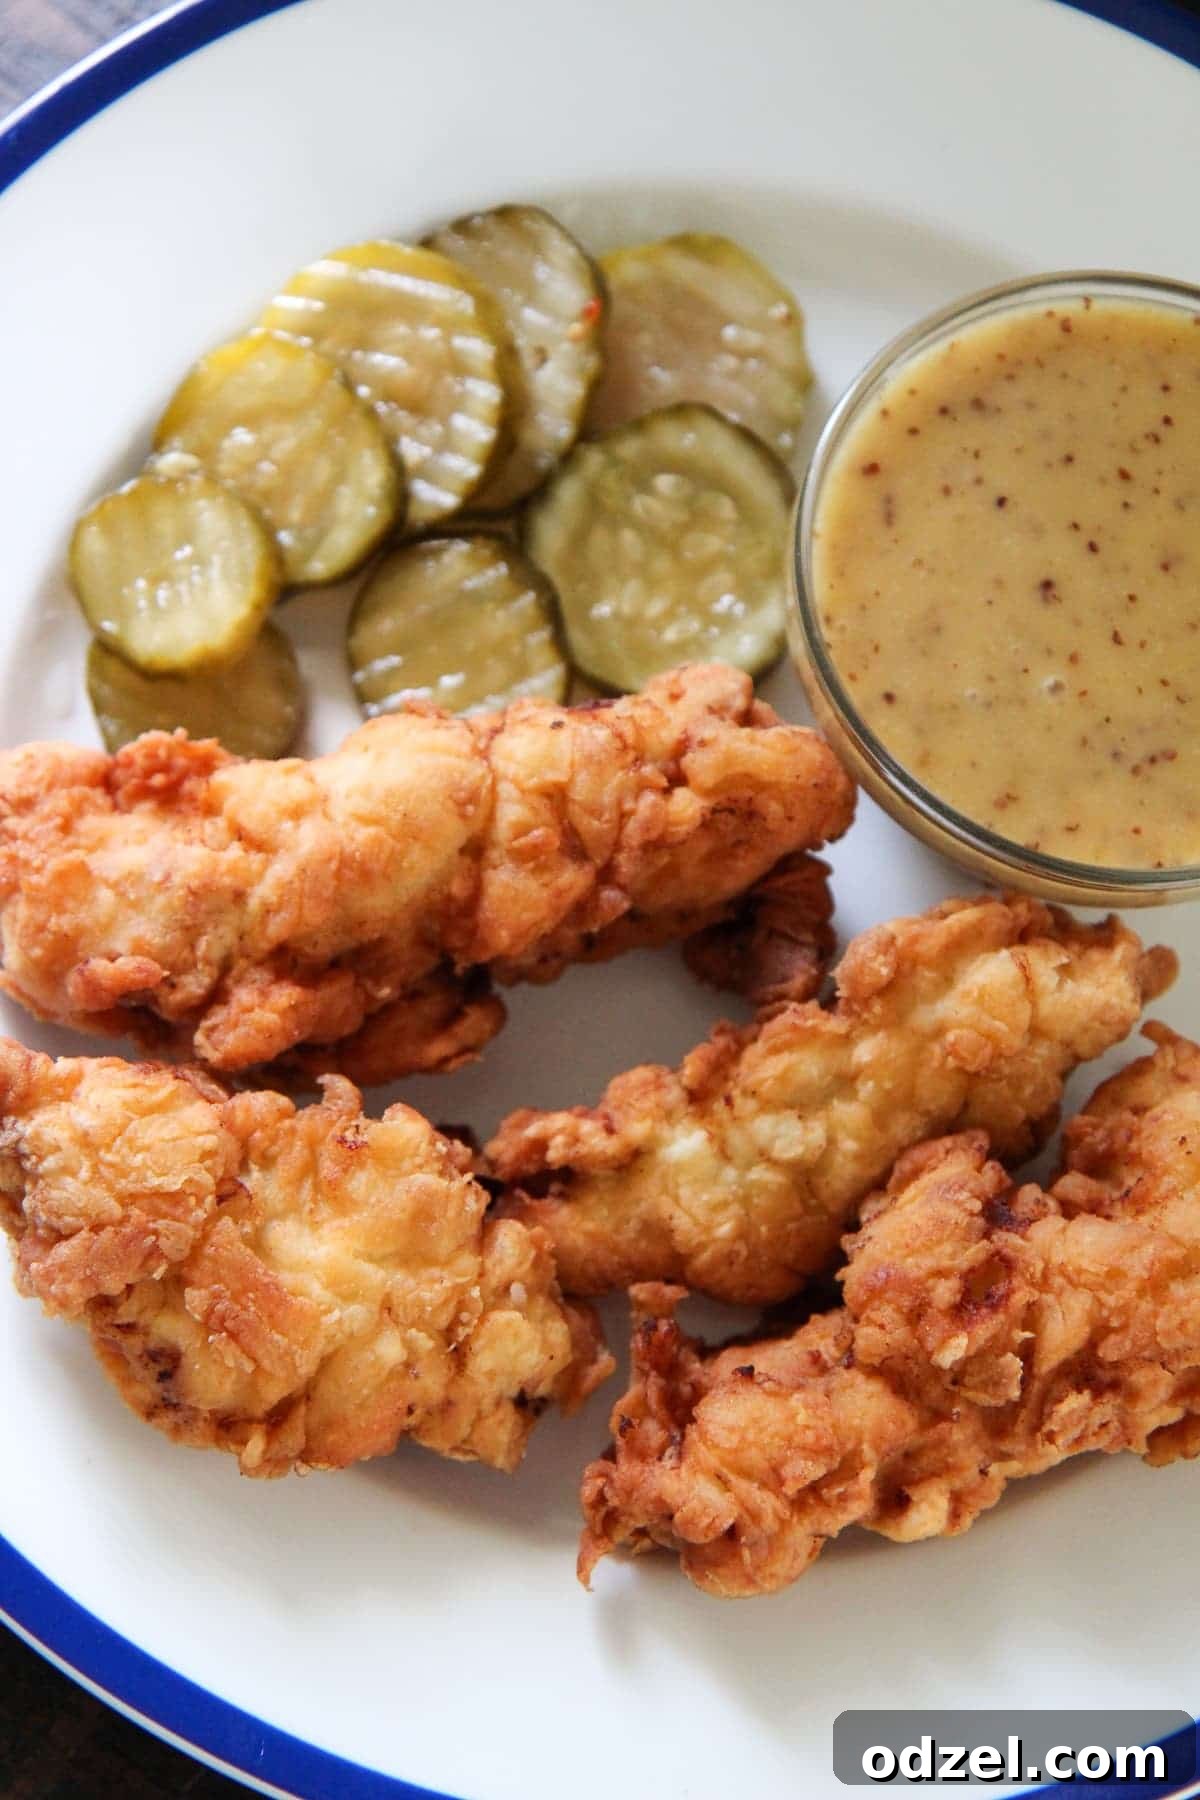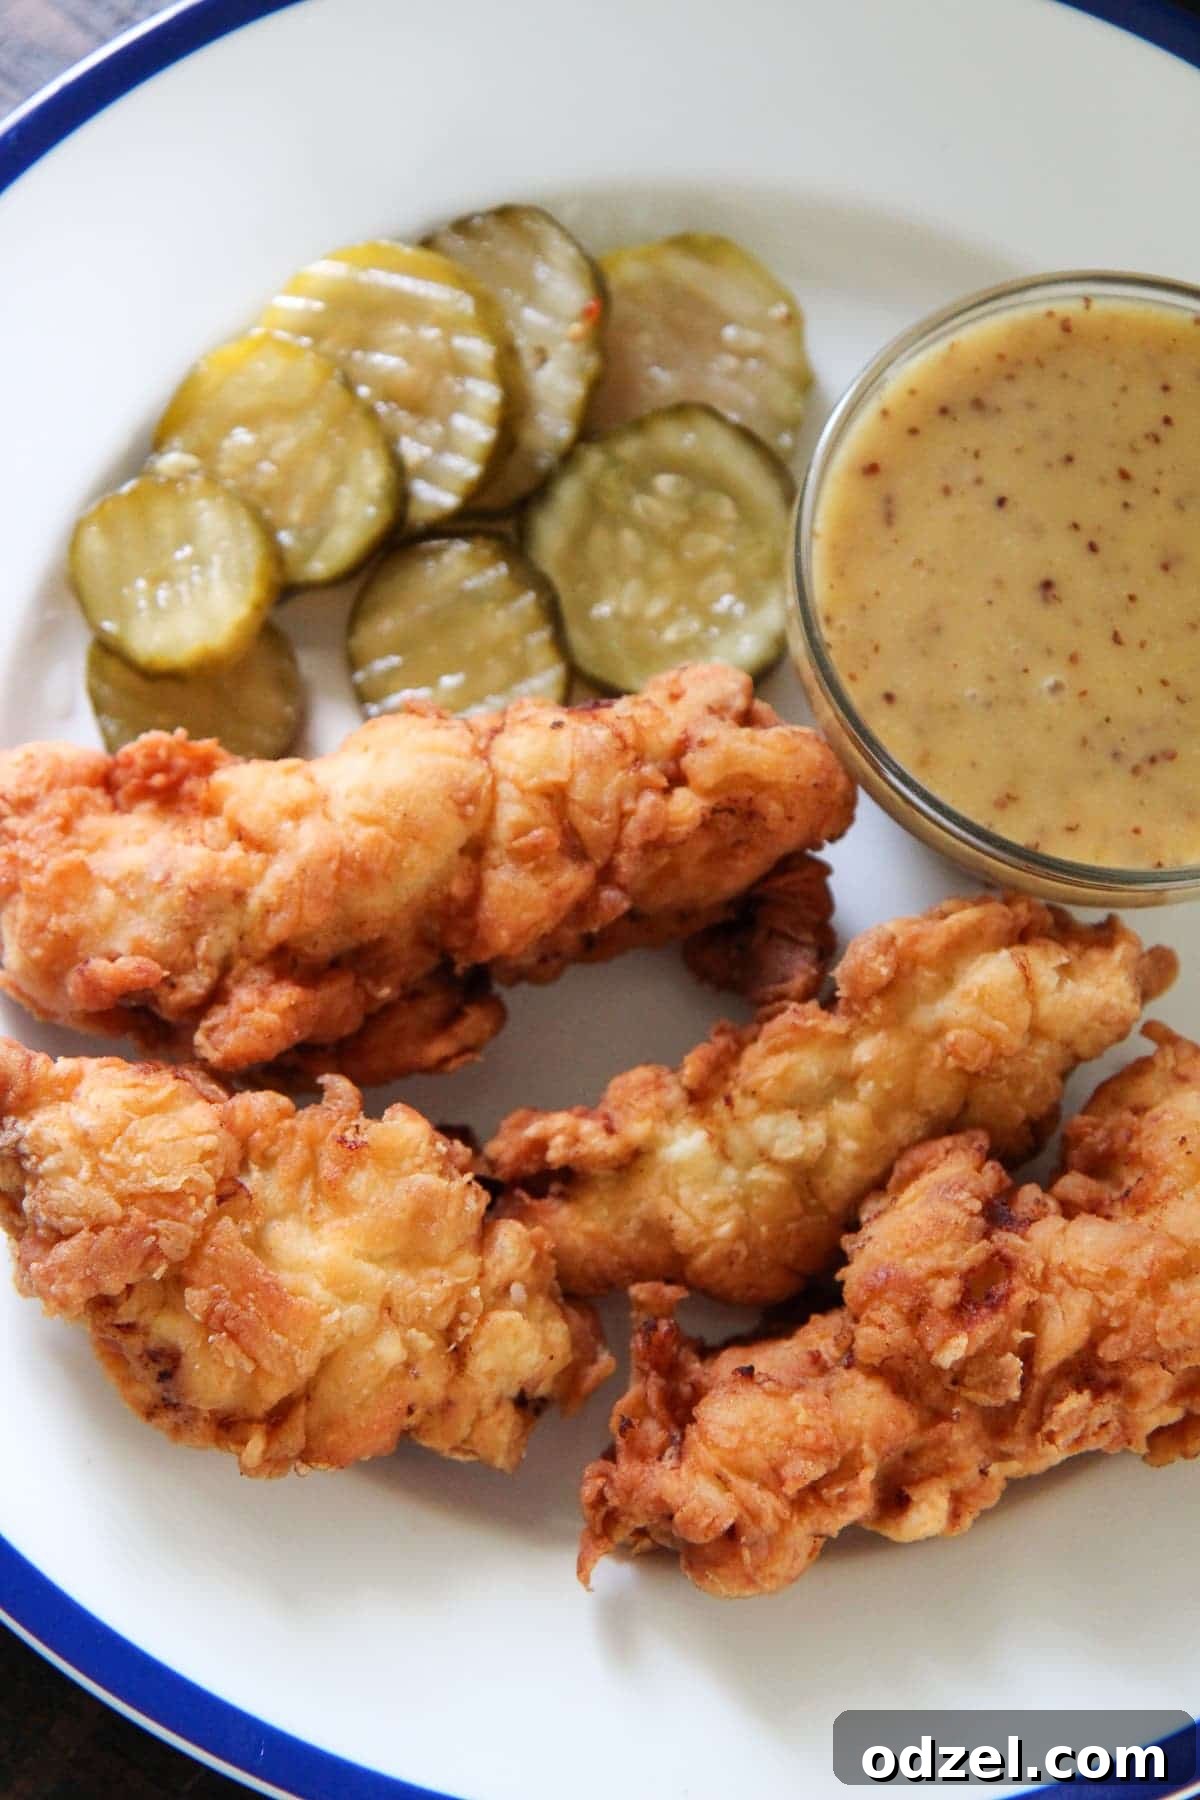
Crispy Buttermilk Chicken Tenders with Homemade Honey Mustard Sauce
Prepare to be amazed by the ultimate homemade chicken tenders! Forget about soggy, bland takeout; this recipe delivers perfectly seasoned, incredibly juicy, and irresistibly crispy buttermilk chicken tenders that will become an instant family favorite. Paired with a creamy, tangy, and sweet homemade honey mustard sauce, these tenders are designed to impress at your next gathering or simply elevate your weeknight dinner.
Why This Buttermilk Fried Chicken Tenders Recipe is a Game-Changer
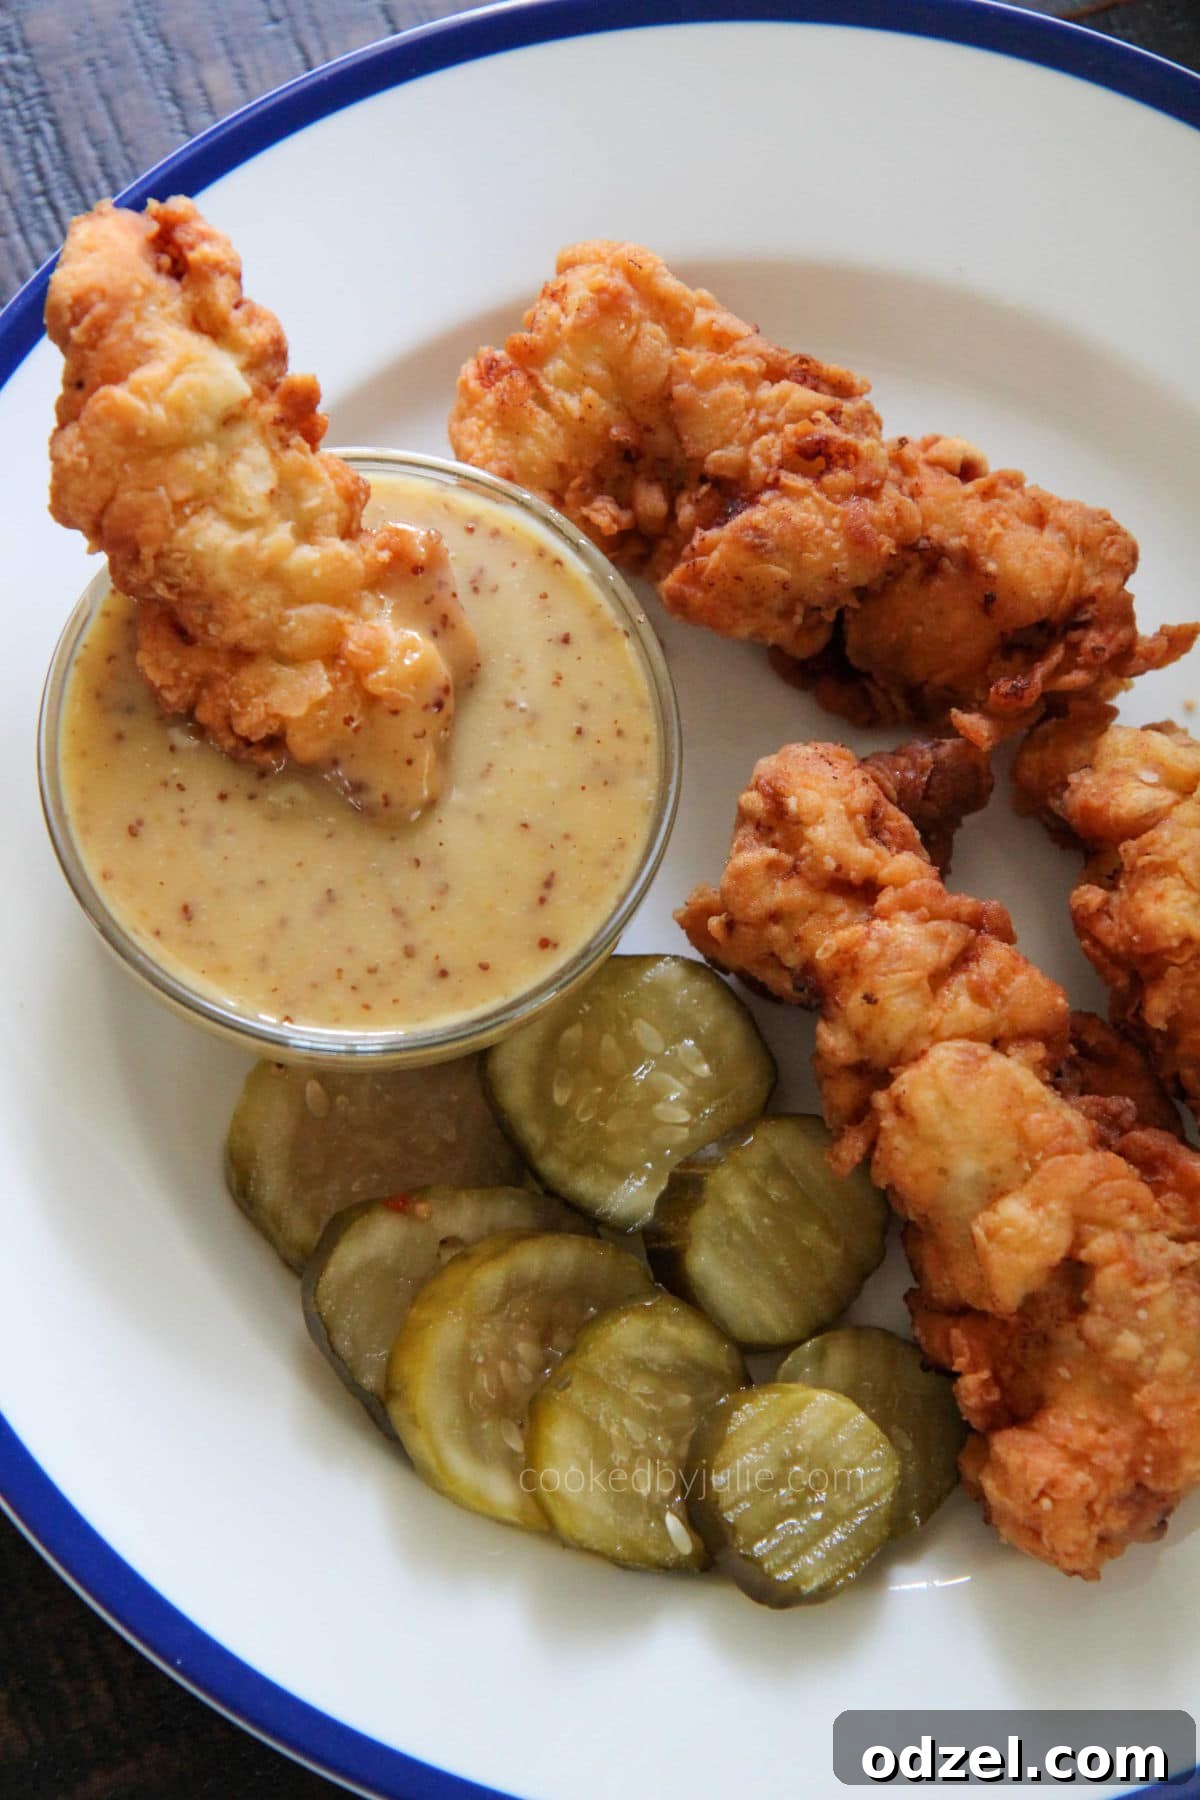
There’s nothing quite like biting into a tender piece of chicken with a perfectly crunchy coating. This recipe isn’t just “good”; it’s a culinary experience that surpasses most restaurant versions. My secret? A double-whammy of buttermilk and baking powder that guarantees an unparalleled texture. The buttermilk works its magic by tenderizing the chicken, ensuring every bite is succulent and moist, while the baking powder in the seasoned flour mixture is the key to achieving that incredibly airy, golden-brown crust we all crave. And let’s not forget the homemade honey mustard sauce – it’s the perfect sweet and tangy complement that truly completes this dish.
Many home cooks rave about the incredible flavor and texture of buttermilk fried chicken, and these tenders are no exception. They’re a testament to how simple ingredients can create extraordinary results. If you’ve enjoyed my Honey Butter Fried Chicken, you’ll find these buttermilk chicken tenders offer a similar level of satisfaction, perhaps even a new personal best for crispy fried chicken. The combination of expertly fried chicken and the iconic honey mustard pairing is simply unbeatable, making it a staple in any home cook’s repertoire.
The Secret to Extra Crispy and Juicy Chicken Tenders
Achieving restaurant-quality fried chicken at home might seem daunting, but with a few simple tricks, it’s easily within reach. Here’s how we ensure maximum flavor and optimal texture for your crispy chicken tenders:
- Buttermilk Marinade: This isn’t just for flavor; buttermilk’s lactic acid naturally breaks down protein fibers in the chicken, leading to exceptionally tender meat. Marinating for at least an hour (or even overnight!) makes a significant difference, infusing the chicken with moisture and a subtle tang.
- Baking Powder in the Breading: A small amount of baking powder mixed into your flour creates tiny air bubbles when it reacts with the moisture from the buttermilk and the hot oil. These bubbles expand, resulting in a lighter, crispier, and more textured crust that shatters with every bite.
- Double Dredging: Our method involves dipping the chicken twice in the seasoned flour, with an egg wash in between. This creates a thicker, more craggy coating, which means more surface area for crispiness and better adhesion of the breading.
- Optimal Frying Oil and Temperature: Peanut oil is my top recommendation for frying. It has a high smoke point and imparts a clean, neutral flavor that won’t overpower the chicken. Maintaining a consistent oil temperature between 350-375°F (175-190°C) is crucial for even cooking, a golden-brown finish, and preventing the tenders from becoming greasy or burnt.
Choosing the Right Chicken for Your Tenders
For the best buttermilk chicken tenders, you have a couple of excellent options, each offering slightly different benefits:
- Chicken Tenderloins: These are naturally cut portions of chicken breast, usually found beneath the main breast. They are inherently tender and come in a convenient, ready-to-fry shape, requiring minimal preparation. They cook quickly and uniformly, making them ideal for tenders.
- Chicken Breasts: If using larger chicken breasts, simply slice them lengthwise into strips about 1-inch thick. This ensures they cook evenly and quickly, mimicking the tenderloin shape. While chicken breasts can be leaner, the buttermilk marinade will keep them incredibly moist and flavorful. You can also lightly pound them for a more uniform thickness.
Whichever cut you choose, aim for uniform thickness to guarantee consistent cooking and perfectly golden results across all your crispy chicken tenders. This attention to detail will elevate your homemade fried chicken experience.
How to Make the Best Buttermilk Chicken Tenders – Step-by-Step Guide
This easy chicken tender recipe is designed to be straightforward, yielding unbelievably delicious results every time. Follow these detailed steps for crispy, juicy perfection:
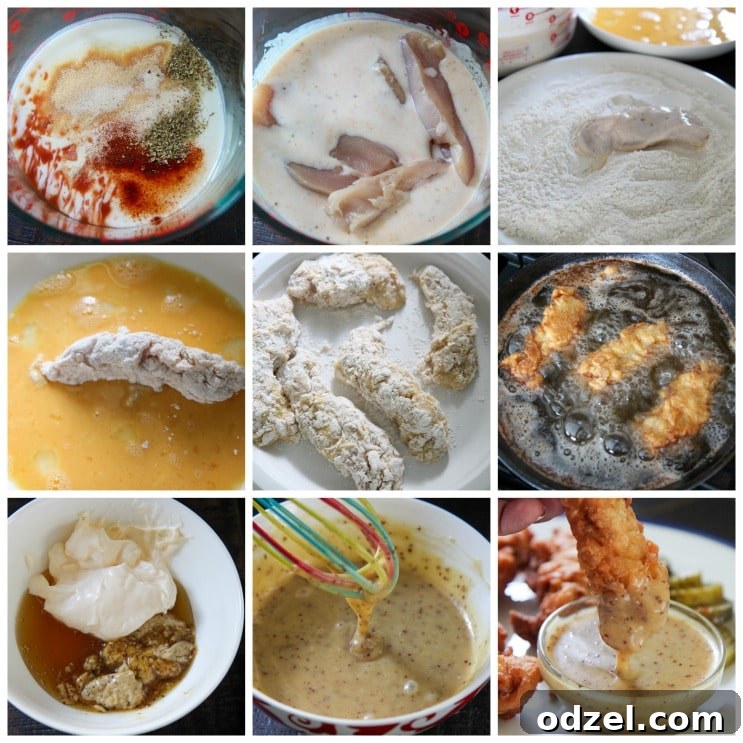
- Prepare the Marinade: In a large mixing bowl, combine 1 cup of buttermilk with 1/2 tsp granulated garlic, 1/2 tsp onion powder, 1/4 tsp paprika, 1/4 tsp oregano, 1 tsp salt, and 1 tsp hot sauce (if you enjoy a little kick). Whisk thoroughly until all the seasonings are well integrated and the mixture is smooth.
- Marinate the Chicken: Add 1 1/2 lb of sliced chicken tenderloins or breast strips to the buttermilk mixture, ensuring each piece is fully submerged. Use tongs to toss and coat the chicken evenly. Cover the bowl with plastic wrap and refrigerate for at least 1 hour. For an even deeper flavor and maximum tenderness, marinate for up to 4 hours, or even overnight.
- Bring to Room Temperature: About 15-20 minutes before you plan to fry, remove the marinated chicken from the refrigerator. Allowing the chicken to come closer to room temperature helps it cook more evenly and prevents the oil temperature from dropping too drastically when the chicken is added. This is a crucial step for crispy results.
- Set Up Your Breading Station: In a separate shallow dish or bowl, whisk together 2 cups of all-purpose flour with the remaining 1 tsp of salt and 1 tsp of baking powder. Ensure these dry ingredients are thoroughly combined to distribute the leavening agent evenly. In another shallow bowl, lightly beat 2 large eggs until well combined.
- First Dredge: Take one piece of marinated chicken from the buttermilk mixture, allowing any excess liquid to drip off. Dip it into the seasoned flour mixture, pressing gently to ensure it’s fully coated. Shake off any loose flour by lightly tapping the chicken.
- Egg Dip: Next, dip the flour-coated chicken into the beaten eggs, ensuring the entire piece is covered. Let any excess egg drip back into the bowl. This egg wash acts as a vital binder for the second flour coating.
- Second Dredge: Immediately transfer the chicken back into the flour mixture for a second coating. Press and coat thoroughly again, really working to create a thick, craggy layer. This double coating is essential for that extra crispy texture. Place the breaded chicken aside on a clean wire rack while you bread the remaining pieces.
- Heat the Oil: Fill a deep, heavy-bottomed pot or Dutch oven halfway with peanut oil (or canola oil). Heat the oil over medium-high heat until it reaches a temperature between 350°F and 375°F (175°C – 190°C). Use a kitchen thermometer to monitor the temperature for best results; this is key to perfectly fried chicken.
- Fry the Chicken: Carefully lower a few breaded chicken tenders into the hot oil, ensuring not to overcrowd the pot. Frying in batches is essential to maintain oil temperature. Fry for about 5-6 minutes per side, or until they are golden brown, beautifully crispy, and cooked through to an internal temperature of 165°F (74°C).
- Drain and Serve: Remove the cooked tenders from the oil using tongs and place them on a wire rack set over a paper towel-lined baking sheet to drain any excess oil. This allows air to circulate and helps maintain their crispiness.
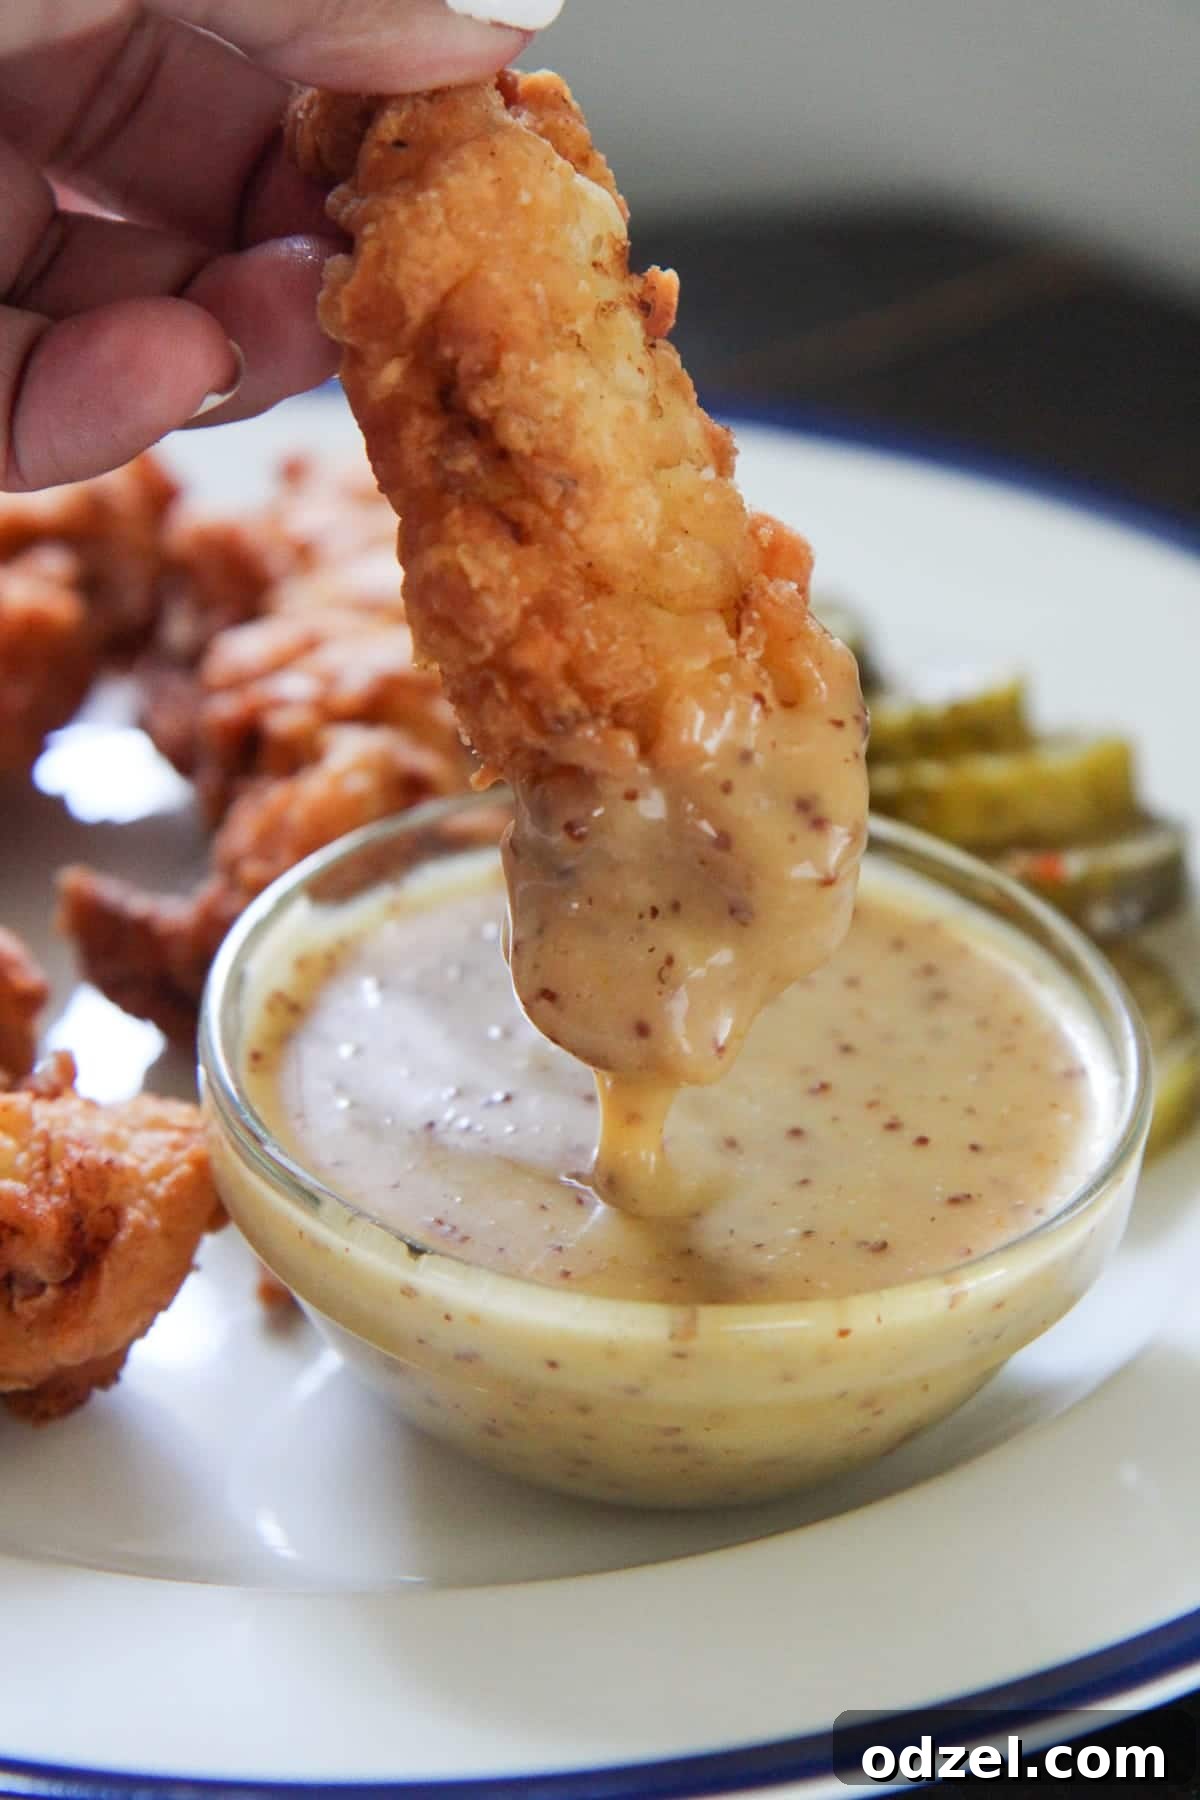
- Prepare Honey Mustard Sauce: While the chicken cooks, in a small bowl, combine 1/2 cup mayonnaise, 1/4 cup Dijon mustard, and 1/4 cup honey. Whisk until smooth and creamy. Taste and adjust sweetness or tanginess to your preference.
Crafting the Perfect Homemade Honey Mustard Sauce
While store-bought honey mustard can be convenient, making your own from scratch is incredibly simple and delivers a far superior flavor profile. Our homemade honey mustard sauce strikes the ideal balance of sweet and tangy, complementing the savory, crispy chicken tenders beautifully. All you need are three staple ingredients:
- Mayonnaise: Forms the rich, creamy base of the sauce, providing body and a smooth texture.
- Dijon Mustard: Adds a sharp, pungent, and slightly spicy kick that cuts through the richness of the mayo and chicken, providing that signature mustard flavor.
- Honey: Contributes natural sweetness and a lovely floral note, perfectly balancing the mustard’s tang and creating a harmonious flavor.
Simply combine 1/2 cup mayonnaise, 1/4 cup Dijon mustard, and 1/4 cup honey in a small bowl and whisk until smooth and creamy. Feel free to adjust the ratios to suit your taste – add a little more honey for extra sweetness, or a dash more Dijon for a bolder, tangier flavor. For an added layer of complexity, a tiny pinch of cayenne pepper or a squeeze of fresh lemon juice can elevate the sauce even further. This homemade honey mustard sauce is not just for chicken tenders; it’s also fantastic with fries, salads, or as a sandwich spread!
Essential Tips for Flawless Fried Chicken Tenders
To ensure your homemade crispy buttermilk chicken tenders turn out perfectly every single time, keep these expert tips in mind:
- Room Temperature Chicken: Always allow your marinated chicken to sit out for about 15-20 minutes before frying. Adding cold chicken to hot oil drastically lowers the oil’s temperature, leading to uneven cooking and a greasy, rather than crispy, crust.
- Maintain Oil Temperature: Use a deep-fry thermometer to monitor your oil constantly. Fluctuations in temperature are the enemy of perfectly fried food. If the oil is too cool, the chicken will absorb too much oil and become greasy. If it’s too hot, the exterior will burn before the interior is cooked through. Aim for a consistent 350-375°F (175-190°C).
- Don’t Overcrowd the Pot: Fry chicken in batches. Overcrowding the pot lowers the oil temperature and causes the chicken to steam rather than fry, resulting in a less crispy coating. Give each piece ample space to sizzle and brown.
- Use a Wire Rack for Draining: After frying, transfer the tenders to a wire rack placed over a paper towel-lined baking sheet. This allows air to circulate around them, preventing the bottoms from getting soggy as they cool. Avoid placing them directly on paper towels for too long.
- Choose the Right Oil: Peanut or canola oil are highly recommended for deep frying due to their high smoke points and neutral flavors, which won’t interfere with the taste of your chicken.
- Season Generously: Don’t be shy with your seasonings in both the buttermilk marinade and the flour mixture. This is where the majority of your flavor comes from, so season to taste!
Perfect Pairings: What to Serve with Chicken Tenders
These crispy buttermilk chicken tenders are fantastic on their own, but they truly shine when served with the right accompaniments. For a classic, satisfying meal, I highly recommend:
- Creamy Coleslaw: The cool, crisp crunch of coleslaw offers a refreshing contrast to the warm, savory chicken. Its tanginess balances the richness perfectly.
- Four Cheese Mac and Cheese: Rich, cheesy, and utterly comforting, homemade mac and cheese is the quintessential side for fried chicken. It’s pure indulgence!
Beyond these classic choices, consider adding a variety of other delicious sides to your spread:
- Crispy French Fries: A timeless combination that never disappoints; perfect for dipping in extra honey mustard.
- Sweet Potato Fries: For a slightly healthier and sweeter alternative to regular fries.
- Mashed Potatoes and Gravy: Southern comfort food at its finest, offering a creamy, hearty option.
- Fresh Green Salad: A lighter option with a zesty vinaigrette to balance the richness of the fried chicken.
- Corn on the Cob: Sweet and juicy, perfect for summer meals.
- Baked Beans: A smoky and sweet complement that adds a rustic touch.
And to wash it all down? A tall, cold glass of Classic Lemonade is absolutely unbeatable for its refreshing, tart sweetness!
Storage and Reheating Buttermilk Chicken Tenders
Got leftovers? Lucky you! Here’s how to properly store and reheat your crispy chicken tenders to maintain their deliciousness and crunch:
- Storage: Allow cooked chicken tenders to cool completely to room temperature before transferring them to an airtight container. This prevents condensation which can make them soggy. Store in the refrigerator for up to 3-4 days.
- Reheating for Crispiness: To revive their crispiness, avoid the microwave at all costs – it will make them rubbery and soft!
- Oven Method: Preheat your oven to 375°F (190°C). Place the tenders in a single layer on a wire rack set over a baking sheet. Heat for 10-15 minutes, or until heated through and crispy. This method is excellent for large batches.
- Air Fryer Method: Preheat your air fryer to 350°F (175°C). Place the tenders in a single layer in the air fryer basket (do not overcrowd). Cook for 5-7 minutes, flipping halfway, until hot and delightfully crispy. This is a quick and effective method for smaller portions.
More Delicious Chicken Recipes You’ll Love
If you’re a fan of flavorful chicken dishes, be sure to explore these other fantastic recipes. From weeknight dinners to weekend feasts, there’s something for everyone:
- Honey Lime Chicken: A vibrant, zesty dish perfect for grilling or baking.
- Oven-Baked BBQ Chicken: Tender, smoky, and slathered in delicious barbecue sauce.
- Ultimate Chicken Salad: A classic, creamy, and versatile salad perfect for sandwiches or light lunches.
- Creamy Smothered Chicken Thighs: A comforting, hearty dish with a rich sauce.
- BBQ Pulled Chicken Sandwiches: Easy to make and bursting with flavor, ideal for gatherings.
Recipe Card: Buttermilk Chicken Tenders with Homemade Honey Mustard
Recipe Summary
- Author: Julie Maestre
- Description: Buttermilk fried chicken tenders seasoned and fried to perfection. Served with a homemade creamy honey mustard sauce.
- Prep Time: 40 minutes (includes marinating time)
- Cook Time: 10-15 minutes
- Servings: 4
- Course: Appetizer, Entree
- Cuisine: American
- Keywords: buttermilk chicken tenders, chicken tenders, chicken tenders with honey mustard, crispy chicken tenders, fried chicken, homemade sauce
Ingredients
For the Chicken Tenders:
- 1 1/2 lb chicken breast (sliced lengthwise into tenders or use chicken tenderloins)
- 1 cup buttermilk
- 1/2 tsp granulated garlic
- 1/2 tsp onion powder
- 1/4 tsp paprika
- 1/4 tsp oregano
- 2 tsp salt (divided: 1 tsp for marinade, 1 tsp for flour mixture)
- 1 tsp hot sauce (optional, for a slight kick)
- 2 cups all-purpose flour
- 1 tsp baking powder
- 2 large eggs (for egg wash)
- Peanut or canola oil, for frying
For the Homemade Honey Mustard Sauce:
- 1/2 cup mayonnaise
- 1/4 cup Dijon mustard
- 1/4 cup honey
Instructions
- In a large bowl, combine the buttermilk, granulated garlic, onion powder, paprika, oregano, 1 tsp salt, and hot sauce (if using). Whisk well until fully incorporated.
- Add the chicken tenderloins or breast strips to the buttermilk mixture. Ensure all chicken is thoroughly coated. Cover the bowl and refrigerate for at least 1 hour, or for up to 4 hours for maximum tenderness.
- Remove the chicken from the fridge 15-20 minutes before frying to allow it to come closer to room temperature. This promotes even cooking.
- Prepare your breading station: In one shallow bowl, whisk together the all-purpose flour, the remaining 1 tsp salt, and baking powder. In a second shallow bowl, lightly beat the 2 eggs.
- Take a piece of chicken from the buttermilk mixture, allowing any excess liquid to drip off. Dip it into the flour mixture, coating thoroughly and shaking off any excess.
- Next, dip the flour-coated chicken into the beaten eggs, ensuring it’s fully covered. Let excess egg drip off.
- Immediately return the chicken to the flour mixture for a second coating. Press gently to adhere the flour, creating a thick, craggy, crispy crust. Place the breaded chicken on a wire rack set over a baking sheet.
- Heat about 3-4 inches of peanut or canola oil in a deep pot or Dutch oven over medium-high heat until it reaches 350-375°F (175-190°C). Use a deep-fry thermometer to monitor the temperature accurately.
- Carefully add a few chicken tenders to the hot oil, ensuring not to overcrowd the pot. Fry for 5-6 minutes per side, or until golden brown, crispy, and fully cooked through (internal temperature of 165°F/74°C).
- Remove the fried chicken tenders to a wire rack set over paper towels to drain any excess oil. Repeat with the remaining chicken in batches.
- For the honey mustard sauce, combine mayonnaise, Dijon mustard, and honey in a small bowl. Whisk vigorously until the sauce is completely smooth and creamy.
- Serve the hot, crispy chicken tenders immediately with the homemade honey mustard sauce and your favorite side dishes.
Notes
- For the crispiest results and best flavor, use peanut or canola oil as they have high smoke points and neutral flavors ideal for frying.
- Allowing the chicken to rest at room temperature for 15-20 minutes prior to frying is crucial for even cooking and preventing the oil temperature from dropping too quickly.
- Do not overcrowd the frying pot; fry the chicken in small batches to maintain a consistent oil temperature and achieve optimal crispiness.
- A deep-fry thermometer is highly recommended to keep the oil temperature consistently between 350-375°F (175-190°C) for perfect results.
Nutrition Information (Approximate per Serving)
(Based on 4 servings for the chicken tenders and honey mustard sauce)
- Calories: 728 kcal
- Carbohydrates: 70g
- Protein: 46g
- Fat: 29g
- Saturated Fat: 6g
- Cholesterol: 127mg
- Sodium: 1808mg
- Potassium: 936mg
- Fiber: 2g
- Sugar: 21g
- Vitamin A: 239 IU
- Vitamin C: 3mg
- Calcium: 150mg
- Iron: 4mg
Nutrition information is automatically calculated and should only be used as an approximation. Actual values may vary significantly based on specific ingredients, portion sizes, and preparation methods.