
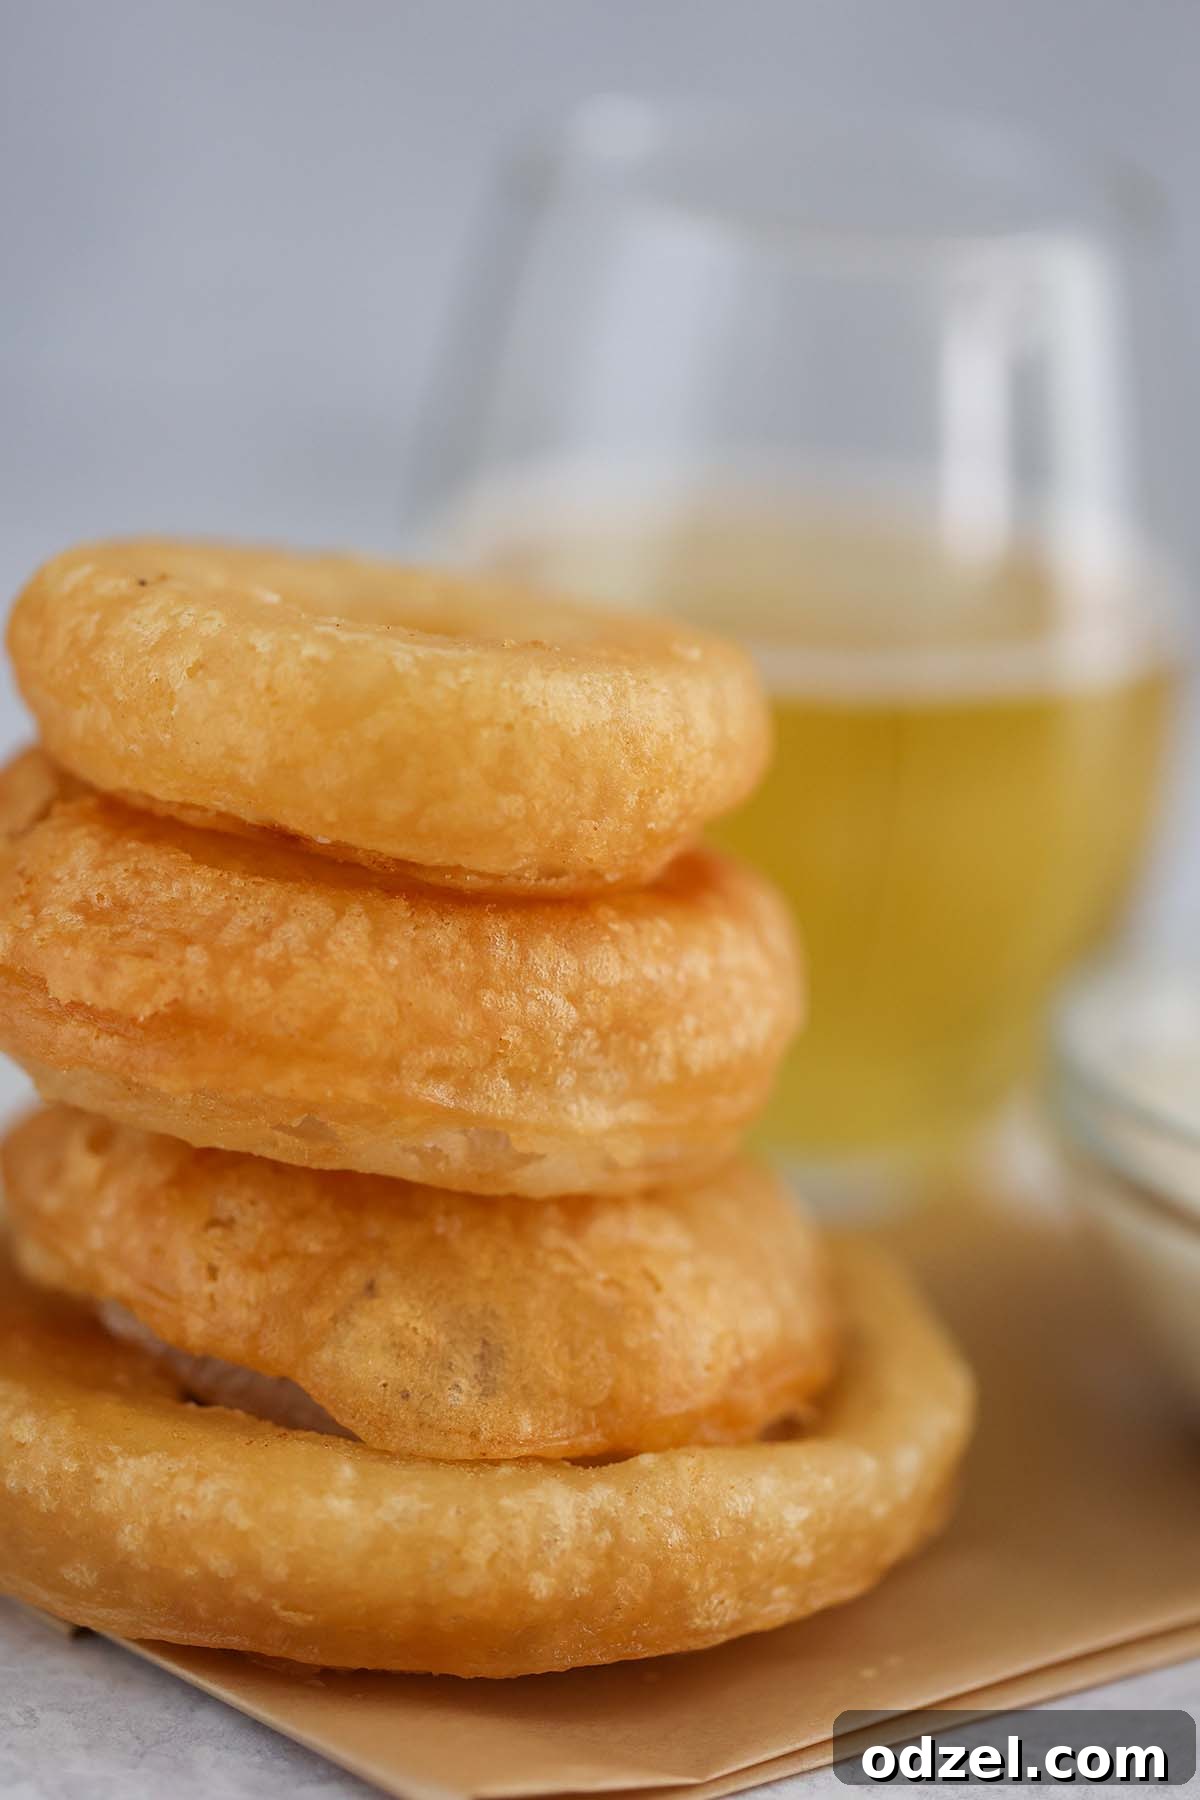
There’s nothing quite like the irresistible crunch and sweet, savory flavor of perfectly golden onion rings. While many enjoy the classic breaded variety, a truly exceptional experience awaits with beer-battered onion rings. This recipe promises a fluffy, super crispy texture that stands up to every bite, making them an ideal appetizer or a delicious side dish for your favorite meals. Whether you serve them with classic ketchup, a zesty spicy aioli, or a creamy ranch dip, these homemade onion rings are guaranteed to be a crowd-pleaser.
When it comes to the debate between crispy onion rings and their beer-battered counterparts, why choose? I recently shared my crispy onion rings recipe, and the overwhelming response was a request for a beer-battered version. And for good reason! The addition of beer to the batter creates an unparalleled lightness and crispness that sets these onion rings apart. This recipe caters to all onion ring enthusiasts, delivering a superior texture and flavor profile that will have everyone reaching for more.
Why You’ll Adore These Beer-Battered Onion Rings
There are countless reasons why these beer-battered onion rings will become your new go-to recipe. From their perfect texture to their incredible versatility, they truly stand out:
- Unmatched Fluffiness and Crispy Perfection: The unique properties of beer create a lighter, airier batter that fries up incredibly crispy, providing that satisfying crunch with every bite without being heavy or greasy.
- Superior Batter Adhesion: Say goodbye to the frustrating issue of batter sliding off the onion. This recipe ensures the batter clings perfectly, creating a uniform, delicious coating on every ring.
- Minimal, Accessible Ingredients: You don’t need a pantry full of exotic items. This recipe relies on common kitchen staples, making it easy to whip up a batch whenever a craving strikes.
- Adaptable for All Preferences: No beer on hand, or prefer a non-alcoholic option? No problem! You can effortlessly substitute beer with any carbonated drink like club soda, sparkling water, or even non-alcoholic beer, achieving a similar light and crispy result.
- Bite-After-Bite Integrity: Unlike some onion rings that fall apart after the first bite, these are engineered for stability. Each ring remains intact, delivering a consistent and enjoyable eating experience from start to finish.
- Sweet & Savory Harmony: The natural sweetness of Vidalia onions perfectly complements the savory, seasoned batter, creating a balanced flavor that’s utterly addictive.
- Quick to Prepare: With a total time of under 30 minutes, you can enjoy gourmet-quality onion rings without spending hours in the kitchen.
Mastering Your Ingredients for the Perfect Onion Rings
Choosing the right ingredients is fundamental to achieving the best beer-battered onion rings. Here’s a deeper look into what makes each component crucial:
- Onions: The Heart of the Ring
Vidalia Onions are truly the star for this recipe. Known for their exceptional sweetness and sturdy texture, they hold up beautifully during the frying process, resulting in tender, flavorful rings. Their mildness ensures the onion flavor is pleasant and not overpowering. If Vidalia onions are out of season or unavailable at your local supermarket, yellow onions make an excellent substitute. While slightly sharper, they still offer a good balance of sweetness and firmness.
Pro Tip: Ensure your onions are firm and free of blemishes. For uniform rings, choose larger onions.
- Beer: The Secret to Crispy Batter
The type of beer you choose significantly impacts the batter’s texture and a subtle hint of flavor. I highly recommend using a pale ale beer. Its carbonation is key to creating that light, airy, and crispy texture, while its mild flavor won’t overpower the onion. The alcohol content also helps to evaporate moisture quickly during frying, contributing to crispness.
Avoid: Dark, strong-flavored beers (like stouts or porters) or overly fruity flavored beers. These can impart an undesirable heavy or sweet taste to your onion rings. Stick to something light and crisp.
Non-Alcoholic Alternative: If you prefer to avoid alcohol, or simply don’t have beer on hand, any highly carbonated beverage works wonderfully. Club soda or sparkling water are fantastic choices, providing the necessary bubbles for a light batter without any added flavor. You could even try a non-alcoholic beer for a similar effect.
- Oil: The Medium for Golden Perfection
For deep frying, choosing an oil with a high smoke point is essential to prevent burning and ensure even cooking. Peanut oil, canola oil, or vegetable oil are your best options. These oils can withstand the high temperatures required to fry the onion rings to a beautiful golden crisp without imparting unwanted flavors.
Important: Always use fresh oil for the best taste. Reusing oil can lead to off-flavors and a less crispy product.
- Flour & Leavening: The Batter Foundation
All-purpose flour provides the structure for your batter. The recipe calls for dividing the flour: one portion for a dry dredge, and another for the wet batter. The dry dredge helps the wet batter adhere better to the slippery onion surface. Baking powder in the wet batter works with the beer’s carbonation to create extra lift and airiness, resulting in a delightfully fluffy texture.
- Seasonings: Flavor Boosters
Kosher salt is essential for seasoning both the dry dredge and the wet batter, enhancing all the flavors. Garlic powder and onion powder amplify the savory notes, providing a deeper, more complex taste that complements the natural sweetness of the onion without overwhelming it.
Crafting Perfect Beer-Battered Onion Rings: A Detailed Guide
Follow these detailed instructions to create consistently crispy and delicious beer-battered onion rings every time:
- Prepare Your Frying Station: In a deep, heavy-bottomed pot or Dutch oven, pour at least 3 inches of your chosen frying oil (peanut, canola, or vegetable oil). Begin heating the oil over medium-high heat. Attach a deep-fry thermometer to the side of the pot and allow the oil to reach a steady temperature of 365 degrees F (185 degrees C). Maintaining the correct oil temperature is paramount for perfect results.
- Prepare the Onions: Carefully peel the outer layers from your Vidalia onions. Trim off both ends, then slice the onions crosswise into 1/2-inch thick slices. Once sliced, gently separate the rings. Try to keep them as intact as possible.
- The Cold Water Soak: Place the separated onion rings into a bowl of cold water. Allow them to soak for at least 5-10 minutes. This crucial step helps to remove some of the raw onion’s pungency and, more importantly, creates a slightly sticky surface that allows the flour dredge to adhere better.
- First Flour Dredge: While the onions are soaking, prepare your first dredging station. In a shallow dish or plate, combine 1 cup of all-purpose flour with 1 teaspoon of kosher salt. Mix thoroughly until the salt is evenly distributed. Set this dish aside.
- Craft the Beer Batter: In a separate, medium-sized mixing bowl, combine the remaining 1 cup of all-purpose flour, 1 teaspoon of kosher salt, 2 teaspoons of garlic powder, 2 teaspoons of onion powder, and 1/2 teaspoon of baking powder. Whisk these dry ingredients together well. Gradually pour in 1 cup of beer (ensure you measure only the liquid beer, not the foam) while continuously whisking until the batter is smooth and just combined. A few small lumps are fine; avoid overmixing, as this can develop the gluten and lead to a tough batter.
- Batter and Fry: Once the oil is at the correct temperature (365°F), remove a few onion rings from the cold water, shake off any excess water, and pat them lightly with a paper towel. First, coat each ring evenly in the dry flour mixture from step 4, shaking off any excess. Immediately transfer the flour-dredged rings into the beer batter, ensuring they are fully coated. Lift each battered ring, allowing any excess batter to drip back into the bowl.
- Fry to Golden Perfection: Carefully lower 3-4 battered onion rings into the hot oil. Do not overcrowd the pot, as this will lower the oil temperature and result in soggy, greasy onion rings. Fry for 3-4 minutes on each side, or until they are deeply golden brown and deliciously crispy. Use tongs or a slotted spoon to turn them as needed for even browning.
- Drain and Season: Once golden, remove the onion rings from the oil and immediately transfer them to a wire rack placed over a baking sheet lined with paper towels. This setup allows excess oil to drain away, preventing sogginess. While they are still hot, sprinkle them lightly with a little extra kosher salt to enhance their flavor.
- Repeat and Enjoy: Continue frying the remaining onion rings in batches, ensuring the oil temperature returns to 365°F before adding each new batch. Serve your homemade beer-battered onion rings immediately while they are hot and at their crispiest!
Top Tips For The Ultimate Beer Battered Onion Rings
Achieving restaurant-quality beer-battered onion rings at home is simpler than you think with these expert tips:
- Oil Temperature is King: This cannot be stressed enough. Always use a reliable deep-fry thermometer to monitor your oil temperature. If the oil is too hot, the onion rings will burn on the outside before the onion inside has softened and the batter cooked through. If the oil isn’t hot enough, the onion rings will soak up too much oil, becoming greasy and soggy instead of crispy. Aim for a consistent 365°F (185°C).
- Fry in Batches: Resist the urge to overcrowd your skillet or pot. Frying too many onion rings at once will drastically lower the oil temperature, leading to greasy results. Cook in small batches, typically 3-4 rings at a time, ensuring there’s enough space for them to float freely and to be easily turned. This allows for even cooking and a consistent crisp.
- Proper Drainage is Crucial: As soon as the onion rings are removed from the hot oil, transfer them to a wire rack set over a baking sheet lined with paper towels. Do not place them directly on paper towels, as this will trap steam and oil, making them soggy. The wire rack allows air circulation and enables excess oil to drip away, preserving their crispness.
- Season Immediately: For maximum flavor, sprinkle your freshly fried onion rings with a pinch of kosher salt the moment they come out of the oil. The hot oil helps the salt adhere and enhances their overall taste. You can also experiment with other seasonings like a sprinkle of smoked paprika or a dash of cayenne for a subtle kick.
- Customize Your Sweetness: If you prefer your onion rings with a touch more sweetness, feel free to add a pinch (about 1/2 to 1 teaspoon) of granulated sugar to the beer batter mixture. This small addition can enhance the natural sweetness of the Vidalia onions.
- Don’t Overmix the Batter: When combining your wet batter ingredients, mix until just combined. Overmixing can develop the gluten in the flour, leading to a tougher, less tender coating. A few small lumps are perfectly acceptable.
- The Importance of Cold Onions: Soaking the onion rings in cold water before dredging helps the dry flour and wet batter adhere better. You can even place the cut onions in the freezer for 10-15 minutes (after soaking and drying) for an extra crisp layer.
Delicious Serving Suggestions
These crispy beer-battered onion rings are incredibly versatile and pair well with a wide variety of meals and dips. Here are some ideas to elevate your dining experience:
- Classic Dips: Always a winner, serve them with an array of classic dipping sauces like tangy ketchup, creamy ranch, or a bold BBQ sauce.
- Elevated Dips: For something a little more gourmet, try them with a homemade spicy aioli, honey mustard, or even a garlic Parmesan dip.
- Burger & Sandwich Companion: They make the ultimate side dish for juicy burgers, pulled pork sandwiches, or a comforting turkey bacon avocado sandwich. The crunch provides a fantastic textural contrast.
- Picnic & BBQ Side: These onion rings are a fantastic addition to any outdoor gathering, alongside dishes like creamy coleslaw, potato salad, or grilled corn.
- Game Day Appetizer: Perfect for sharing during sports events or casual get-togethers. Set up a dip bar and let guests choose their favorites!
Storage and Reheating for Best Results
Beer-battered onion rings are best enjoyed immediately after frying when they are at their absolute crispiest and most flavorful. However, if you find yourself with leftovers, proper storage and reheating can help preserve some of their deliciousness.
Storage:
Place any cooled leftover onion rings in an airtight container and refrigerate for up to 3 days. To prevent them from becoming soggy, you can place a paper towel at the bottom of the container to absorb any residual moisture.
Reheating:
Reheating fried foods can be tricky, but it’s possible to revive some of that coveted crispness. Avoid the microwave, as it will only make them soft and chewy.
- Oven Method: Preheat your oven to 375°F (190°C). Arrange the onion rings in a single layer on a baking sheet. Heat for 8-12 minutes, or until they are heated through and have regained some of their crispness. Flip them halfway through for even reheating.
- Air Fryer Method: For the quickest and often crispiest reheating, an air fryer is ideal. Preheat your air fryer to 350°F (175°C). Place the onion rings in a single layer in the air fryer basket (do not overcrowd). Cook for 4-6 minutes, shaking the basket halfway through, until hot and crispy.
Frequently Asked Questions (FAQs)
Here are answers to some common questions about making beer-battered onion rings:
- Can I use non-alcoholic beer?
Absolutely! Non-alcoholic beer works just as well as regular beer because it provides the necessary carbonation for a light and airy batter. Club soda or sparkling water are also excellent alternatives if you prefer to avoid beer altogether.
- How do I prevent the batter from falling off the onion rings?
There are a few key steps: first, ensure your onion rings are patted dry (after the cold water soak) before dredging in the plain flour. The initial dry flour coating creates a rough surface for the wet batter to cling to. Second, don’t overmix your wet batter; a smooth but not overly sticky consistency is best. Finally, ensure your oil is at the correct temperature (365°F). If the oil is too cool, the batter won’t set quickly enough.
- What kind of beer is best for beer batter?
A light-bodied, mildly flavored beer like a pale ale or lager is generally best. These beers provide plenty of carbonation without imparting strong flavors that might clash with the onion. Avoid dark beers like stouts or porters, which can make the batter heavy and alter the taste significantly.
- Can I make the batter ahead of time?
It’s best to prepare the beer batter just before frying. The carbonation from the beer is what makes the batter light and crispy, and it will dissipate over time if the batter sits too long. If you must prepare it in advance, cover it tightly and refrigerate for no more than an hour, but expect slightly less crispness.
- How do I know if my oil is hot enough without a thermometer?
While a thermometer is highly recommended for accuracy, a common test involves dropping a tiny pinch of batter or flour into the hot oil. If it immediately sizzles and floats to the surface, the oil is ready. If it sinks and doesn’t sizzle, the oil isn’t hot enough. If it sizzles too violently or smokes, it’s too hot.
More Crispy & Delicious Recipes You Might Enjoy
If you loved these beer-battered onion rings, be sure to explore more of our irresistible fried and appetizer recipes:
- Crispy French Fried Onions
- Perfectly Fried Calamari
- Homemade Guacamole
- Authentic Southern Fried Shrimp
Tried this ultimate beer-battered onion rings recipe? Please leave a star ★★★★★ rating in the recipe card below and/or a review in the comments section further down the page. Your feedback is invaluable! And consider following me on Facebook or Pinterest for more delicious recipes and cooking inspiration!

Beer Battered Onion Rings
Rate Recipe
Print Recipe
Equipment
- thermometer (essential for oil temperature)
- Deep pot or Dutch oven
- Wire rack and baking sheet
- Tongs or slotted spoon
- Mixing bowls and shallow dishes
Ingredients
- 2 Vidalia onions (large, firm)
- 2 cups all-purpose flour, divided
- 1 cup pale ale beer (liquid measure, not foam)
- 2 tsp kosher salt, divided (plus more for sprinkling)
- 2 tsp garlic powder
- 2 tsp onion powder
- 1/2 tsp baking powder
- 4 cups cold water (for soaking)
- Oil, for frying (peanut, canola, or vegetable oil)
Instructions
- Heat 3 inches of oil in a deep pot to 365 degrees F (185 degrees C). Use a thermometer for accuracy.
- Peel onions, trim ends, and slice crosswise into 1/2-inch slices. Gently separate slices to create individual rings.
- Place onion rings in a bowl of cold water and let them soak for 5-10 minutes. This aids flour adhesion.
- In a shallow dish, combine 1 cup of flour and 1 tsp of salt. Mix well and set aside.
- In a separate bowl, combine 1 cup of flour, 1 tsp salt, garlic powder, onion powder, and baking powder. Stir in the beer until just combined. Do not overmix.
- Working in batches, remove onion rings from cold water, pat dry, then dredge in the plain flour mixture, shaking off excess.
- Dip flour-coated rings into the beer batter, allowing excess to drip off.
- Carefully fry battered rings in the hot oil for 3-4 minutes per side, or until golden brown and crispy. Do not overcrowd the pot.
- Remove fried onion rings and place them on a wire rack set over paper towels to drain. Immediately sprinkle with a pinch of kosher salt.
- Repeat with remaining onion rings, ensuring oil temperature returns to 365°F before each new batch. Serve hot and enjoy!
Notes
- Always use a thermometer to maintain the correct oil temperature (365°F). Too hot, they burn; too cold, they get soggy.
- Fry in small batches to keep the oil temperature stable and ensure even crisping.
- Serve immediately for the best texture. Reheat leftovers in an oven or air fryer for best crispness.
Nutrition (Approximate per serving)
|
Carbohydrates: 18g
|
Protein: 2g
|
Fat: 1g
|
Saturated Fat: 1g
|
Polyunsaturated Fat: 1g
|
Monounsaturated Fat: 1g
|
Sodium: 341mg
|
Potassium: 102mg
|
Fiber: 1g
|
Sugar: 2g
|
Vitamin A: 1IU
|
Vitamin C: 2mg
|
Calcium: 23mg
|
Iron: 1mg
Nutrition information is automatically calculated, so should only be used as an approximation.
Additional Info
Like this recipe? Leave a comment below!