
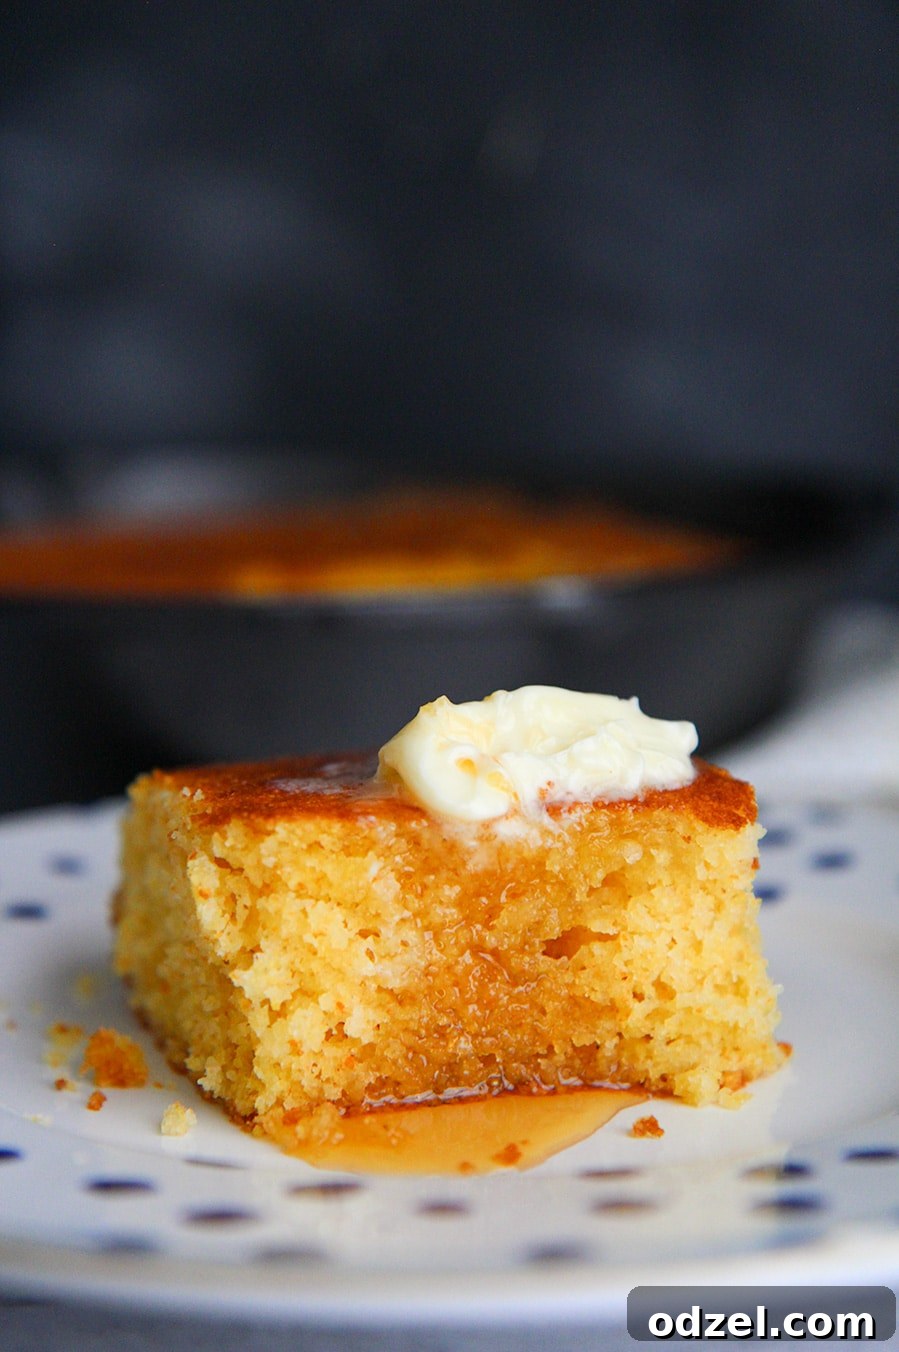
The Ultimate Buttermilk Cornbread Recipe: Perfectly Moist, Sweet, and Crispy
Welcome to the ultimate guide for crafting the perfect buttermilk cornbread! Forget everything you thought you knew about dry, crumbly cornbread. This recipe promises a remarkably moist, tender crumb, a delicate sweetness that isn’t overpowering, and those coveted crispy, buttery edges that will have everyone reaching for a second slice. Made with just a handful of simple ingredients and ready in under 30 minutes, this cornbread is an absolute game-changer. Whether you serve it warm with a generous smear of butter and a drizzle of honey for a comforting breakfast, or as the quintessential sidekick to a hearty bowl of homemade chili, its versatility and flavor will make it an instant family favorite.
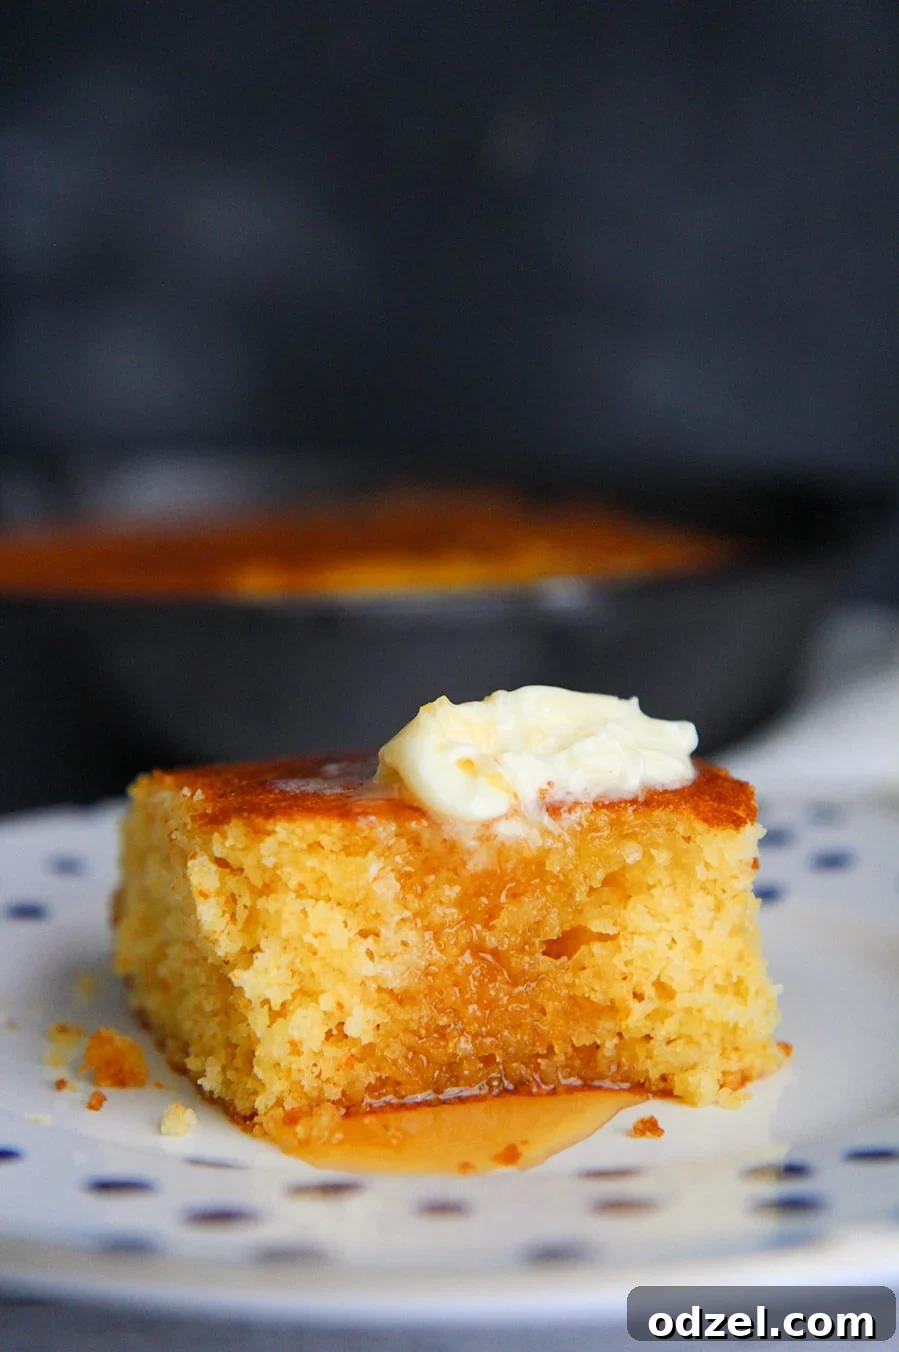
Cornbread can spark quite a debate, as nearly everyone believes their grandmother’s recipe reigns supreme. Some prefer the rustic texture of actual corn kernels, others like it distinctly sweet, while purists argue for a savory profile. This particular recipe strikes a harmonious balance, offering a cornbread that is incredibly moist, rich with buttery flavor, perfectly sweetened, and boasts delightfully crispy edges. It’s truly an experience you won’t want to miss – one bite and you’ll understand why it’s so utterly addictive!
The Buttermilk Magic: Why It’s Essential for Perfect Cornbread
Many home bakers wonder if they can substitute regular milk for buttermilk in a cornbread recipe. The answer is a resounding no, if you truly want to achieve the best results. I cannot stress enough the importance of using store-bought buttermilk for this recipe. Thick, rich buttermilk is the secret ingredient that elevates this cornbread to an unparalleled level of tenderness and flavor. Buttermilk’s acidity reacts with the baking soda, creating air pockets that result in a light, fluffy, and incredibly moist texture. Without it, your cornbread may turn out dry, dense, and lack the subtle tang that makes buttermilk cornbread so special. Trust me on this one – it’s worth the trip to the store!
While a DIY buttermilk substitute (milk + lemon juice or vinegar) can work in a pinch for some recipes, for this specific “ultimate” cornbread, the natural thickness and consistent acidity of real buttermilk provide superior results. The fermentation process in buttermilk contributes a depth of flavor that a quick homemade alternative simply can’t replicate, ensuring your cornbread is moist, flavorful, and incredibly tender every time.
Achieving Those Irresistible Crispy Edges
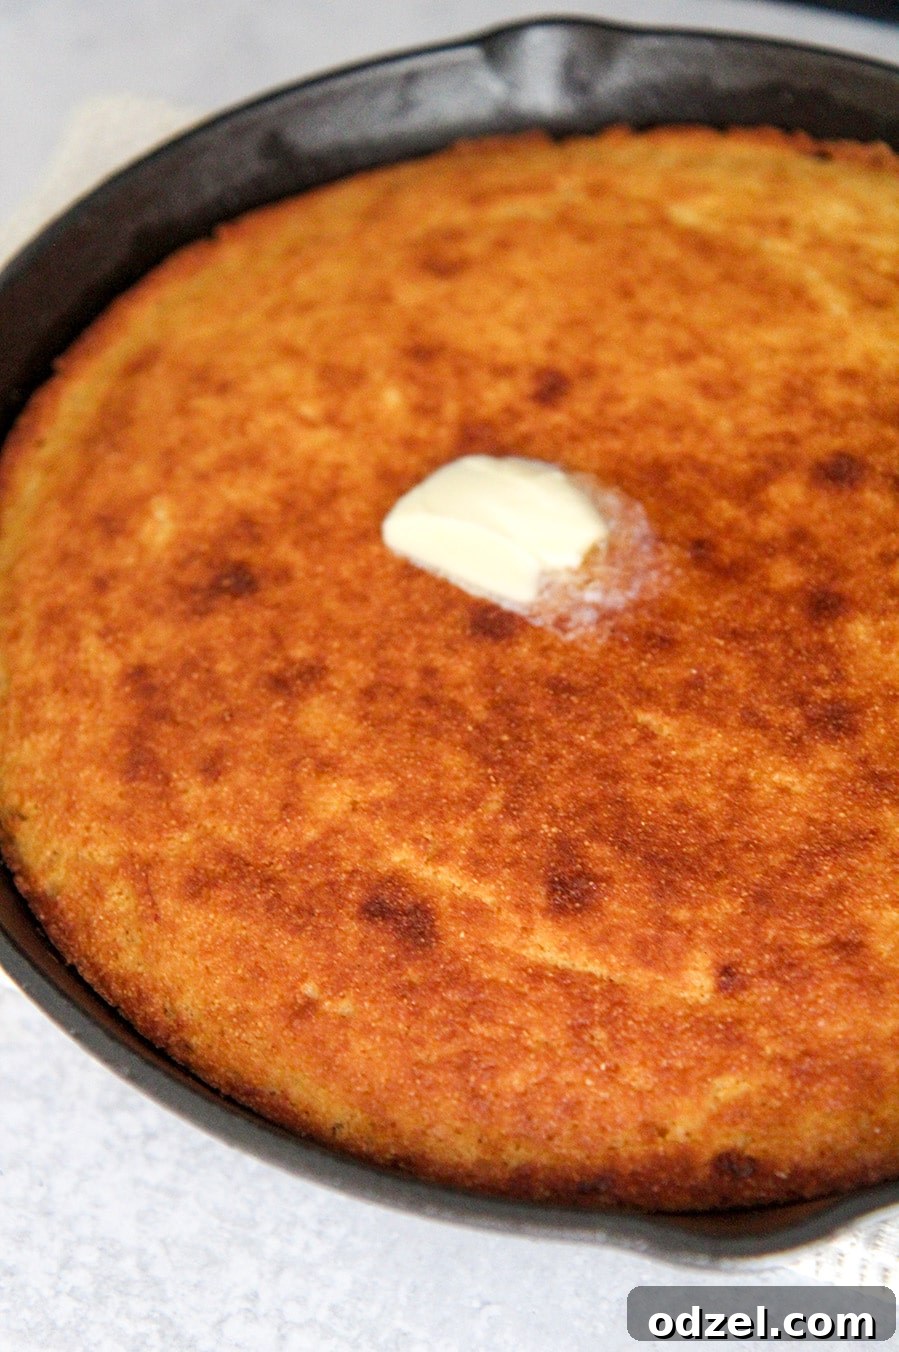
The hallmark of truly exceptional cornbread lies in its crispy, golden-brown edges. This coveted texture is not difficult to achieve with a couple of crucial tips. Firstly, heat is your best friend. Make sure to preheat your cast iron skillet (or chosen oven-safe dish) in the oven for about 10 minutes before you introduce the batter. This initial blast of heat creates an immediate sear on the bottom and sides of the cornbread as soon as the batter is poured in, preventing it from sticking and setting up a fantastic crust.
Secondly, a generous amount of butter is key. Before adding the cornbread batter, melt a tablespoon of butter directly into the hot skillet. This melted butter sizzles and forms a delicious, buttery barrier, ensuring a golden, crunchy crust that’s packed with flavor. After baking for 20 minutes, a quick 1-2 minute broil will take your cornbread to the next level, giving the top a beautiful golden-brown color and an extra layer of crunch. If you prefer a lighter cornbread with less color and crispness, simply skip the broiling step and bake for the recommended 20 minutes.
The Best Baking Vessel: Cast Iron vs. Alternatives
While this recipe was perfected using a 10.25-inch cast iron skillet, you don’t necessarily need one to make delicious cornbread. Any oven-safe 10-inch baking dish will work perfectly well. However, if you are fortunate enough to own a cast iron skillet, I strongly encourage you to use it! Cast iron is renowned for its exceptional heat retention and even heat distribution, which are critical for achieving that uniformly cooked cornbread with a perfectly golden and crispy crust. The natural non-stick properties of a well-seasoned cast iron skillet also ensure that your cornbread releases effortlessly once baked.
The heavy material of cast iron allows it to get incredibly hot and stay hot, forming an immediate crust when the batter hits it. This results in the sought-after crunchy exterior that regular baking dishes might struggle to replicate as effectively. If using a different type of baking dish, consider increasing the preheating time slightly to ensure it’s adequately hot before adding the batter.
A Brief History of Cornbread
Cornbread holds a cherished place in American culinary history, with roots tracing back to Native American civilizations. Indigenous peoples were cultivating corn (maize) for thousands of years before European arrival, grinding it into meal and preparing it in various forms, including flatbreads and porridges. When European settlers arrived, they adopted corn as a staple, and cornbread quickly became a fundamental part of their diet, especially in the Southern United States.
Over centuries, cornbread evolved, with regional variations emerging. Southern cornbread traditionally uses cornmeal, buttermilk, and often little to no sugar, baked in a cast iron skillet to achieve a crisp crust. Northern versions, on the other hand, often incorporate more flour, sugar, and milk or water, resulting in a sweeter, cake-like texture. This recipe beautifully bridges the gap, offering the best of both worlds: the moistness and tang of buttermilk cornbread with a touch of sweetness and that undeniable crispy crust.
Key Ingredients and Their Roles for Cornbread Perfection
Understanding the role of each ingredient can help you appreciate why this recipe yields such fantastic results and empowers you to troubleshoot if needed:
- Cornmeal: The star of the show! It provides the characteristic grainy texture and flavor. Different grinds (fine, medium, coarse) can influence the final texture, with medium grind often striking a good balance.
- All-Purpose Flour: While cornmeal provides the primary structure and flavor, a bit of all-purpose flour helps create a more tender crumb and prevents the cornbread from being too crumbly.
- Buttermilk: As discussed, it’s crucial for moisture, tenderness, and activating the baking soda for a good rise and light texture.
- Eggs: Eggs act as a binder, adding richness, moisture, and helping the cornbread hold together beautifully.
- Melted Unsalted Butter: Beyond imparting a delicious buttery flavor, melted butter contributes to the moistness and tender crumb. Using unsalted butter allows you to control the overall saltiness of the dish.
- Sugar: This recipe calls for 1/2 cup of sugar, striking a perfect balance between sweet and savory. Sugar also aids in browning, contributing to that lovely golden crust.
- Baking Powder & Baking Soda: These are your leavening agents. Baking soda reacts with the acidic buttermilk to produce carbon dioxide, creating air bubbles for a light texture. Baking powder provides an additional lift, ensuring a good rise.
- Salt: A small amount of salt enhances all the other flavors, bringing balance to the sweetness and richness.
Expert Tips for Cornbread Perfection
- Do Not Overmix: This is perhaps the most crucial tip for tender cornbread. Once you’ve combined the wet and dry ingredients, mix just until they are incorporated. Overmixing develops the gluten in the flour, leading to a tough, chewy cornbread instead of a light and tender one. A few lumps are perfectly fine!
- Accurate Measuring: Especially for baking, precise measurements are key. Use a kitchen scale for flour and cornmeal if possible, or the spoon-and-level method for dry ingredients to avoid adding too much.
- Customize Your Flavor: Feel free to experiment with add-ins! For a spicy kick, fold in chopped fresh jalapeños (deseeded for less heat) and 1/4 teaspoon of chili powder to the batter. Other popular additions include shredded cheddar cheese, crispy bacon bits, or a sprinkle of fresh herbs like chives.
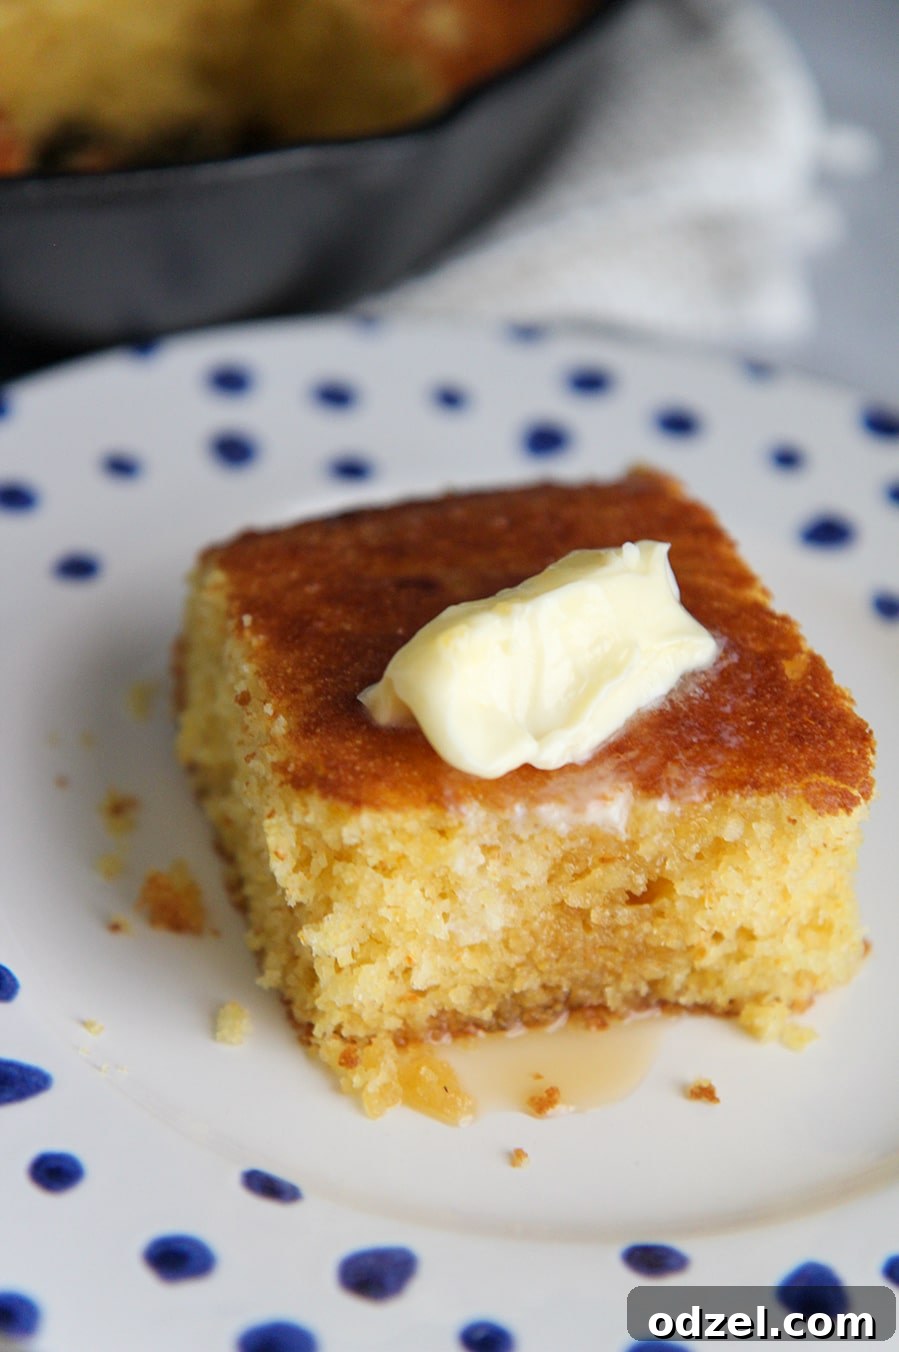
- Serve Warm and Generously: Cornbread is always best served warm, right out of the oven. Pair it with plenty of softened butter and a generous drizzle of honey for an unparalleled breakfast or side dish experience. Many argue it’s even better than pancakes when served this way!
- Don’t Peek Too Soon: Resist the urge to open the oven door during the first 15 minutes of baking. This can cause the cornbread to deflate, resulting in a denser texture.
- Cool Slightly Before Slicing: While it’s tempting to dive right in, letting the cornbread cool for 5-10 minutes after baking allows it to set slightly, making for cleaner slices and a better overall texture.
Serving Suggestions Beyond the Classic
While cornbread is a quintessential accompaniment to chili, its versatility extends far beyond! Here are some other delightful ways to enjoy your ultimate buttermilk cornbread:
- Soups and Stews: Perfect for dipping into hearty lentil soup, a robust beef stew, or any creamy vegetable soup.
- BBQ Feasts: A classic pairing with pulled pork, brisket, or BBQ chicken, offering a sweet and savory contrast.
- Fried Chicken: The crispy exterior of fried chicken finds its match in the soft, moist crumb of cornbread.
- Holiday Spreads: A wonderful addition to Thanksgiving or Christmas dinners, especially when used in stuffing or as a stand-alone side.
- Breakfast Treat: As mentioned, slathered with butter and honey, or even jam, it makes for a fantastic breakfast item.
- Dessert Delight: Believe it or not, warm cornbread with a scoop of vanilla ice cream and a drizzle of caramel can be a surprisingly delicious and comforting dessert.
Storage and Reheating Best Practices
One of the great things about this buttermilk cornbread is that it can absolutely be made ahead of time, allowing you to enjoy fresh-tasting cornbread whenever the craving strikes. To maintain its superb quality, always let it come to room temperature before storing.
- Room Temperature: For immediate enjoyment (within 2-3 days), keep your cornbread covered tightly with plastic wrap or aluminum foil at room temperature. This helps prevent it from drying out and maintains its moistness.
- Refrigerator: If you need to store it for a bit longer, it will last well in the refrigerator for up to 2-3 days when properly wrapped. Be aware that refrigeration can alter the texture slightly, making it a bit firmer.
- Freezer: For extended storage, cornbread freezes beautifully. Wrap individual slices or the entire batch tightly with aluminum foil, then place it in a freezer-safe bag. It will last for up to 3 months in the freezer. Thaw at room temperature or reheat directly from frozen.
Reheating Tips:
- Oven: The best way to reheat cornbread and restore its crispy edges is in a preheated oven at 300°F (150°C) for about 10-15 minutes, or until warmed through.
- Microwave: For a quick reheat, microwave individual slices for 15-30 seconds. Be careful not to overcook, as this can make it tough.
- Skillet: Place slices in a lightly buttered skillet over medium-low heat until warm and slightly crispy.
Troubleshooting Common Cornbread Issues
Even the most seasoned bakers can encounter a hiccup now and then. Here’s how to address common cornbread problems:
- Dry or Crumbly Cornbread: This is often the result of too much flour, not enough liquid, or overbaking. Ensure you’re measuring your dry ingredients accurately and resist the urge to bake it longer than necessary. Using real buttermilk is also crucial for moisture.
- Too Dense: Overmixing is the primary culprit for dense cornbread. Mix until just combined. Additionally, check the freshness of your baking powder and baking soda, as old leavening agents won’t provide enough lift.
- No Crispy Edges: If your edges aren’t crisp, your skillet likely wasn’t hot enough when the batter was added, or you didn’t use enough butter in the skillet. Make sure to preheat the skillet thoroughly and use that extra tablespoon of butter!
- Uneven Cooking: Ensure your oven is properly calibrated. An oven thermometer can help. Also, ensure the batter is evenly spread in the skillet.
The Ultimate Buttermilk Cornbread Recipe
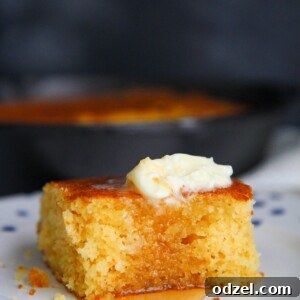
The Ultimate Buttermilk Cornbread
By Julie Maestre
This is the ultimate buttermilk cornbread recipe made with just a handful of ingredients in under 30 minutes!
Prep: 5 mins | Cook: 21 mins | Servings: 10
Ingredients
- 1/2 cup unsalted melted butter plus 1 tbsp (1 stick + 1 tbsp)
- 1 cup buttermilk
- 2 eggs
- 1/2 cup sugar
- 1 cup all-purpose flour
- 1 cup cornmeal
- 2 tsp baking powder
- 1/2 tsp baking soda
- 1/8 tsp salt
Instructions
- Preheat oven to 375 degrees F (190°C). Place the iron skillet in the oven and let it warm up for 5 minutes.
- Add the eggs, buttermilk, melted butter, and sugar to a large bowl and mix until well combined.
- Add the flour, baking powder, baking soda, salt, and cornmeal. Mix until well incorporated but do not overmix.
- Carefully remove the hot skillet from the oven. Add about 1 tbsp of butter to the hot skillet and let it melt and sizzle. Pour the cornbread batter into the skillet and smooth out the top with a spatula.
- Bake for 20 minutes. Then, turn on the broil function (watching carefully) and let it bake for an additional 1-2 minutes or until the top is nice and golden brown and crispy.
- Serve warm, with butter, honey, and enjoy this delicious treat!
Nutrition
Calories: 255kcal | Carbohydrates: 33g | Protein: 5g | Fat: 12g | Saturated Fat: 7g | Cholesterol: 60mg | Sodium: 133mg | Potassium: 210mg | Fiber: 2g | Sugar: 11g | Vitamin A: 371IU | Calcium: 80mg | Iron: 1mg
Nutrition information is automatically calculated, so should only be used as an approximation.
Additional Info
- Author: Julie Maestre
- Prep Time: 5 minutes
- Cook Time: 21 minutes
- Course: Bread
- Cuisine: American
- Servings: 10
- Calories: 255
- Keyword: Buttermilk Cornbread, Cornbread, How to make cornbread
If you’ve enjoyed mastering this classic buttermilk cornbread, you’ll be thrilled to explore other delicious variations! For those who love a bit of heat and cheese, give this honey jalapeno cheddar cornbread a try. Or, if you prefer individually portioned, savory delights, these ham and cheese corn muffins are another fantastic favorite. For more culinary inspiration and helpful cooking tutorial videos, be sure to visit Youtube and Facebook. Happy baking!
Like this recipe? Leave a comment below!